Quick & Cozy Arepas con Queso Recipe for Golden Breakfast Joy
Arepas con queso, a beloved Latin American delight, refines simple ingredients into culinary magic that dances on your palate.
These golden, crispy corn pockets carry a rich cultural heritage from Venezuela and Colombia.
Corn flour becomes the canvas for a versatile dish that bridges tradition and comfort.
Skilled home cooks understand the subtle art of crafting these perfect handheld meals with precision and love.
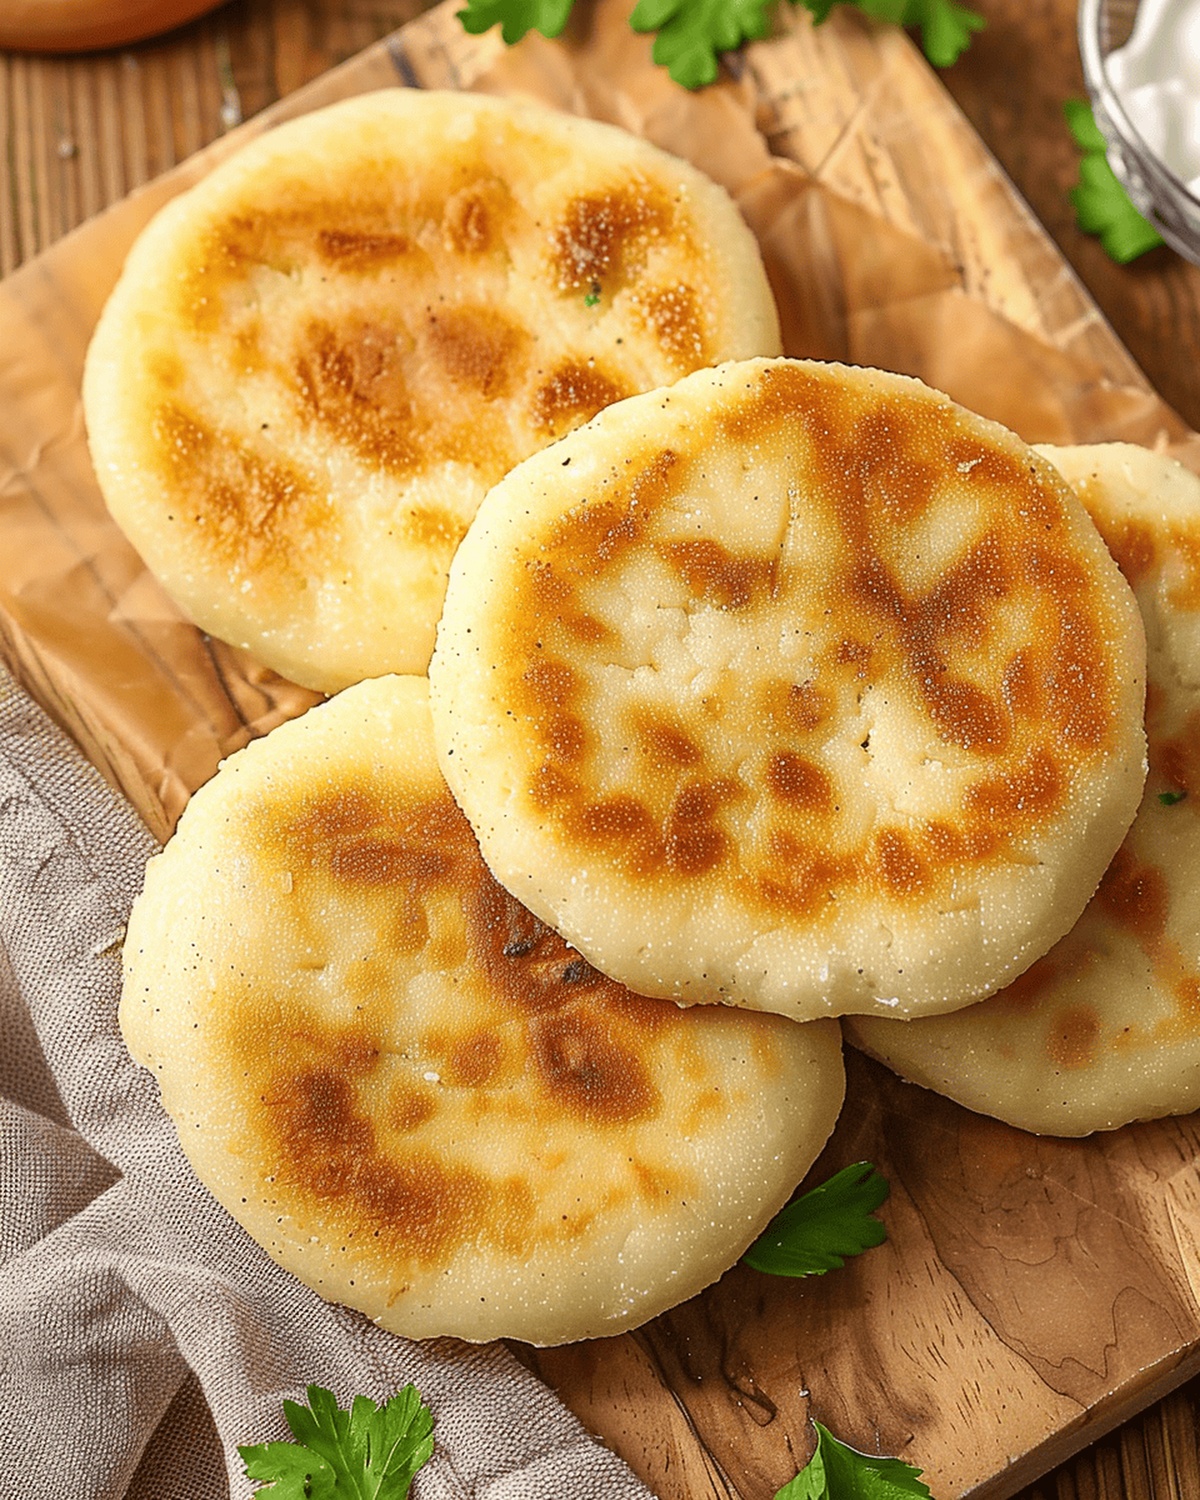
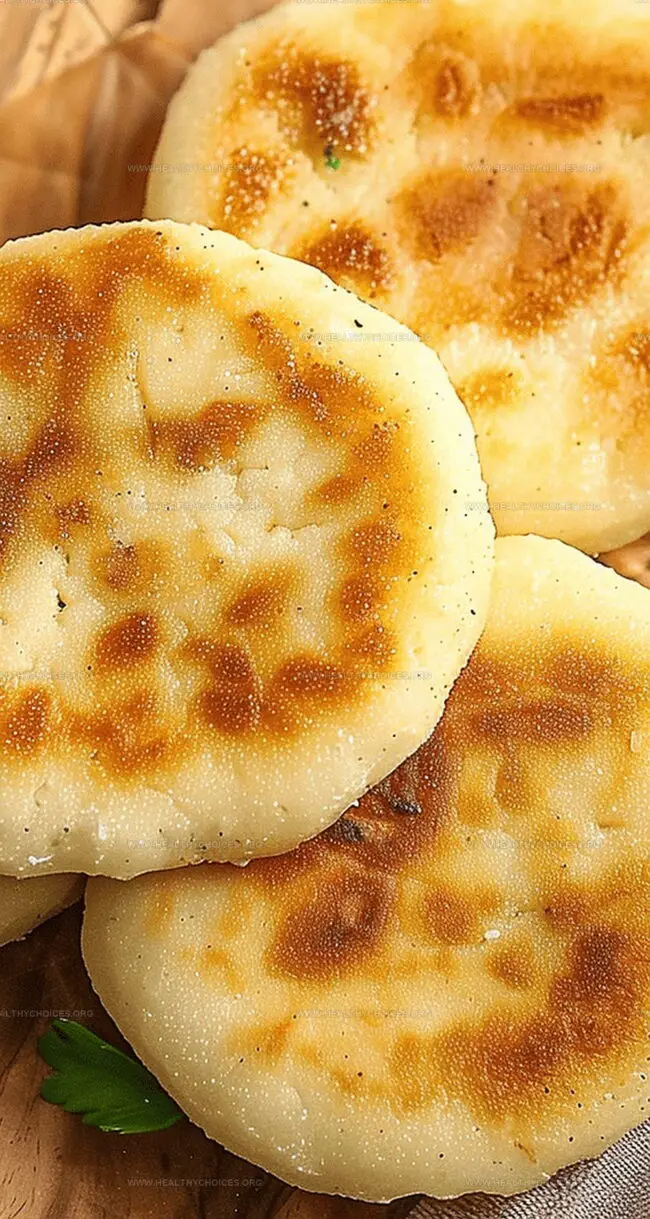
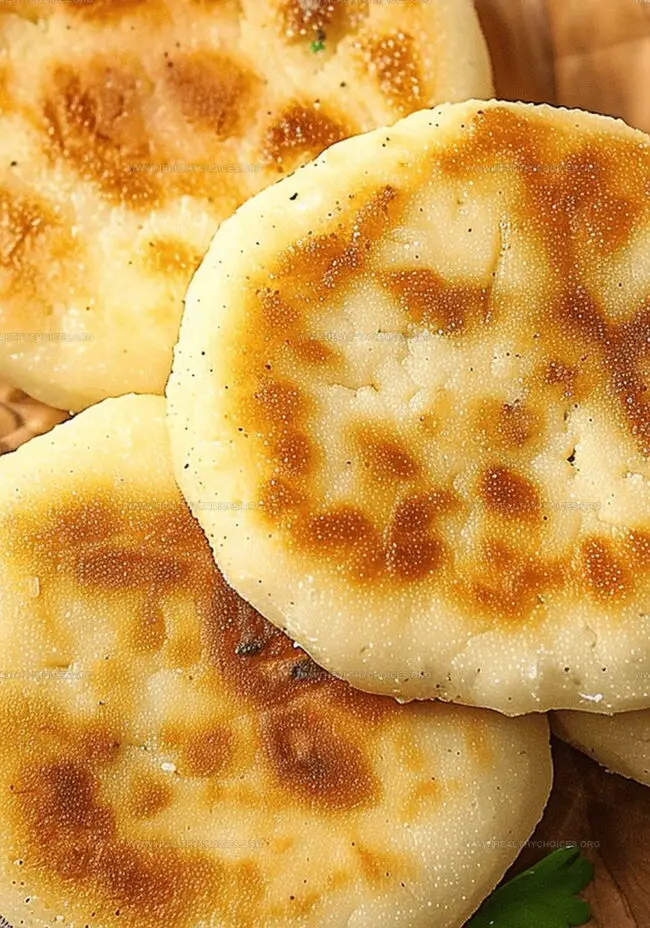
The tender, cheese-filled interior creates a delightful contrast against the crisp, griddled exterior that promises pure satisfaction.
Each arepa represents a personal connection to generations of passionate cooking traditions.
Master this delectable recipe and bring a piece of Latin American warmth to your kitchen.
Reasons to Enjoy Arepas con Queso
Ingredients Needed for Arepas con Queso
Corn Flour Base:Cheese Ingredients:Binding and Moisture Ingredients:Cooking Ingredients:Cooking Method for Arepas con Queso
Step 1: Create Magic Dough
Combine in a medium bowl:Knead the mixture until a smooth, play-dough-like consistency forms. No sticky business! Cover with a kitchen towel and let the dough chill for 10 minutes.
Step 2: Perfect the Dough Texture
Gently flatten a small dough ball between your palms. Cracking edges? Add water one tablespoon at a time until the dough feels smooth and flexible.
Step 3: Shape Cheesy Circles
Wet your hands slightly and divide dough into 8 equal pieces. Roll each piece into a ball, then flatten into 5-inch circles about ¼ inch thick.
Step 4: Create Cheese Pockets
Place shredded mozzarella in the center of one dough circle, leaving a ½-inch border. Top with another dough circle, pressing and sealing edges. Create a plump disk about ½ inch thick.
Step 5: Cook to Golden Perfection
Choose your cooking method:
Stovetop: Heat skillet to medium-low, coat with oil or butter
Electric Griddle: Preheat to 325°F, spread butter on surface
Cook arepas 4-5 minutes per side until beautifully golden brown and crispy.
Step 6: Serve and Celebrate
Transfer hot arepas to a plate. Optional: Add a luxurious pat of butter on top for extra indulgence. Enjoy immediately.
Helpful Notes for Making Arepas con Queso
Best Way to Store Arepas con Queso
What to Serve with Arepas con Queso
Fun Tweaks to Try with Arepas con Queso
Print
Arepas con Queso Recipe
- Total Time: 25 minutes
- Yield: 4 1x
Description
Colombian arepas con queso offer a crispy, golden journey through Latin American comfort cuisine. Warm cornmeal pockets stuffed with melted cheese create an irresistible snack you’ll want to savor again and again.
Ingredients
Main Ingredients:
- 2 cups (473 ml) masarepa (pre-cooked white cornmeal)
- 1¼ cups (296 ml) warm water
- 8 ounces (227 g / 2 cups) shredded mozzarella cheese
Cheese Ingredients:
- 2 ounces (57 g / ½ cup) finely crumbled Cotija cheese
Seasoning and Cooking Ingredients:
- ½ teaspoon sea salt or Kosher salt
- 1 tablespoon (15 ml) butter, softened
- Oil or butter for cooking
Instructions
- Craft a cohesive dough by thoroughly mixing masarepa, salt, crumbled Cotija cheese, softened butter, and warm water in a medium bowl until a uniform, pliable texture emerges.
- Allow the dough to rest, covered, for 10 minutes to help ingredients meld and achieve optimal consistency.
- Assess the dough’s moisture level by gently pressing a small portion between palms; if edges crack, gradually incorporate additional water until smooth and flexible.
- Divide the dough into eight equal portions, carefully rolling each into a spherical shape.
- Transform each ball into a flat, circular disc approximately 5 inches wide and ¼ inch thick using gentle, even pressure.
- Create a cheese-filled pocket by strategically placing shredded mozzarella in the center of one dough circle, maintaining a half-inch border around the edges.
- Delicately overlay a second dough circle, meticulously sealing the perimeter to form a compact, half-inch thick sealed disk.
- Prepare a cooking surface by coating a skillet or electric griddle with a thin layer of oil or butter, heating to medium-low temperature.
- Carefully transfer the assembled arepas to the heated surface, rotating occasionally to ensure even, golden-brown coloration.
- Cook each side for approximately 4-5 minutes, achieving a crisp, caramelized exterior while maintaining a tender interior.
- Transfer the perfectly cooked arepas to a serving plate, optionally embellishing with a small pat of butter for enhanced richness.
- Serve immediately while warm, allowing the melted cheese to provide a luxurious, gooey centerpiece.
Notes
- Masarepa is a special corn flour crucial for authentic arepa texture, different from regular cornmeal.
- Cotija cheese adds a salty, crumbly element that enhances the dough’s flavor and traditional profile.
- Maintain dough moisture by adding water gradually to prevent cracking, ensuring smooth, pliable consistency.
- Handle dough gently and seal edges completely to prevent cheese from leaking during cooking.
- Medium-low heat is key to achieving a crispy golden exterior without burning the arepa.
- Serve immediately for the best taste and texture, enjoying the melted cheese inside while hot.
- Prep Time: 15 minutes
- Cook Time: 10 minutes
- Category: Breakfast, Lunch, Snacks
- Method: Frying
- Cuisine: Venezuelan
Nutrition
- Serving Size: 4
- Calories: 384
- Sugar: 2 g
- Sodium: 475 mg
- Fat: 22 g
- Saturated Fat: 12 g
- Unsaturated Fat: 8 g
- Trans Fat: 0 g
- Carbohydrates: 36 g
- Fiber: 3 g
- Protein: 16 g
- Cholesterol: 45 mg
David Bennett
Founder & Head Recipe Developer
Expertise
Culinary Nutrition, Recipe Development, Nutritional Counseling, Food Science
Education
Johnson & Wales University
Certified Nutrition Specialist® (CNS®)
David Bennett is the lead recipe creator and nutrition expert at HealthyChoices.org, your friendly space for tasty meals that nourish body and mind.
With a Culinary Nutrition degree from Johnson & Wales University and a Certified Nutrition Specialist® credential, David pairs practical nutrition with delicious cooking, creating recipes you’ll crave daily.
At Healthy Choices, David shares easy, nutritious dishes and smart cooking tips to make healthy eating something everyone can enjoy, with no complicated diets needed.