
Master the Fluffiest Artisan Rolls Recipe in Just 30 Minutes
Artisan rolls enhance ordinary bread into a culinary masterpiece that beckons with rustic charm and delectable appeal.
Handcrafted with meticulous care, these rolls represent a passionate connection between baker and ingredients.
Traditional techniques merge with modern sensibilities, creating bread that tells a story of craftsmanship and dedication.
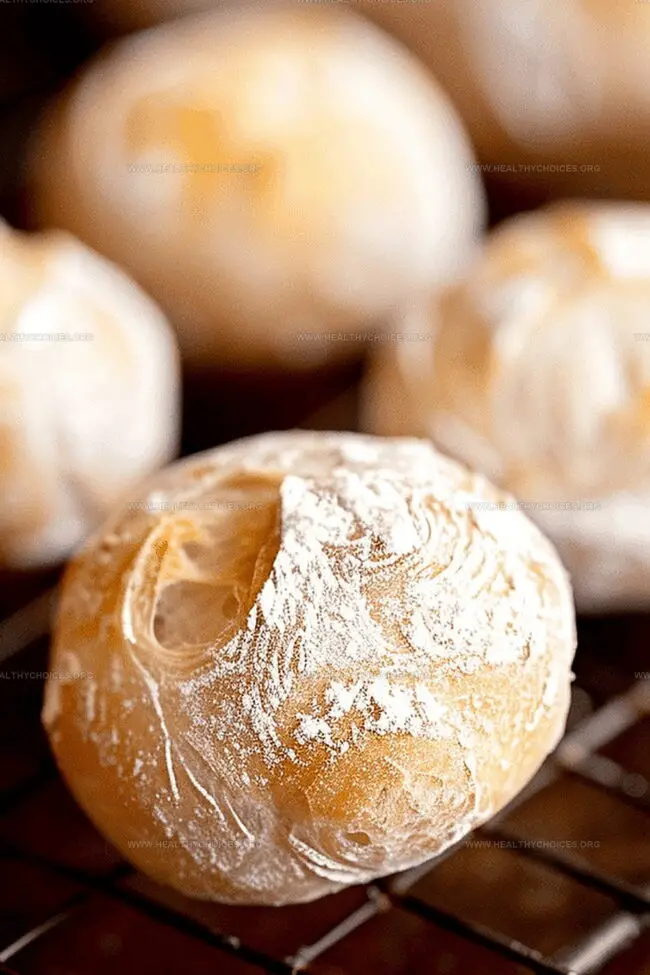
Each roll emerges from the oven with a golden, crackling exterior and a soft, pillowy interior that whispers of comfort and warmth.
Skilled bakers understand the delicate balance of flour, water, yeast, and technique required to achieve perfection.
artisan bread-making is more than a process—it’s an art form that celebrates simplicity and skill.
Passionate home cooks can unlock the secrets of creating these spectacular rolls with patience and practice.
Crisp Outside, Soft Inside Artisan Rolls
What You’ll Need Artisan Rolls
Flour and Dry Ingredients:Liquid Ingredient:Optional Finishing Ingredient:How to Shape and Bake Artisan Rolls
Step 1: Prepare Dough Base
In a spacious mixing bowl, combine bread flour, salt, and yeast. Create a small crater in the center and pour in water. Stir thoroughly using a robust spatula until flour completely blends. The mixture will appear wet and sticky- this is perfect. Cover bowl with plastic wrap and let rest at room temperature for 10-12 hours.
Step 2: Check Dough Development
After resting period, examine the dough. It will have expanded with a bubbly surface and slightly uneven texture.
Step 3: Prepare Baking Setup
Arrange parchment paper on a baking sheet. Heat oven to 425°F (220°C).
Step 4: Prepare Work Surface
Sprinkle generous flour across work area. Gently transfer dough onto floured surface. Use a bench scraper to help manipulate dough if available.
Step 5: Shape Artisan Rolls
Divide dough into 12-16 equal portions. Coat each piece with flour. Create round balls by pulling edges underneath and pinching to form smooth tops. Place rolls on prepared baking sheet with pinched side facing upward. Allow rolls to rest for 20 minutes.
Step 6: Understand Rising Process
Rolls might appear slightly deflated during resting. Don’t worry- the oven’s heat will transform them magnificently.
Step 7: Bake To Perfection
Slide baking sheet into preheated oven. Bake for 15 minutes. Rotate pan and continue baking 5 additional minutes until golden brown. Transfer rolls to cooling rack.
Step 8: Storage And Reheating
For advance preparation, remove rolls when pale golden. Cool completely. Freeze on baking sheet. Once frozen, transfer to large freezer bag. When ready to serve, thaw and reheat at 325°F (165°C) for 10-12 minutes.
Baking Tips You’ll Love Artisan Rolls
How to Keep Them Fresh Artisan Rolls
Bread Pairing Ideas Artisan Rolls
Roll Variations to Try Artisan Rolls
Print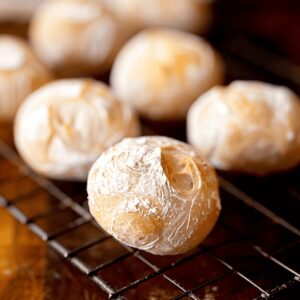
Artisan Rolls Recipe
- Total Time: 12 hours 40 minutes
- Yield: 12 1x
Description
Rustic artisan rolls bring European bakery magic to home kitchens with rich, golden crusts and tender interiors. Crafted from simple ingredients and traditional techniques, these rolls invite warm memories of neighborhood bakeries and fresh-baked comfort.
Ingredients
Main Ingredients:
- 4 cups bread flour
- 2 cups room-temperature tap water
Leavening Agent:
- 1 teaspoon active dry yeast
Seasoning:
- 2 teaspoons kosher salt
Instructions
- Combine bread flour, salt, and yeast in a medium-large mixing vessel. Create a central cavity and pour in water. Utilize a robust spatula to blend ingredients until fully integrated. The mixture will appear moist and slightly tacky – this is the desired consistency. Encase the bowl with plastic wrap and allow fermentation at ambient temperature for 10-12 hours.
- Upon returning, the dough will have expanded and developed a bubbly, uneven surface with visible fermentation marks.
- Arrange parchment paper across a baking sheet. Calibrate oven temperature to 425ºF.
- Liberally dust a work surface with flour. Gently transfer dough onto the prepared area, rotating to coat with flour. Employ a bench scraper for precise handling if available.
- Fragment the dough into 12-16 uniform segments. Manipulate each portion into a rounded shape by tucking edges underneath and creating a smooth exterior. Position rolls pinched-side upward on the prepared sheet, ensuring rustic texture. Dust with additional flour if experiencing adhesive challenges. Allow rolls to rest for 20 minutes.
- During resting, rolls might appear slightly deflated, but will transform dramatically when exposed to intense heat.
- Carefully slide the baking sheet into the preheated oven. Bake for initial 15 minutes, then rotate pan. Continue baking for an additional 5 minutes until achieving a rich golden hue. Transfer rolls onto a cooling rack.
- For advance preparation, remove rolls when pale golden. Cool completely, then freeze individually on a baking sheet. Once solidified, transfer to a resealable freezer bag. When ready to serve, thaw and reheat at 325˚F for 10-12 minutes to restore freshness.
Notes
- Overnight fermentation develops deep, complex flavors and creates a light, airy texture with incredible depth.
- Use bread flour for higher protein content, ensuring better gluten development and chewier rolls with robust structure.
- Extremely wet, sticky dough is crucial for creating those signature rustic, artisan-style bread characteristics.
- Gentle shaping technique prevents deflating precious air bubbles, maintaining the rolls’ delicate interior structure.
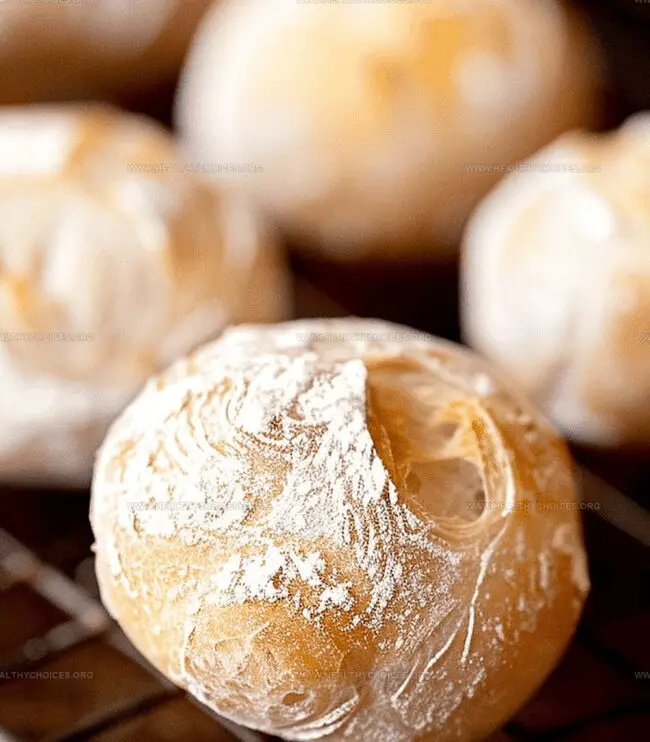
- Inverting rolls with pinched side up creates stunning, craggy exterior that looks professionally baked.
- Freezing option allows you to prepare rolls in advance, maintaining fresh-baked quality for future enjoyment.
- Prep Time: 12 hours 20 minutes
- Cook Time: 20 minutes
- Category: Snacks, Dinner
- Method: Baking
- Cuisine: Global
Nutrition
- Serving Size: 12
- Calories: 150
- Sugar: 0 g
- Sodium: 170 mg
- Fat: 1 g
- Saturated Fat: 0 g
- Unsaturated Fat: 0 g
- Trans Fat: 0 g
- Carbohydrates: 31 g
- Fiber: 1 g
- Protein: 5 g
- Cholesterol: 0 mg
David Bennett
Founder & Head Recipe Developer
Expertise
Culinary Nutrition, Recipe Development, Nutritional Counseling, Food Science
Education
Johnson & Wales University
Certified Nutrition Specialist® (CNS®)
David Bennett is the lead recipe creator and nutrition expert at HealthyChoices.org, your friendly space for tasty meals that nourish body and mind.
With a Culinary Nutrition degree from Johnson & Wales University and a Certified Nutrition Specialist® credential, David pairs practical nutrition with delicious cooking, creating recipes you’ll crave daily.
At Healthy Choices, David shares easy, nutritious dishes and smart cooking tips to make healthy eating something everyone can enjoy, with no complicated diets needed.