The Dreamiest Banana Icebox Cake Recipe for Sweet Comfort
Cold, creamy banana icebox cake upgrades ordinary dessert expectations with its irresistible layered charm.
Sweet summer memories flood back when encountering this nostalgic treat that blends simplicity and indulgence.
No baking required means anyone can master this delightful confection without stress or complicated techniques.
Smooth, silky textures meld together through clever assembly of graham crackers and luscious banana-infused cream.
Each refreshing slice promises a cool escape from sweltering temperatures, delivering pure comfort in every delectable bite.
Minimal ingredients and straightforward preparation make this dessert a go-to option for spontaneous gatherings or quiet family moments.
Elegant yet unpretentious, this chilled dessert represents the perfect balance between sophistication and homestyle comfort.
Why Banana Icebox Cake Is a Cool, No-Bake Dessert
Ingredients to Make Banana Icebox Cake at Home
Base Ingredients:Creamy Ingredients:Garnish Ingredients:Step-by-Step Instructions for This Chilled Cake
Step 1: Create Silky Pudding Base
Whisk milk and banana pudding mix in a large bowl until smooth and creamy. Gently fold in half of the whipped topping, creating a luxurious mixture that will make your taste buds dance.
Step 2: Build First Delicious Layer
Line a 9×13 inch pan with graham crackers, carefully breaking them to cover the entire bottom. Aim for a neat, complete base that sets the foundation for your masterpiece.
Step 3: Add Banana Goodness
Peel and slice bananas into perfect rounds. Spread them evenly across the graham cracker layer, creating a sweet and tropical foundation.
Step 4: Start Layering Magic
Spread one-third of the pudding mixture over banana slices. This is where the magic begins! Repeat the layers two more times, ensuring each layer is even and beautiful.
Step 5: Crown With Whipped Topping
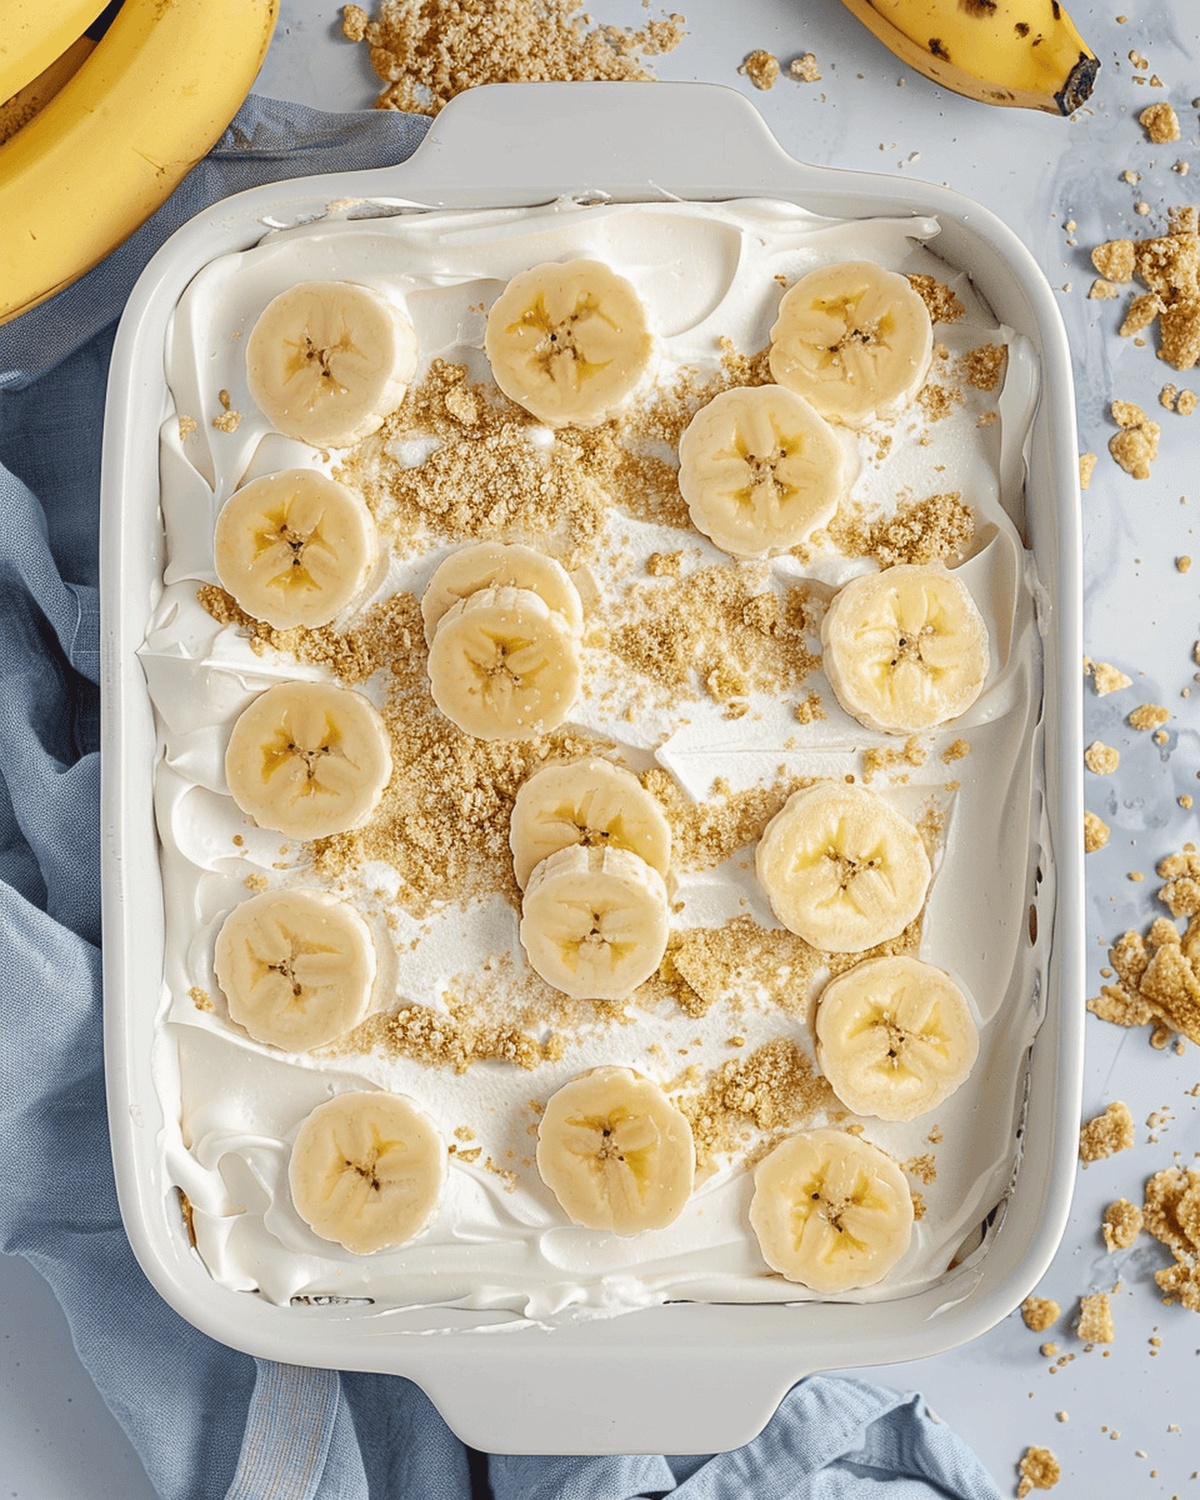
Top the final layer with remaining whipped topping, covering the entire cake completely. Make it look smooth and inviting.
Step 6: Chill and Develop Flavors
Cover the pan with plastic wrap and refrigerate for 4-6 hours, or ideally overnight. This allows flavors to meld and graham crackers to soften perfectly.
Step 7: Decorate And Serve
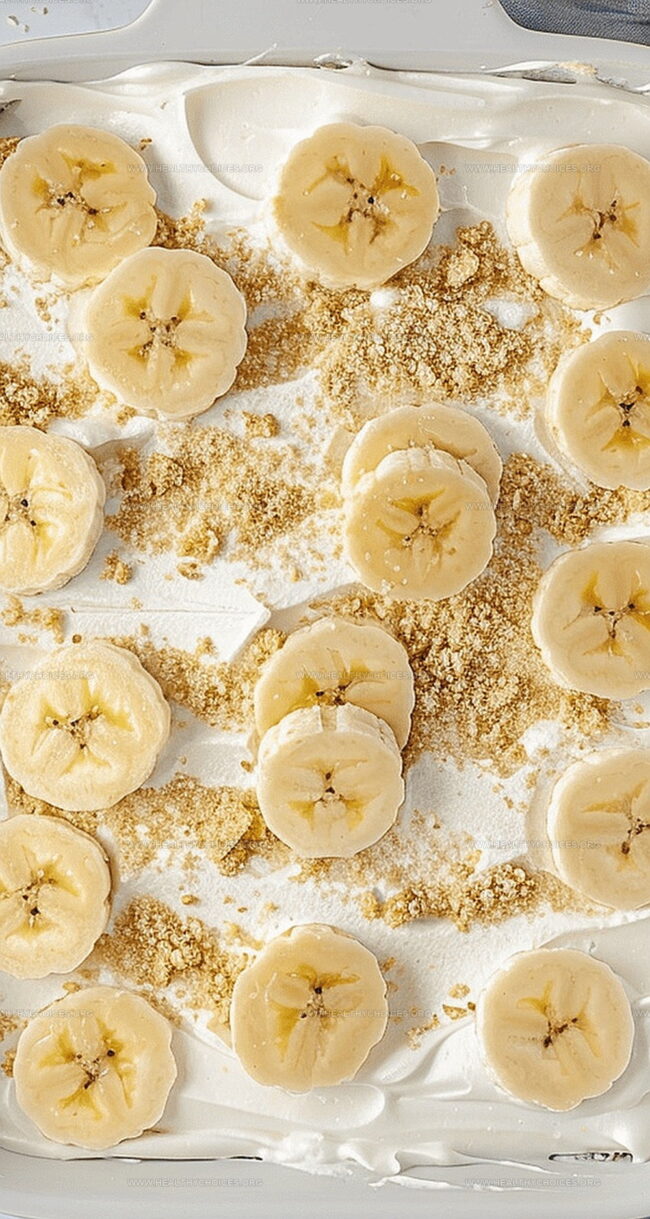
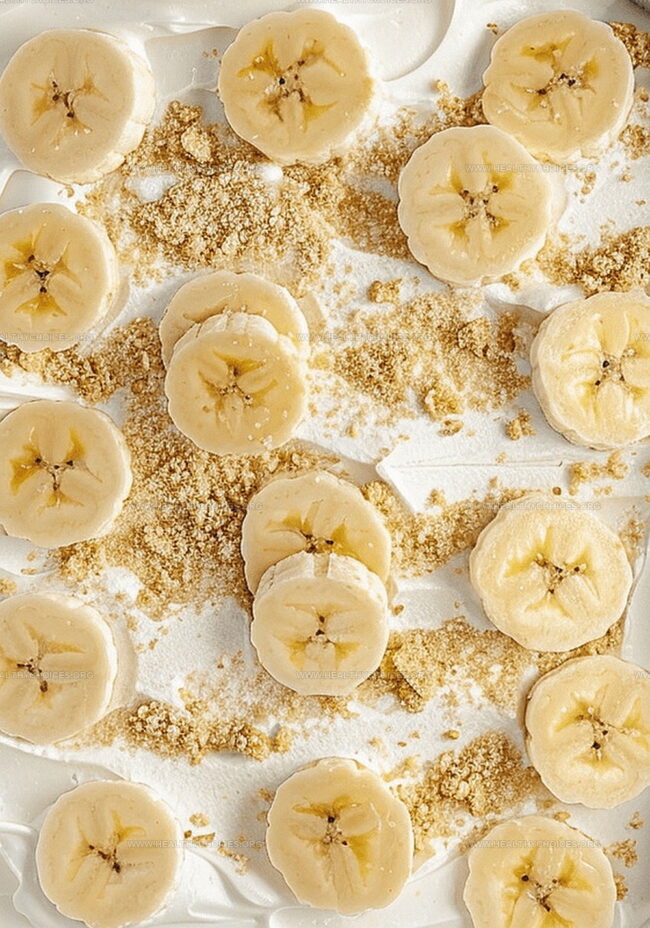
Before serving, sprinkle crushed graham crackers on top. Add extra banana slices or whipped cream for a stunning presentation that will impress everyone.
Helpful Tips for Layers That Hold Their Shape
How to Store Banana Icebox Cake in the Fridge
What Goes Well with This Chilled Dessert
Flavors and Toppings to Try with Banana Icebox Cake
Print
Banana Icebox Cake Recipe
- Total Time: 25 minutes
- Yield: 12 1x
Description
Cool banana icebox cake offers sweet layers of creamy pudding and fresh banana slices nestled between graham crackers. Chilled dessert delivers classic comfort with minimal effort, making summer afternoons deliciously memorable.
Ingredients
Protein and Dairy:
- 3 cups (720 milliliters) whole milk
- 16 ounces (454 grams) whipped topping
Pudding and Flavoring:
- 2 packages (3.4 ounces or 96 grams) banana instant pudding mix
Carbohydrates and Fruits:
- 1 box (14.4 ounces or 408 grams) graham crackers
- 3–4 ripe bananas
Instructions
- Whisk milk with banana pudding mix until the mixture thickens and becomes smooth, creating a creamy base for the dessert.
- Incorporate half of the whipped topping into the pudding mixture, gently folding to maintain a light and airy texture.
- Create the first foundation layer by arranging graham crackers across the bottom of a rectangular baking dish, breaking pieces as needed to ensure complete coverage.
- Slice ripe bananas into uniform rounds, distributing them evenly over the initial graham cracker layer to add natural sweetness and texture.
- Carefully spread one-third of the banana pudding mixture across the banana slices, ensuring an even, consistent coating.
- Repeat the layering process by adding another set of graham crackers, followed by banana slices and pudding mixture, building delicious depth in the dessert.
- Complete the final layer with graham crackers, making sure to cover the entire surface completely.
- Top the cake with remaining whipped topping, smoothing it across the surface to create a pristine, creamy finish.
- Seal the baking dish with plastic wrap and refrigerate for a minimum of 4-6 hours, allowing the layers to meld and graham crackers to soften.
- Before serving, optionally garnish with crushed graham crackers, additional whipped cream, and fresh banana slices for an elegant presentation.
Notes
- Chilling time is crucial for the perfect texture, allowing graham crackers to soften and flavors to blend beautifully.
- Use ripe, yellow bananas with minimal brown spots for the best natural sweetness and smooth slicing.
- Prepare this dessert a day ahead for maximum flavor development and convenience.
- Ensure even layering of ingredients for a consistent taste and visually appealing presentation.
- Store leftovers in the refrigerator and consume within 2-3 days for optimal freshness and taste.
- Optional decorative toppings like crushed graham crackers add delightful crunch and visual appeal.
- Prep Time: 25 minutes
- Cook Time: 0 minutes
- Category: Desserts, Snacks
- Method: None
- Cuisine: American
Nutrition
- Serving Size: 12
- Calories: 270
- Sugar: 20 g
- Sodium: 200 mg
- Fat: 9 g
- Saturated Fat: 4 g
- Unsaturated Fat: 3 g
- Trans Fat: 0 g
- Carbohydrates: 42 g
- Fiber: 1 g
- Protein: 3 g
- Cholesterol: 10 mg
David Bennett
Founder & Head Recipe Developer
Expertise
Culinary Nutrition, Recipe Development, Nutritional Counseling, Food Science
Education
Johnson & Wales University
Certified Nutrition Specialist® (CNS®)
David Bennett is the lead recipe creator and nutrition expert at HealthyChoices.org, your friendly space for tasty meals that nourish body and mind.
With a Culinary Nutrition degree from Johnson & Wales University and a Certified Nutrition Specialist® credential, David pairs practical nutrition with delicious cooking, creating recipes you’ll crave daily.
At Healthy Choices, David shares easy, nutritious dishes and smart cooking tips to make healthy eating something everyone can enjoy, with no complicated diets needed.