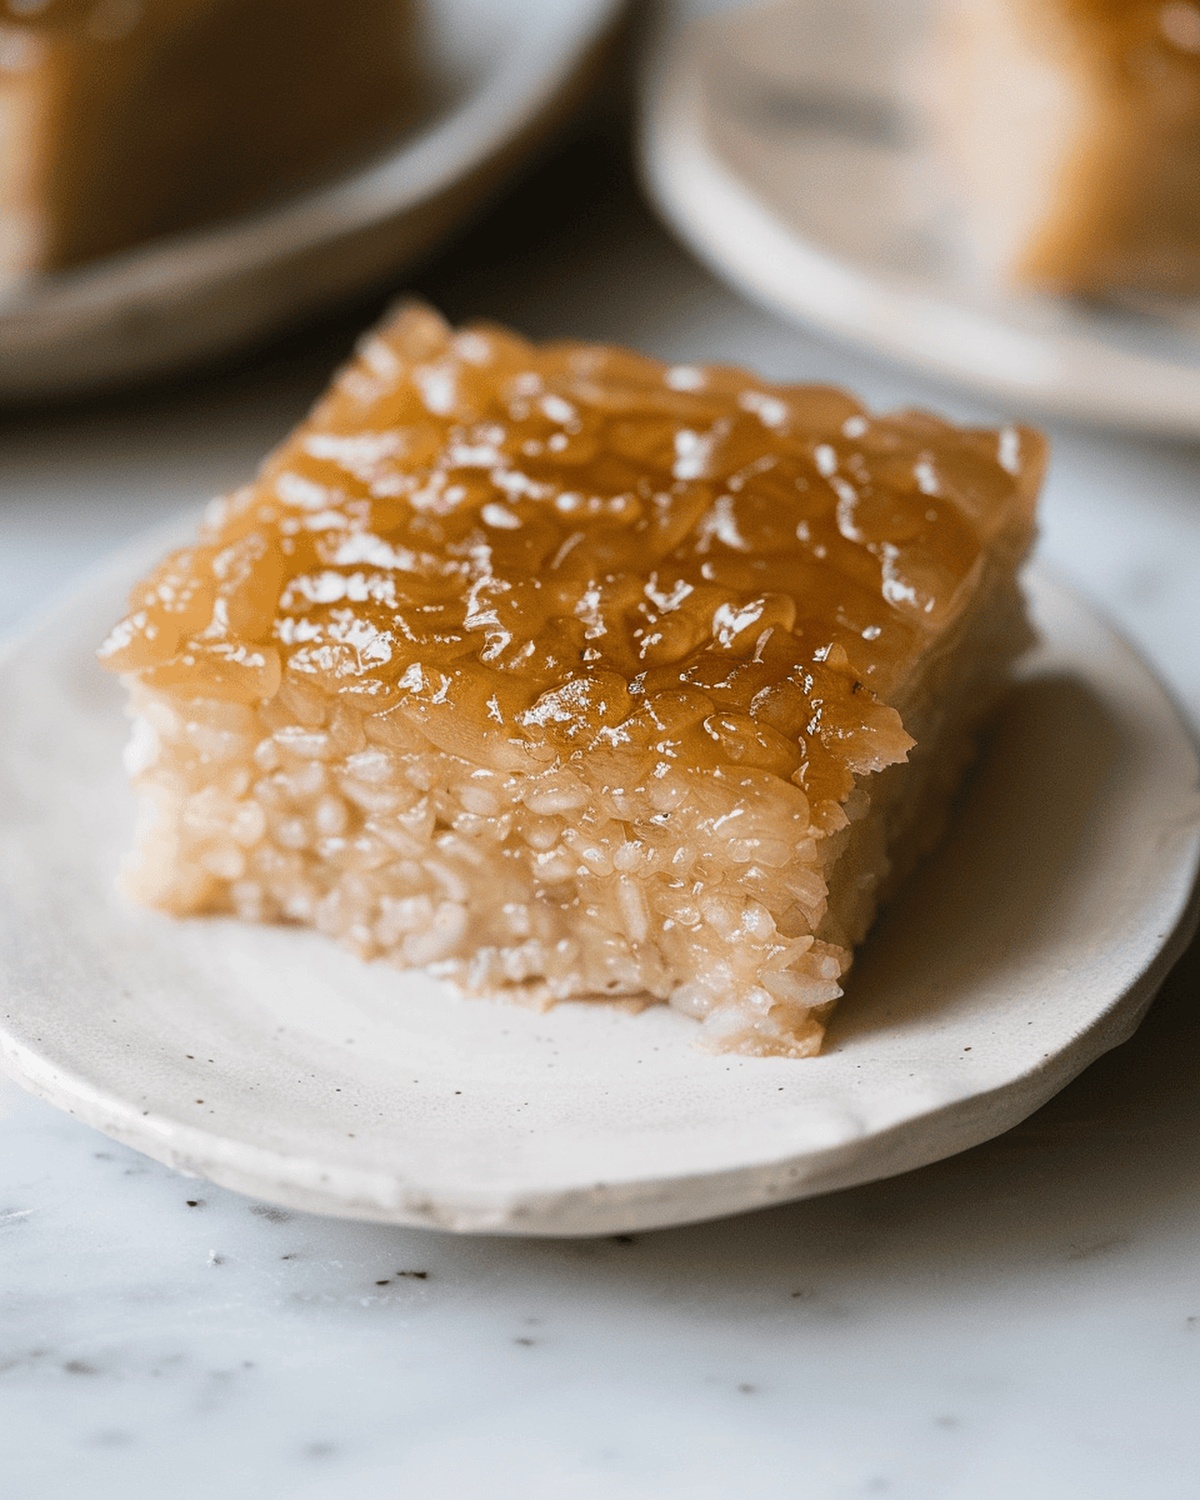
The Best Biko Recipe: Filipino Sticky Rice Cake Magic
Sweet biko transports you straight to the heart of Filipino culinary traditions, blending rich coconut flavors with luxurious sticky rice.
This beloved dessert represents comfort and celebration in countless households across the Philippines.
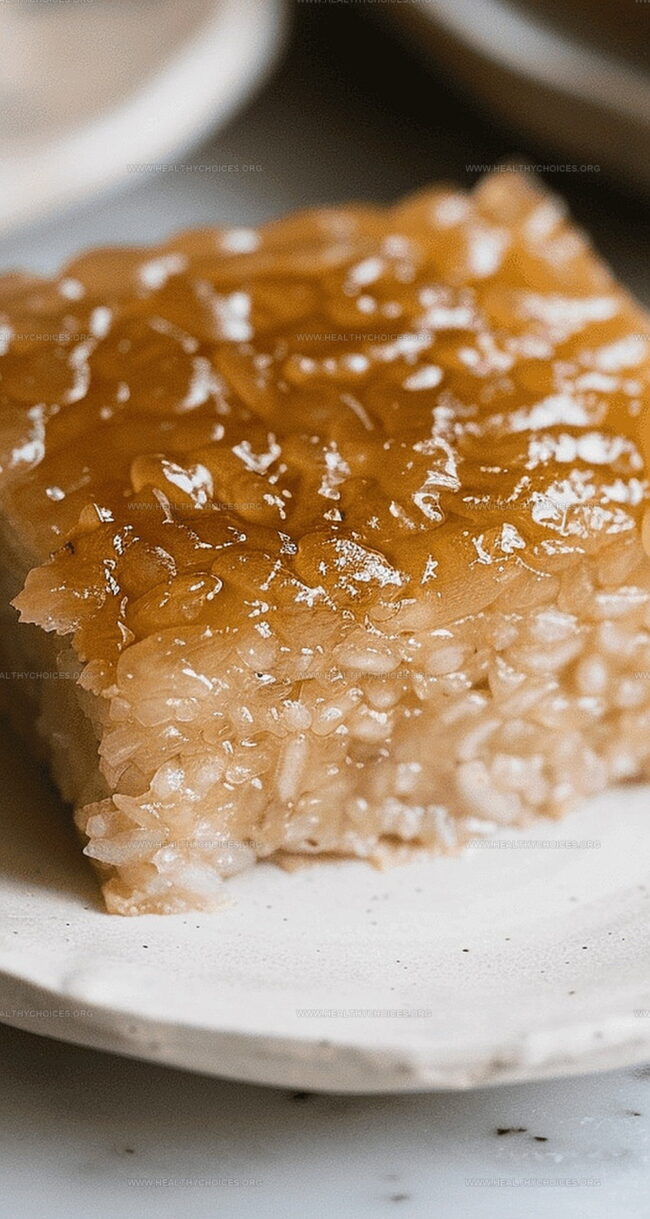
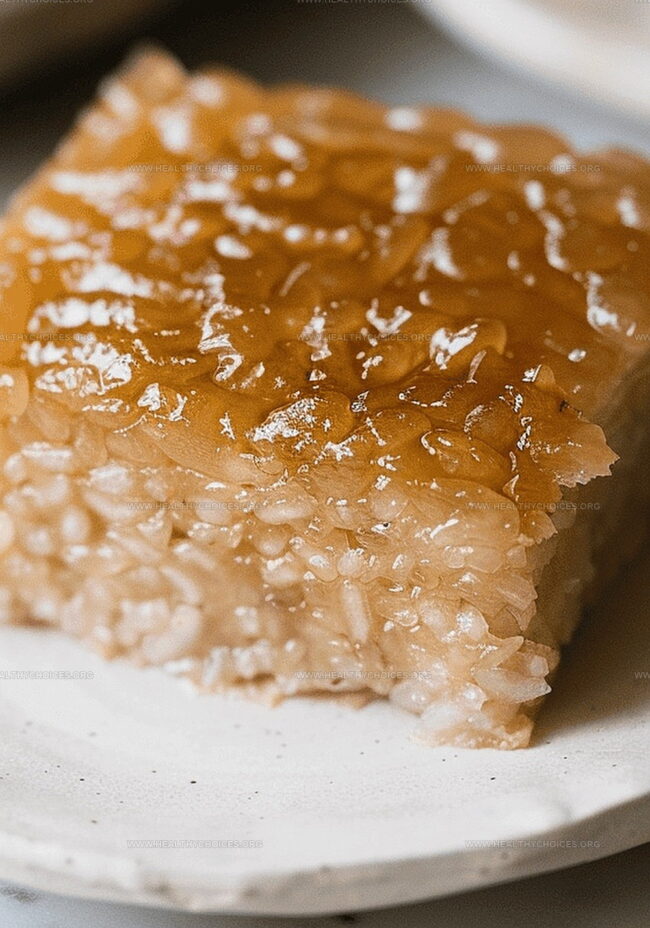
Soft and indulgent, the delicacy offers a delightful balance between creamy caramel-like topping and dense, chewy rice base.
Cultural memories intertwine with each delectable bite, connecting generations through its timeless preparation.
Traditional techniques elevate simple ingredients into a mesmerizing treat that speaks volumes about Filipino hospitality and warmth.
Family gatherings and special occasions come alive with this irresistible dessert that promises pure happiness.
Dive into this authentic recipe and create a masterpiece that will enchant your taste buds.
Reasons to Make Biko (Filipino Sticky Rice Cake)
Ingredients for Biko (Filipino Sticky Rice Cake)
Rice Base:Sweetening Agents:Finishing Ingredients:Instructions for Filipino Biko Rice Cake
Step 1: Prepare Rice
Step 2: Prep Baking Dish
Step 3: Cook Rice Base
Ingredients for cooking:Heat coconut milk and water in a large pot over medium heat until simmering. Add drained rice and stir constantly to prevent sticking. Cook for 5-8 minutes until liquid is mostly absorbed.
Step 4: Create Sticky Texture
Ingredients:Lower heat and mix in brown sugar and salt. Continue cooking 5-8 minutes while stirring, ensuring rice becomes thick and sticky. Taste test to confirm rice is fully cooked.
Step 5: Transfer and Spread
Carefully move rice mixture into prepared casserole dish, spreading evenly across surface.
Step 6: Prepare Caramel Topping
Ingredients:Combine coconut milk and brown sugar in a small saucepan. Bring to boil while stirring until sugar dissolves. Remove from heat and let cool slightly.
Step 7: Add Caramel Layer
Gently pour caramel mixture over rice in casserole dish, ensuring even coverage.
Step 8: Bake and Finish
Bake in preheated oven for 1 hour. Look for bubbling and thickened brown sugar topping. Remove and let cool for several minutes before serving.
Tips for Perfect Biko (Sticky Rice Cake)
Storing & Reheating Biko the Right Way
What to Serve with Filipino Biko
Biko Recipe Variations to Try
Print
Biko (Filipino Sticky Rice Cake) Recipe
- Total Time: 1 hour 10 minutes
- Yield: 12 1x
Description
Biko brings Philippine culinary magic to dessert lovers with its rich coconut-infused glutinous rice. Caramelized coconut latik creates a golden crown over this traditional Filipino sweet, inviting you to savor each luxurious, sticky bite.
Ingredients
Main Ingredients:
- 4 cups glutinous rice
- 3 (14 ounces/400 milliliters) cans coconut milk
- 2 ½ cups dark brown sugar, packed
Liquid Ingredients:
- 1 ½ cups water
Seasoning:
- ¼ teaspoon kosher salt
Instructions
- Immerse glutinous rice in cool water overnight, allowing the grains to absorb moisture and soften completely. Drain and rinse thoroughly, preparing the foundation for this traditional Filipino dessert.
- Preheat the oven to 350°F (175°C) and meticulously coat a 9×13-inch baking dish with butter, ensuring comprehensive coverage to prevent sticking.
- Combine most of the coconut milk with water in a large pot, heating until the liquid reaches a gentle simmer. Introduce the drained rice, stirring consistently to prevent scorching and promote even cooking.
- Maintain medium heat, consistently stirring until the rice absorbs the majority of the liquid, creating a creamy consistency. This process typically takes 5-8 minutes.
- Reduce heat to low and incorporate brown sugar and kosher salt. Continue cooking, stirring frequently, until the rice transforms into a thick, adhesive mixture. Verify doneness by sampling a small portion.
- Carefully transfer the rice mixture into the prepared baking dish, distributing evenly to create a uniform layer that will serve as the dessert’s base.
- Create the caramel topping by combining reserved coconut milk and remaining brown sugar in a separate saucepan. Bring to a boil, ensuring complete sugar dissolution.
- Allow the caramel to cool slightly for 3-5 minutes, then delicately pour over the rice layer, creating a rich, golden coating.
- Bake in the preheated oven for approximately one hour, watching for the topping to thicken and bubble, signaling the Biko’s readiness.
- Remove from the oven and let the dessert rest, allowing the caramel to set and cool slightly before serving. Exercise caution, as the topping will be extremely hot.
Notes
- Soak glutinous rice overnight to soften and improve texture, ensuring a perfectly tender final dish.
- Use freshly bought glutinous rice for best results, avoiding stale or old grains that might affect the dessert’s consistency.
- Constantly stir the rice while cooking to prevent scorching and achieve an even, creamy mixture.
- Check rice doneness by tasting a small portion to ensure it’s fully cooked and has the right soft, sticky texture.
- Allow the biko to cool slightly before serving to let the caramel topping set and prevent burning your mouth.
- Store leftover biko in an airtight container in the refrigerator for up to 3 days, gently reheating before enjoying.
- Prep Time: 10 minutes
- Cook Time: 1 hour
- Category: Desserts, Snacks
- Method: Baking
- Cuisine: Filipino
Nutrition
- Serving Size: 12
- Calories: 370
- Sugar: 31 g
- Sodium: 20 mg
- Fat: 16 g
- Saturated Fat: 14 g
- Unsaturated Fat: 2 g
- Trans Fat: 0 g
- Carbohydrates: 58 g
- Fiber: 1 g
- Protein: 3 g
- Cholesterol: 0 mg
David Bennett
Founder & Head Recipe Developer
Expertise
Culinary Nutrition, Recipe Development, Nutritional Counseling, Food Science
Education
Johnson & Wales University
Certified Nutrition Specialist® (CNS®)
David Bennett is the lead recipe creator and nutrition expert at HealthyChoices.org, your friendly space for tasty meals that nourish body and mind.
With a Culinary Nutrition degree from Johnson & Wales University and a Certified Nutrition Specialist® credential, David pairs practical nutrition with delicious cooking, creating recipes you’ll crave daily.
At Healthy Choices, David shares easy, nutritious dishes and smart cooking tips to make healthy eating something everyone can enjoy, with no complicated diets needed.