Sweet cake pops revamp ordinary desserts into playful, bite-sized delights that spark joy at any gathering.
These miniature treats combine the rich indulgence of cake with a convenient, handheld format that delights both children and adults.
Crumbled cake mixed with creamy frosting creates a delectable base for these whimsical confections.
Decorated with colorful glazes and sprinkles, cake pops offer a creative canvas for culinary expression and personal flair.
Compact and portable, they eliminate the need for plates and utensils, making them perfect for parties, celebrations, and casual snacking.
Crafting these charming desserts requires minimal baking expertise and provides an opportunity for artistic experimentation with flavors and decorations.
You can elevate any occasion with these irresistible, crowd-pleasing morsels that promise pure happiness in every delightful bite.
Cake Pops That Steal the Spotlight at Every Party
Create Delightful Dessert Bites: Cake pops transform ordinary cake into adorable, handheld treats that burst with sweet flavor and playful charm.
Master Easy No-Waste Technique: This recipe brilliantly repurposes leftover or slightly dry cake, turning potential waste into a delicious, creative dessert that saves money and reduces food waste.
Customize with Endless Creativity: Cake pops offer ultimate flexibility for decorating, with options to mix different cake flavors, experiment with various candy melts, and add unique sprinkles or decorative elements that make each pop a personal masterpiece.
Enjoy Perfectly Portable Celebration Treats: These bite-sized delights are ideal for parties, kids’ events, or simple home gatherings, providing a mess-free, cute dessert that everyone can enjoy without utensils or plates.
Fun Ingredients to Build Beautiful Cake Pops
Cake Base:
Cake Mix: Basic foundation for cake pops, choose a flavor that complements your final design.
Leftover Cake: Perfect alternative to fresh cake, helps reduce kitchen waste.
Binding Ingredients:
Frosting or Icing: Helps bind cake crumbs together, creates smooth consistency for cake balls.
Coating and Decoration:
Candy Melts, Chocolate Coating: Provides outer shell and decorative finish, available in multiple colors and flavors.
Sprinkles: Adds visual appeal and texture to cake pops, optional but recommended for fun presentation.
Structural Components:
Candy Sticks: Provides support and handle for cake pops, ensures easy holding and serving.
Shortening: Helps thin chocolate coating if overheated, prevents seizing of melted chocolate.
Additional Tools:
Wax Paper or Parchment Paper: Prevents sticking during cake ball formation and cooling.
Foam Board: Helps maintain round shape while cake pops dry and set.
How to Roll, Chill, and Dip Cake Pops with Ease
Step 1: Prepare Cake Base
Bake a cake following package directions or use leftover cake. Allow cake to cool completely at room temperature.
Step 2: Create Cake Crumbs
Break cake into small pieces
Use food processor or hands to transform cake into fine crumbs
Ensure crumbs are uniform and smooth
Step 3: Combine Cake Mixture
Add frosting to cake crumbs
Mix ingredients gradually
Adjust consistency by adding more crumbs or frosting
Aim for dough-like texture that holds shape
Step 4: Shape Cake Balls
Roll mixture into uniform spheres
Place balls on parchment paper
Ensure consistent size for even coating
Step 5: Chill Cake Balls
Refrigerate cake balls for 2-3 hours to firm up structure
Step 6: Prepare Coating Station
Select candy melts or chocolate coating
Set up microwave-safe bowl
Prepare double boiler as alternative melting method
Step 7: Melt Chocolate Coating
Use low microwave power
Stir frequently during melting
Add shortening if chocolate becomes too thick
Step 8: Insert Cake Pop Sticks
Dip stick ends into melted coating
Gently insert into cake balls
Allow coating to harden
Step 9: Decorate Cake Pops
Dip entire cake ball into melted coating
Tap gently to remove excess chocolate
Sprinkle decorations before coating sets
Step 10: Set and Display
Place cake pops in styrofoam block to maintain shape
Allow coating to completely dry
Store in cool environment
Tricks for Smooth Coating and Perfectly Round Cake Pops
Manage Moisture Perfectly: Blend cake crumbs and frosting gradually to achieve the ideal dough-like consistency that holds together without being too sticky or dry.
Control Candy Melt Temperature: Microwave candy melts on low power, stirring frequently to prevent burning and ensure smooth, glossy coating.
Create Uniform Cake Balls: Use a cookie scoop or tablespoon to measure equal amounts of cake mixture for consistent size and professional-looking cake pops.
Prevent Cracking Coating: Ensure cake balls are thoroughly chilled before dipping and allow excess chocolate to drip off completely to achieve a smooth, crack-free surface.
Enhance Decorative Flair: Apply sprinkles immediately after dipping while chocolate is still wet to ensure they stick and create a festive, eye-catching finish.
Keep Cake Pops Tasting Fresh Even After the Party
Refrigerate: Seal cake pops in an airtight container and store in the refrigerator for up to 5 days. Separate layers with parchment paper to prevent sticking.
Freeze: Wrap individual cake pops in plastic wrap, then place in a freezer-safe container. Freeze for up to 2 months for best quality. Thaw overnight in the refrigerator before serving.
Serve Chilled: Enjoy cake pops straight from the refrigerator for the best texture and flavor. Let them sit at room temperature for 10 minutes before serving to soften slightly.
Coffee, Cream, and Companions for Cake Pops
Craft Complementary Flavor Combinations: Pair these cake pops with a rich espresso or creamy cappuccino to balance the sweetness and enhance the dessert’s indulgent profile.
Select Perfect Beverage Companions: Serve alongside cold milk for classic comfort or a fruity herbal tea that cuts through the rich chocolate coating, creating a delightful taste experience.
Design Elegant Dessert Plate: Accompany cake pops with fresh berries or a light lemon sorbet to provide a refreshing contrast and cleanse the palate between bites.
Match Wine and Dessert Styles: Choose a sweet dessert wine like Moscato or a late-harvest Riesling that complements the cake pop’s sugary notes and adds sophisticated depth to the treat.
Creative Fillings and Toppers to Customize Cake Pops
Sweet Flavor Fusion: Experiment with different cake flavors like chocolate, red velvet, or lemon to create unique taste combinations.
Gourmet Decor Delight: Drizzle melted white chocolate, add edible gold sprinkles, or use colored candy melts for elegant decorative patterns.
Nutty Texture Boost: Mix crushed nuts like almonds or pecans into the cake crumb mixture for added crunch and rich flavor depth.
Seasonal Celebration Style: Customize cake pops with holiday-themed decorations like pastel colors for Easter, red and green for Christmas, or orange and black for Halloween.
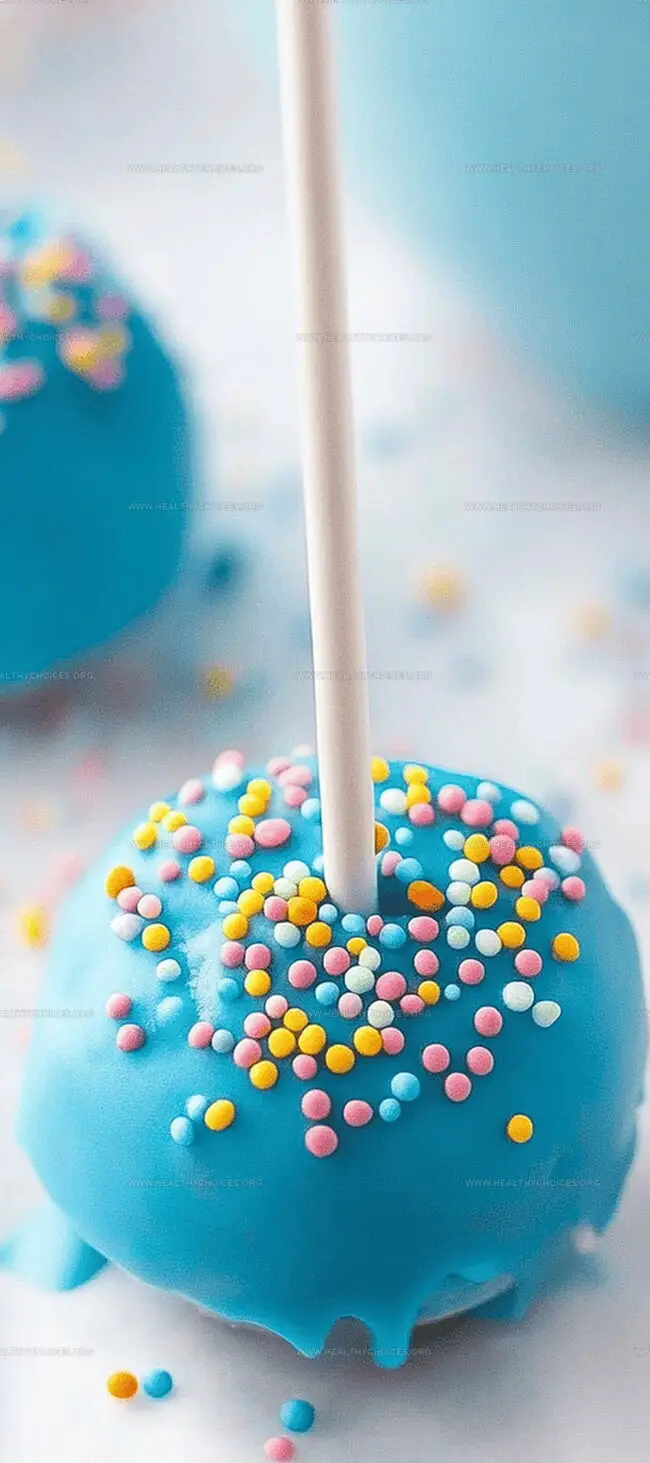
Classic cake pops bring whimsical joy to any celebration with their bite-sized charm. Colorful sprinkles and smooth chocolate coating make these sweet treats irresistible for parties and dessert lovers who crave playful confections.
Ingredients
Scale
Main Ingredients:
1 leftover dry cake or 1 cake mix box
1 can of icing
1 package of candy melts
Supporting Ingredients:
1 package of candy sticks
Sprinkles
Stabilizing/Drying Equipment:
Foam board (for placing finished cake pops in to dry)
Instructions
Transform leftover or freshly baked cake into fine, uniform crumbs using a food processor or manual crumbling technique.
Gradually incorporate frosting into cake crumbs, mixing until the texture resembles a malleable dough – neither too dry nor overly sticky.
Carefully shape the mixture into uniform, compact spheres, ensuring consistent size and smooth surfaces.
Refrigerate the formed cake spheres for several hours to enhance structural integrity and facilitate subsequent coating process.
Prepare candy melts using gentle microwave technique, stirring frequently and maintaining low heat to prevent scorching.
Dip cake pop sticks into melted candy coating, then delicately insert into chilled cake spheres, allowing initial layer to solidify.
Submerge each cake sphere completely in melted chocolate coating, allowing excess to drip gracefully for even coverage.
While coating remains glossy and soft, embellish with decorative sprinkles to add visual appeal and textural contrast.
Position cake pops vertically in a specialized foam stand or rack, enabling perfect spherical shape and smooth drying process.
Allow decorated cake pops to set completely at room temperature, ensuring firm, glossy exterior and stable structure.
Notes
Cake Selection Matters: Use leftover cake or bake a fresh one, ensuring it’s completely cooled before transforming into cake pops.
Crumb Consistency is Key: Pulse cake in a food processor or crumble by hand until texture resembles fine breadcrumbs for smooth mixing.
Icing Balance is Critical: Gradually add icing to cake crumbs, aiming for a dough-like consistency that holds together without being too sticky or dry.
Chill for Structure: Refrigerate cake balls for several hours to firm them up, making coating and handling easier.
Melting Technique Prevents Disaster: Microwave candy melts on low power, stirring frequently and allowing residual heat to complete melting to avoid burning.
Decorative Finishing Touches: Dip cake pops quickly, letting excess coating drip, and add sprinkles before chocolate sets for a professional look.
Focus: Blending culinary arts with nutritional science to create health-focused cuisine.
Certified Nutrition Specialist® (CNS®)
Credential: Advanced certification in personalized nutrition therapy.
David Bennett is the lead recipe creator and nutrition expert at HealthyChoices.org, your friendly space for tasty meals that nourish body and mind.
With a Culinary Nutrition degree from Johnson & Wales University and a Certified Nutrition Specialist® credential, David pairs practical nutrition with delicious cooking, creating recipes you’ll crave daily.
At Healthy Choices, David shares easy, nutritious dishes and smart cooking tips to make healthy eating something everyone can enjoy, with no complicated diets needed.


David Bennett
Founder & Head Recipe Developer
Expertise
Culinary Nutrition, Recipe Development, Nutritional Counseling, Food Science
Education
Johnson & Wales University
Certified Nutrition Specialist® (CNS®)
David Bennett is the lead recipe creator and nutrition expert at HealthyChoices.org, your friendly space for tasty meals that nourish body and mind.
With a Culinary Nutrition degree from Johnson & Wales University and a Certified Nutrition Specialist® credential, David pairs practical nutrition with delicious cooking, creating recipes you’ll crave daily.
At Healthy Choices, David shares easy, nutritious dishes and smart cooking tips to make healthy eating something everyone can enjoy, with no complicated diets needed.