
The Best Cheesy Fried Grit Cakes Recipe That’ll Make You Smile
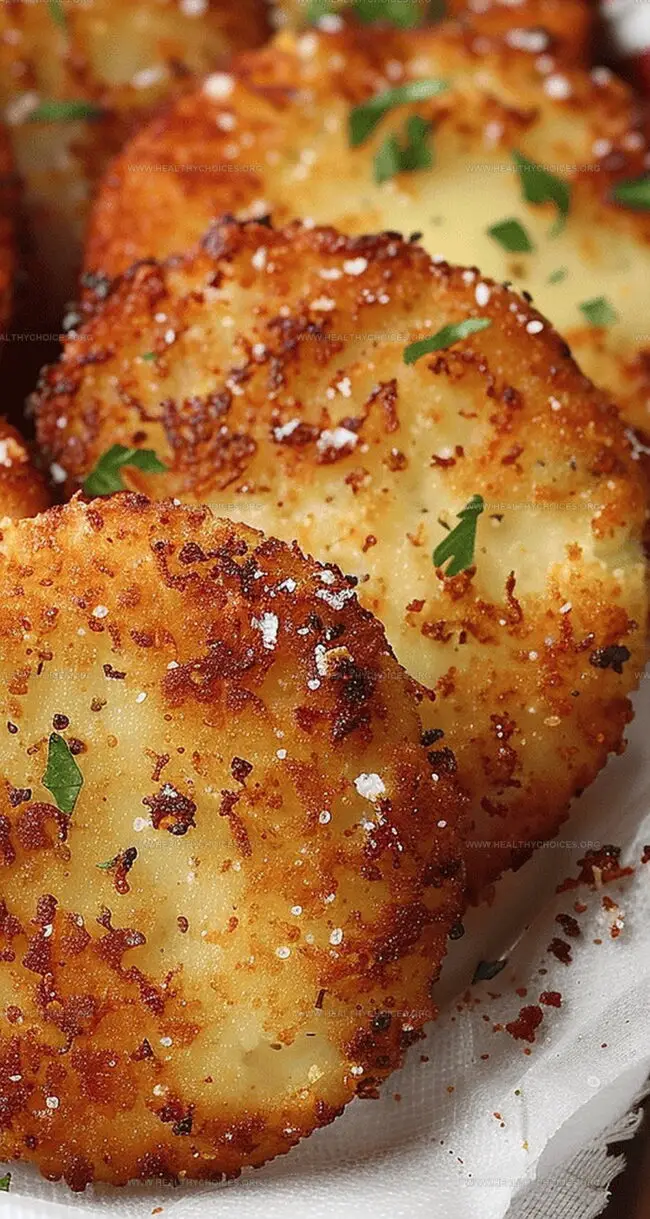
These cheesy fried grit cakes represent pure Southern comfort that reinvents humble ingredients into crispy, golden delights.
Southern kitchens have long celebrated this rustic dish as a testament to culinary creativity and resourcefulness.
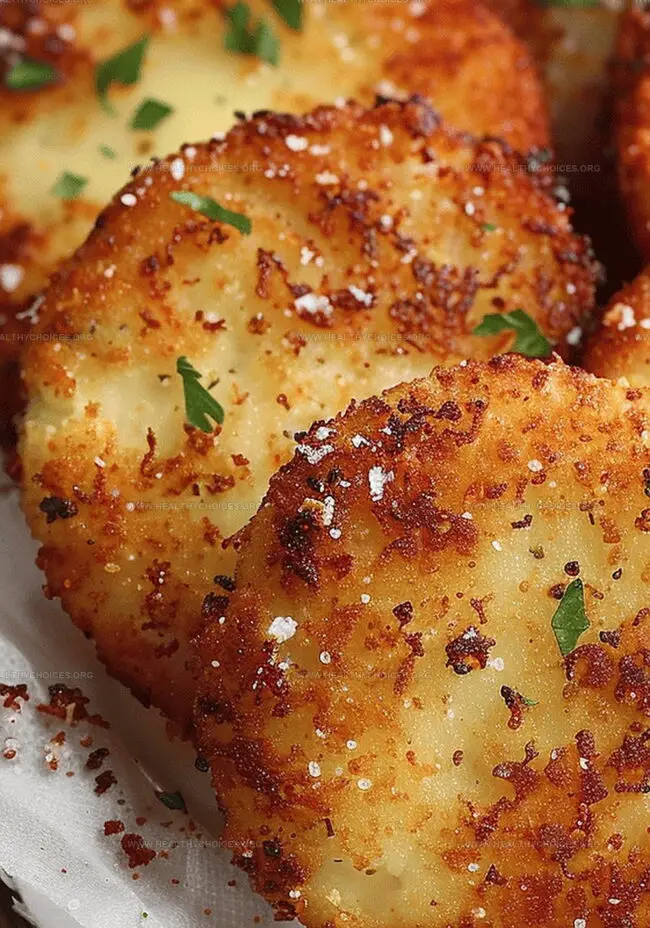
Rich, creamy grits get a delectable upgrade when reinvented into crisp, irresistible cakes with a melted cheese heart.
The magic happens when traditional breakfast staples meet innovative cooking techniques, creating a versatile side dish that surprises and satisfies.
Each bite promises a perfect contrast between a crunchy exterior and a smooth, velvety interior that melts in your mouth.
Regional traditions merge with contemporary cooking styles to elevate this classic comfort food into something truly memorable.
Crisp edges, molten cheese, and a golden-brown surface await those ready to experience comfort food at its finest.
Cheesy Fried Grit Cakes That Hit the Spot
Ingredients for Fried Grit Cakes
Grit Base:Cheese and Seasoning:Coating and Frying:Frying Steps for Grit Cakes
Step 1: Craft Creamy Grits Base
Bring liquid to gentle bubble over medium heat. Slowly whisk in instant grits, stirring continuously until mixture transforms into smooth, thick consistency. Remove from stovetop and fold in:Stir until cheese melts completely and blends seamlessly.
Step 2: Create Solid Grit Foundation
Pour steaming grit mixture into rectangular baking pan. Smooth surface with spatula. Refrigerate for minimum three hours until mixture becomes firm and sliceable.
Step 3: Shape Delectable Rounds
Once chilled, use circular cookie cutter to carve out individual grit medallions. Prepare two separate shallow dishes for coating process.
Step 4: Prepare Crispy Coating Station
First dish: Whisk together
Second dish: Mix
Dunk each grit round first in egg mixture, then generously coat with seasoned breadcrumbs. Repeat coating for extra crunch.
Step 5: Transform Into Golden Delights
Heat vegetable oil in large skillet until shimmering. Carefully place breaded grit rounds into hot oil. Fry each side until achieving gorgeous golden-brown exterior, approximately two to three minutes per side.
Step 6: Serve and Savor
Transfer crispy grit rounds onto paper towel-lined plate to absorb excess oil. Allow slight cooling before serving. Enjoy immediately!
Grit Cake Tips for Crunchy Edges
Store and Heat Leftover Grit Cakes
Dishes That Pair Well with Grit Cakes
Fried Grit Cake Ideas to Explore
Print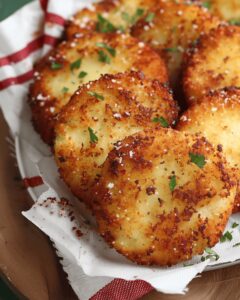
Cheesy Fried Grit Cakes Recipe
- Total Time: 20 minutes
- Yield: 4 1x
Description
Southern charm meets crispy indulgence in these cheesy fried grit cakes. Golden-brown edges and creamy centers make this dish a delightful comfort classic you’ll crave again and again.
Ingredients
Main Ingredients:
- 1 cup instant grits
- 2 cups milk
- 2 cups water
- 3 eggs
- ½ cup shredded sharp cheddar cheese
Seasonings and Spices:
- ¼ teaspoon (¼ tsp) salt
- ½ teaspoon (½ tsp) black pepper
- 1 tablespoon (1 tbsp) Creole seasoning
Coating and Frying:
- 2 cups Panko breadcrumbs
- 2 tablespoons (2 tbsp) milk (for egg wash)
- Oil for frying (enough to cover ½ inch in your pan)
Instructions
- Craft a creamy grits base by simmering liquid ingredients in a large saucepan, creating a smooth foundation for the dish.
- Gradually incorporate shredded sharp cheddar and freshly ground black pepper into the hot grits, stirring until the cheese melts completely and integrates smoothly.
- Pour the velvety grits mixture into a flat baking dish, spreading evenly to create a uniform layer for chilling.
- Refrigerate the grits for several hours until the mixture becomes completely solid and can be easily cut into shapes.
- Prepare a two-stage coating station with whisked eggs and seasoned Panko breadcrumbs for creating a crispy exterior.
- Carefully cut the chilled grits into circular shapes using a round cookie cutter or knife.
- Dredge each grit cake first through the egg mixture, ensuring complete coverage, then generously coat with the seasoned breadcrumb mixture.
- Repeat the egg and breadcrumb coating process to create an extra-crispy, golden exterior.
- Heat neutral cooking oil in a heavy skillet until it reaches the perfect frying temperature.
- Gently place the breaded grit cakes into the hot oil, allowing them to transform into crispy, golden-brown delicacies.
- Fry each side until they develop a rich, crunchy exterior, typically 2-3 minutes per side.
- Remove the fried grit cakes and let them drain on paper towels to remove excess oil.
- Serve immediately while the exterior remains crisp and the interior stays creamy and warm.
Notes
- Meal Prep Magic: Chilling the grits for at least 3 hours allows them to set perfectly, creating a sturdy base for crispy, golden-brown grit cakes.
- Cheese Boost: Sharp cheddar cheese adds a rich, tangy flavor that elevates the creamy texture of the grits.
- Crispy Coating Trick: Double-dipping in egg wash and seasoned Panko breadcrumbs ensures an extra crunchy, flavorful exterior.
- Oil Temperature Tip: Use medium heat to achieve an even, golden-brown crust without burning the delicate grit cakes.
- Serving Suggestion: Drain fried grit cakes on paper towels to remove excess oil, maintaining their crisp texture.
- Quick Clean-up: Use a round cookie cutter for uniform grit cakes that cook evenly and look professionally prepared.
- Prep Time: 10 minutes
- Cook Time: 10 minutes
- Category: Breakfast, Snacks, Appetizer
- Method: Frying
- Cuisine: Southern American
Nutrition
- Serving Size: 4
- Calories: 320
- Sugar: 2 g
- Sodium: 400 mg
- Fat: 16 g
- Saturated Fat: 6 g
- Unsaturated Fat: 8 g
- Trans Fat: 0 g
- Carbohydrates: 36 g
- Fiber: 1 g
- Protein: 12 g
- Cholesterol: 150 mg
David Bennett
Founder & Head Recipe Developer
Expertise
Culinary Nutrition, Recipe Development, Nutritional Counseling, Food Science
Education
Johnson & Wales University
Certified Nutrition Specialist® (CNS®)
David Bennett is the lead recipe creator and nutrition expert at HealthyChoices.org, your friendly space for tasty meals that nourish body and mind.
With a Culinary Nutrition degree from Johnson & Wales University and a Certified Nutrition Specialist® credential, David pairs practical nutrition with delicious cooking, creating recipes you’ll crave daily.
At Healthy Choices, David shares easy, nutritious dishes and smart cooking tips to make healthy eating something everyone can enjoy, with no complicated diets needed.