
The Juiciest Chia Seed Jam Recipe: Sweet & Speedy Homemade Magic
Vibrant chia seed jam bursts with natural sweetness and nutritional power, revamping ordinary fruit into a remarkable spread.
Unexpected textures and brilliant colors make this recipe a delightful kitchen adventure.
Health-conscious food lovers embrace these tiny nutritional powerhouses for their incredible versatility and remarkable benefits.
Minimal ingredients combine effortlessly, creating a rich, spreadable treat that elevates morning toast or afternoon snacks.
Homemade preparations eliminate processed sugars while maintaining incredible flavor profiles that commercial products cannot match.
Nutritionists celebrate this simple technique for incorporating additional omega-3 fatty acids and fiber into daily diets.
Families adore how quickly this jam comes together, requiring just minutes of hands-on preparation.
Why Chia Seed Jam Is a Brilliant Pantry Addition
What You’ll Need to Make Chia Seed Jam
Fruits and Sweeteners:Thickening Agent:Liquid Base:How to Prepare Quick and Healthy Chia Jam
Step 1: Cook Berry Mixture
Place a nonstick saucepan on medium heat. Combine berries, water, and maple syrup into the pan. Gently crush berries with a wooden spoon while cooking. Allow mixture to bubble and simmer for 10-12 minutes, stirring occasionally.
Step 2: Add Magical Chia Seeds
Remove saucepan from heat. Sprinkle chia seeds into the warm berry mixture. Stir continuously until seeds are fully incorporated and blend smoothly.
Step 3: Create Jam Consistency
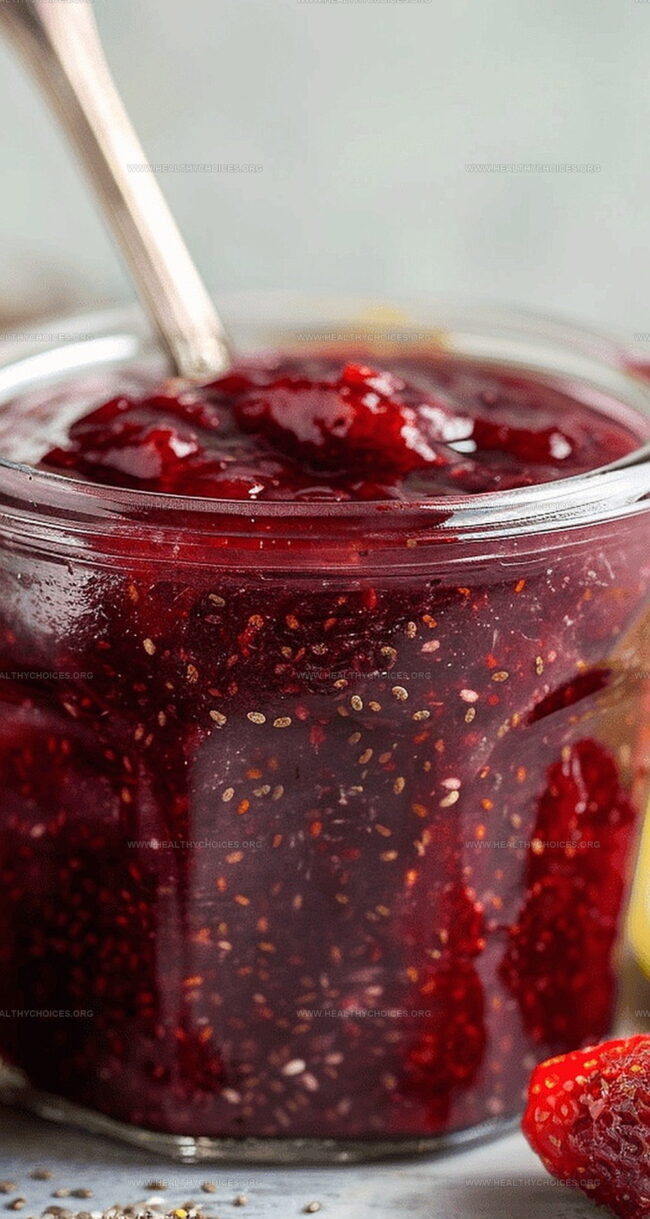
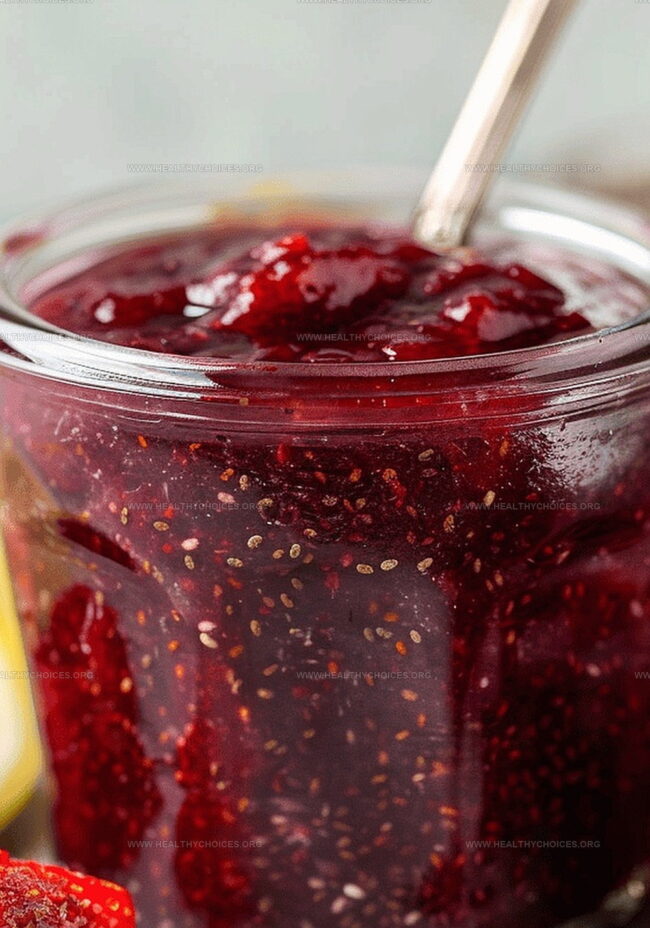
Let the mixture rest for 5-10 minutes. Watch as chia seeds transform the liquid into a thick, luscious spread. The jam will naturally thicken during this resting period.
Step 4: Enhance Flavor
Squeeze fresh lemon juice into the jam. Stir gently to distribute the citrusy brightness throughout the mixture.
Step 5: Store and Preserve
Transfer jam into a clean glass jar. Allow to cool completely at room temperature. Seal jar and refrigerate.
Tips to Get the Best Texture and Flavor
Storing and Reusing Chia Seed Jam
What to Pair with Your Chia Seed Jam
Variations for Different Fruits and Flavors
Print
Chia Seed Jam Recipe
- Total Time: 17 minutes
- Yield: 4 1x
Description
Homemade chia seed jam brings summer’s sweetest berries into a delightful spread without refined sugar. Quick and simple preparation lets fresh fruit shine while delivering healthy nutrients that elevate morning toast or afternoon scones.
Ingredients
Main Ingredients:
- 3 cups fresh berries of choice
- 2–3 tablespoons chia seeds
Liquid Ingredients:
- ¼ cup (60 milliliters) filtered water
- 1 tablespoon maple syrup (adjust for sweetness)
- Juice of ½ lemon
Instructions
- Select ripe, vibrant berries and gather all necessary ingredients for a fresh, homemade jam bursting with natural flavors.
- Place the berries, filtered water, and maple syrup into a nonstick saucepan, creating a sweet and fruity base for the jam.
- Heat the mixture over medium flame, bringing it to a gentle boil while stirring occasionally to prevent sticking.
- Reduce the heat to medium-low, allowing the berries to simmer and slowly break down, releasing their natural juices and intensifying the flavor profile.
- Gently crush the softening berries with a wooden spoon or potato masher, helping them release more liquid and create a smoother texture.
- Remove the saucepan from the heat and immediately incorporate the chia seeds, stirring thoroughly to ensure even distribution throughout the mixture.
- Allow the jam to rest and thicken for several minutes, observing how the chia seeds absorb liquid and create a gel-like consistency.
- Squeeze fresh lemon juice into the jam, adding a bright, tangy note that balances the sweetness and enhances the overall flavor.
- Carefully transfer the finished jam into a clean glass jar, ensuring no spillage and maintaining the jam’s smooth texture.
- Let the jam cool completely at room temperature before sealing and storing in the refrigerator for optimal preservation.
- Consume the homemade chia seed jam within one week to two weeks for maximum freshness and flavor integrity.
Notes
- Bursting with natural sweetness, this homemade jam transforms fresh berries into a healthier alternative to traditional preserves.
- Chia seeds magically thicken the mixture, creating a smooth, spreadable consistency without added pectin or artificial thickeners.
- Quick and easy preparation requires just five ingredients and minimal cooking time, perfect for busy home cooks seeking nutritious options.
- Versatile jam works beautifully as a topping for toast, yogurt, oatmeal, or as a delightful spread in baked goods and desserts.
- Refrigeration extends the jam’s shelf life up to two weeks, allowing you to enjoy fresh, vibrant flavors throughout the week.
- Low in sugar and packed with omega-3 fatty acids from chia seeds, this jam offers a nutritional boost compared to store-bought versions.
- Prep Time: 5 minutes
- Cook Time: 12 minutes
- Category: Snacks, Breakfast, Desserts
- Method: Simmering
- Cuisine: American
Nutrition
- Serving Size: 4
- Calories: 90
- Sugar: 10g
- Sodium: 1mg
- Fat: 3g
- Saturated Fat: 0g
- Unsaturated Fat: 2g
- Trans Fat: 0g
- Carbohydrates: 18g
- Fiber: 5g
- Protein: 2g
- Cholesterol: 0mg
David Bennett
Founder & Head Recipe Developer
Expertise
Culinary Nutrition, Recipe Development, Nutritional Counseling, Food Science
Education
Johnson & Wales University
Certified Nutrition Specialist® (CNS®)
David Bennett is the lead recipe creator and nutrition expert at HealthyChoices.org, your friendly space for tasty meals that nourish body and mind.
With a Culinary Nutrition degree from Johnson & Wales University and a Certified Nutrition Specialist® credential, David pairs practical nutrition with delicious cooking, creating recipes you’ll crave daily.
At Healthy Choices, David shares easy, nutritious dishes and smart cooking tips to make healthy eating something everyone can enjoy, with no complicated diets needed.