Chocolate Cherry Upside Down Cake Recipe Magic
Sweet chocolate cherry upside down cake converts ordinary dessert into a captivating culinary adventure.
Rich layers of decadent flavor meld together in this irresistible treat that promises pure indulgence.
Dark chocolate intense depth blends seamlessly with the bright, tangy burst of ripe cherries.
This stunning dessert delivers a harmonious balance between deep, complex notes and fruity freshness.
Each carefully crafted slice reveals a beautiful mosaic of ingredients that dance across your palate.
The elegant presentation elevates this cake from simple confection to a sophisticated showstopper.
Professional bakers and home cooks alike will appreciate the delightful complexity of this remarkable dessert.
Chocolate Cherry Upside Down Cake That’s Bold and Beautiful
Everything You Need to Bake This Cake
Base Ingredients:Dry Cake Ingredients:Wet Cake Ingredients:Steps for a Flawless Flip
Step 1: Prep the Oven and Pan
Warm up the oven to 350°F. Grab a 9-inch round pan or 8×8 square dish. Grease the sides, dust with flour, and line the bottom with parchment paper for easy removal.
Step 2: Prepare Cherry Coating
In a small bowl, mix together:Gently toss pitted cherries in this sweet mixture. If using frozen cherries, let them hang out and thaw for about 20 minutes.
Step 3: Arrange Cherry Layer
Spread the coated cherries evenly across the bottom of your prepared pan. Make sure they create a beautiful, even layer.
Step 4: Create Chocolate Cake Batter
In a large mixing bowl, combine all cake batter ingredients. Grab an electric mixer and beat the mixture for 2 minutes until it’s smooth and silky.
Step 5: Pour Batter Over Cherries
Carefully pour the chocolate batter over the cherry layer. Use a spatula to spread it evenly, ensuring complete coverage of the fruit.
Step 6: Bake to Perfection
Slide the pan into the preheated oven. Bake for 30-35 minutes. Check doneness by inserting a toothpick into the center- it should come out clean.
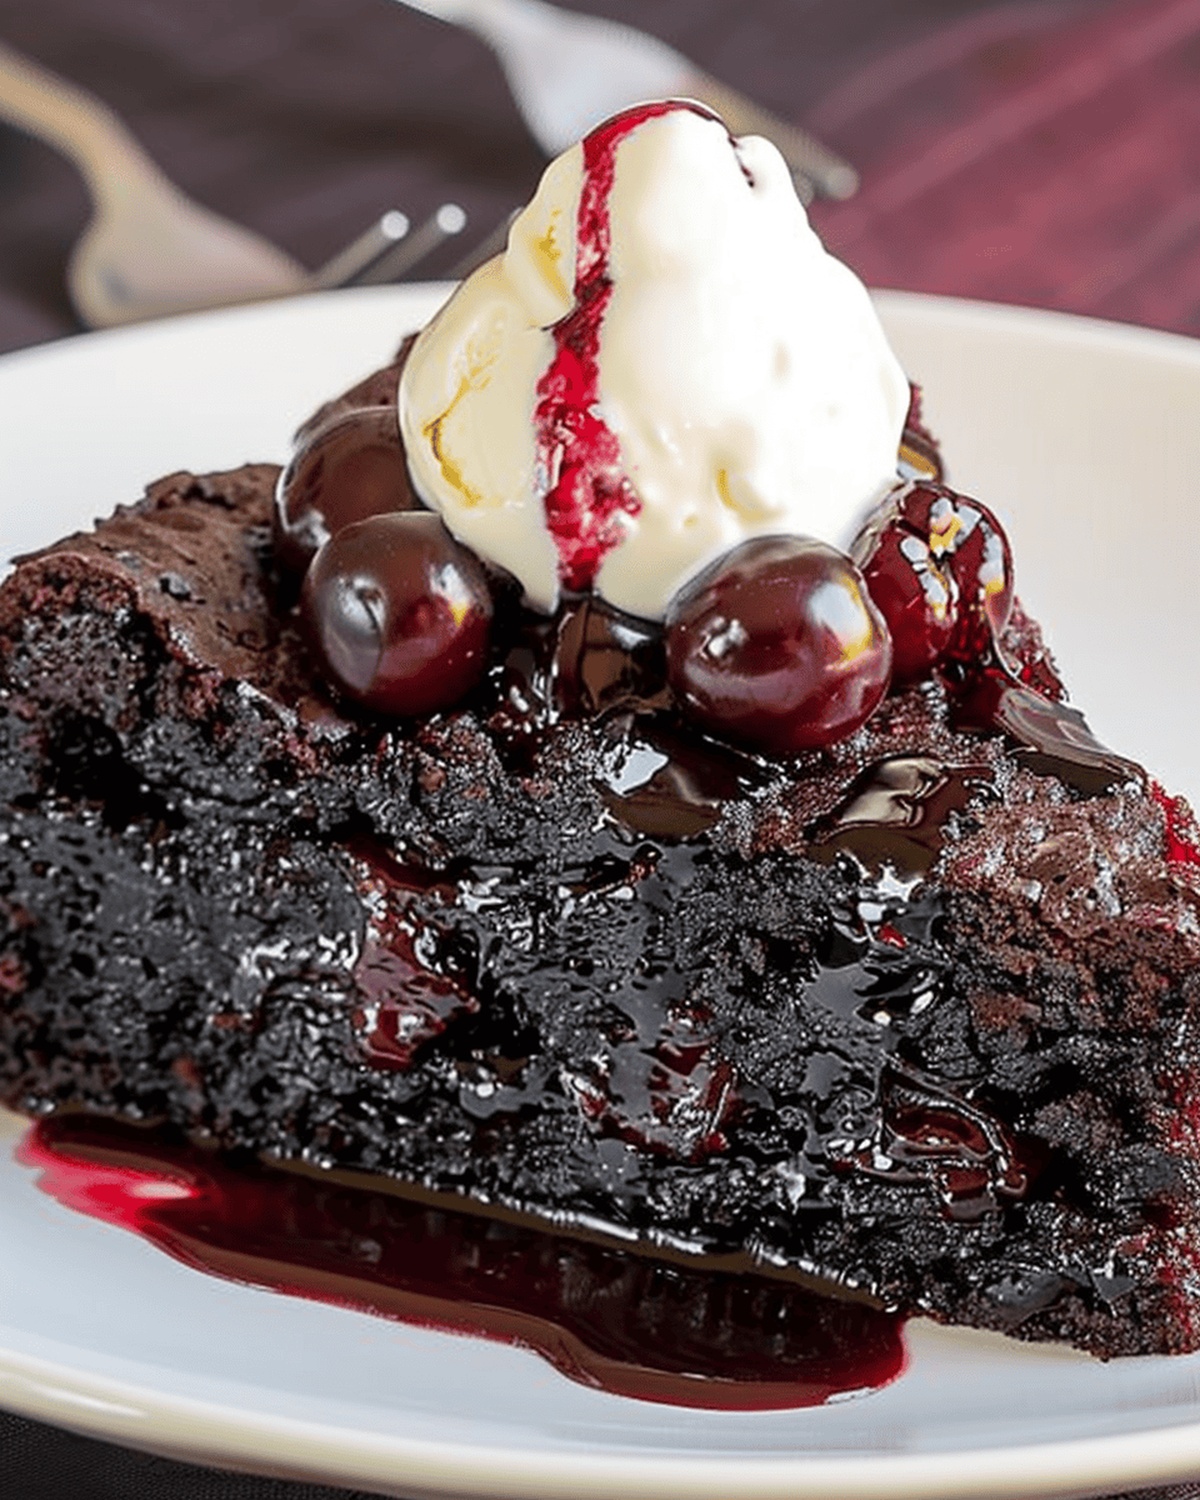
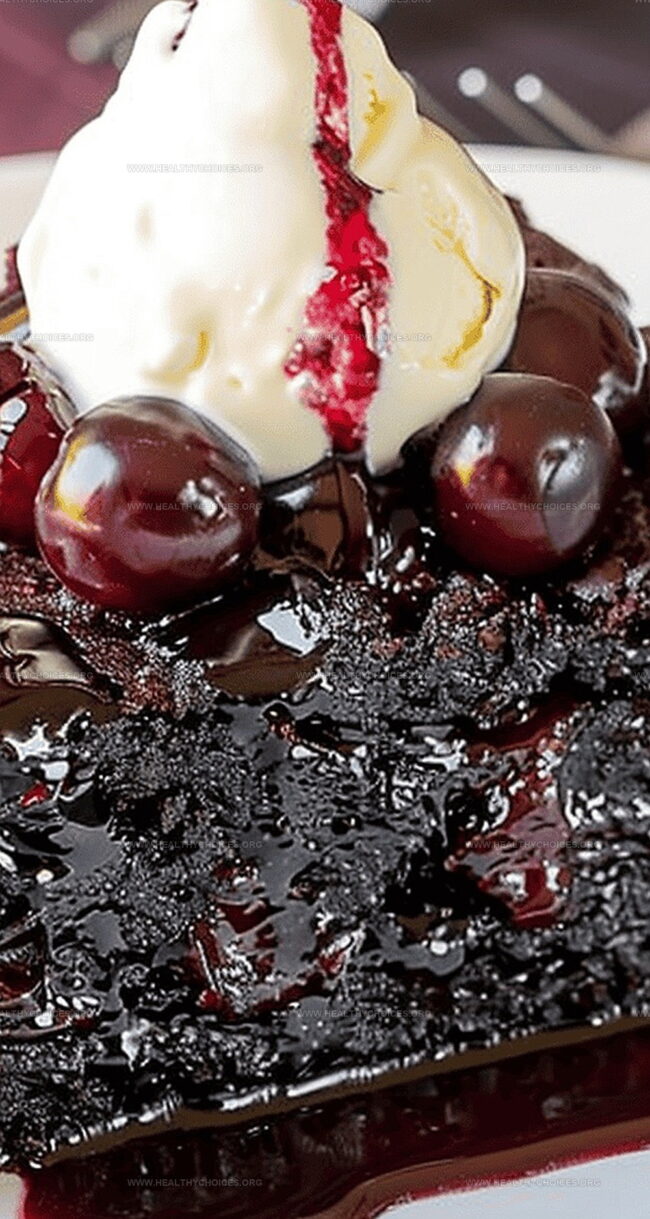
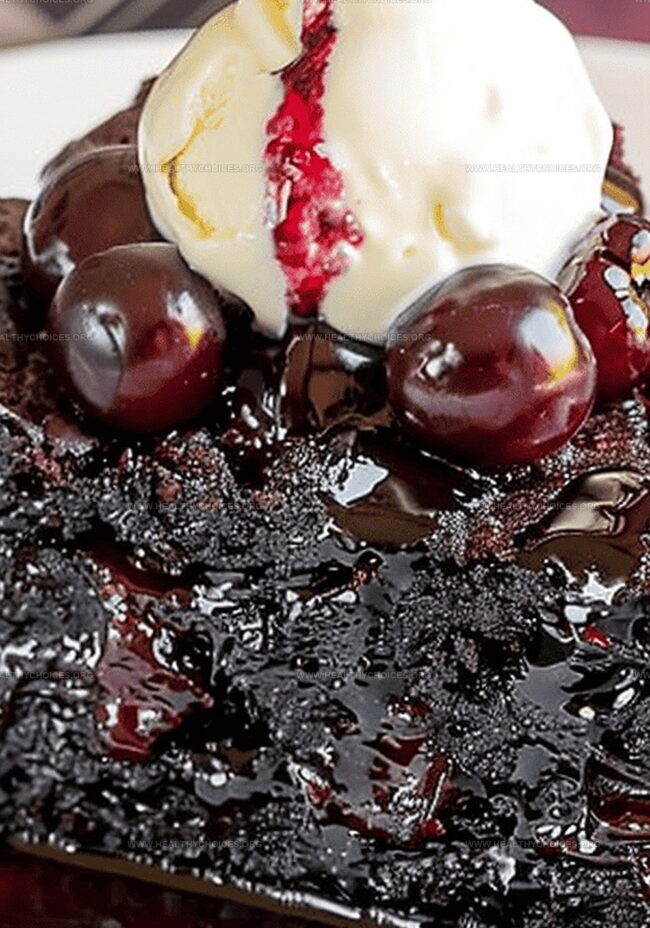
Step 7: Cool and Flip
Let the cake rest in the pan for 5 minutes. Carefully flip onto a heat-proof serving plate. The cherry layer will now be gloriously displayed on top.
Serve warm and enjoy the delightful combination of rich chocolate and sweet cherries!
Tips to Avoid Soggy or Dry Layers
Storing the Cake for the Next Day
What Works Well with This Dessert
Unique Twists for the Next Bake
Print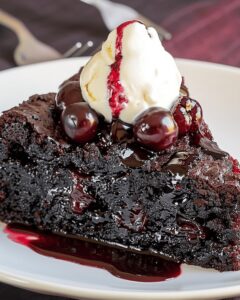
Chocolate Cherry Upside Down Cake Recipe
- Total Time: 55 minutes
- Yield: 8 1x
Description
Chocolate cherry upside down cake brings luscious European elegance to classic dessert traditions. Rich chocolate layers mingle with sweet cherry jewels, creating a luxurious experience that delights dessert enthusiasts with each sublime bite you’ll savor.
Ingredients
Main Ingredients:
- 2 cups (480 ml) fresh or frozen pitted cherries
- 1 cup (240 ml) sugar
- 1 cup (120 g) all-purpose flour
- 2 eggs
Chocolate Components:
- ⅓ cup (40 g) plus 1 tablespoon cocoa
- ½ cup (120 ml) brewed black coffee
- ¼ cup (60 ml) vegetable oil
Supporting Ingredients:
- ⅓ cup (67 g) sugar
- 1 teaspoon corn starch
- 1 teaspoon baking powder
- ½ teaspoon baking soda
- ¼ teaspoon salt
- ½ cup (120 ml) soured milk
- ½ teaspoon vanilla extract
Instructions
- Prepare the baking vessel by coating it with a thin layer of grease and dusting with flour, then line the bottom with parchment paper to prevent sticking.
- Create a delicate coating for the cherries by whisking cornstarch and sugar together in a mixing bowl.
- Gently fold the pitted cherries into the sugar-cornstarch mixture, ensuring each fruit is evenly coated. If using frozen cherries, let them rest and thaw for approximately 20 minutes.
- Distribute the sugar-coated cherries in a uniform layer across the bottom of the prepared baking pan, creating a vibrant fruity foundation.
- In a spacious mixing bowl, combine all chocolate cake batter ingredients, utilizing an electric mixer to blend until the mixture achieves a silky, smooth consistency.
- Carefully cascade the chocolate batter over the cherry layer, taking care to spread it evenly and completely cover the fruit.
- Transfer the pan to a preheated oven and bake until the cake develops a rich, dark surface and a inserted toothpick emerges clean, indicating perfect doneness.
- After removing from the oven, allow the cake to rest in the pan for a brief 5-minute cooling period.
- Invert the cake onto a heat-resistant serving plate with a swift, confident motion, revealing the glistening cherry topping.
Notes
- Frozen cherries work perfectly if thawed, saving time and allowing year-round baking.
- Always line the pan with parchment paper for effortless cake removal and minimal mess.
- Cornstarch helps cherries maintain their shape and create a beautiful glossy fruit layer.
- Check cake doneness by inserting a toothpick in the center – it should come out clean without wet batter.
- Let the cake rest for 5 minutes after baking to help it set and prevent breaking during flipping.
- Serve warm or at room temperature for the most delightful chocolate and cherry flavor combination.
- Prep Time: 20 minutes
- Cook Time: 35 minutes
- Category: Desserts
- Method: Baking
- Cuisine: American
Nutrition
- Serving Size: 8
- Calories: 245
- Sugar: 18 g
- Sodium: 150 mg
- Fat: 10 g
- Saturated Fat: 1.5 g
- Unsaturated Fat: 8 g
- Trans Fat: 0 g
- Carbohydrates: 35 g
- Fiber: 2 g
- Protein: 4 g
- Cholesterol: 30 mg
David Bennett
Founder & Head Recipe Developer
Expertise
Culinary Nutrition, Recipe Development, Nutritional Counseling, Food Science
Education
Johnson & Wales University
Certified Nutrition Specialist® (CNS®)
David Bennett is the lead recipe creator and nutrition expert at HealthyChoices.org, your friendly space for tasty meals that nourish body and mind.
With a Culinary Nutrition degree from Johnson & Wales University and a Certified Nutrition Specialist® credential, David pairs practical nutrition with delicious cooking, creating recipes you’ll crave daily.
At Healthy Choices, David shares easy, nutritious dishes and smart cooking tips to make healthy eating something everyone can enjoy, with no complicated diets needed.