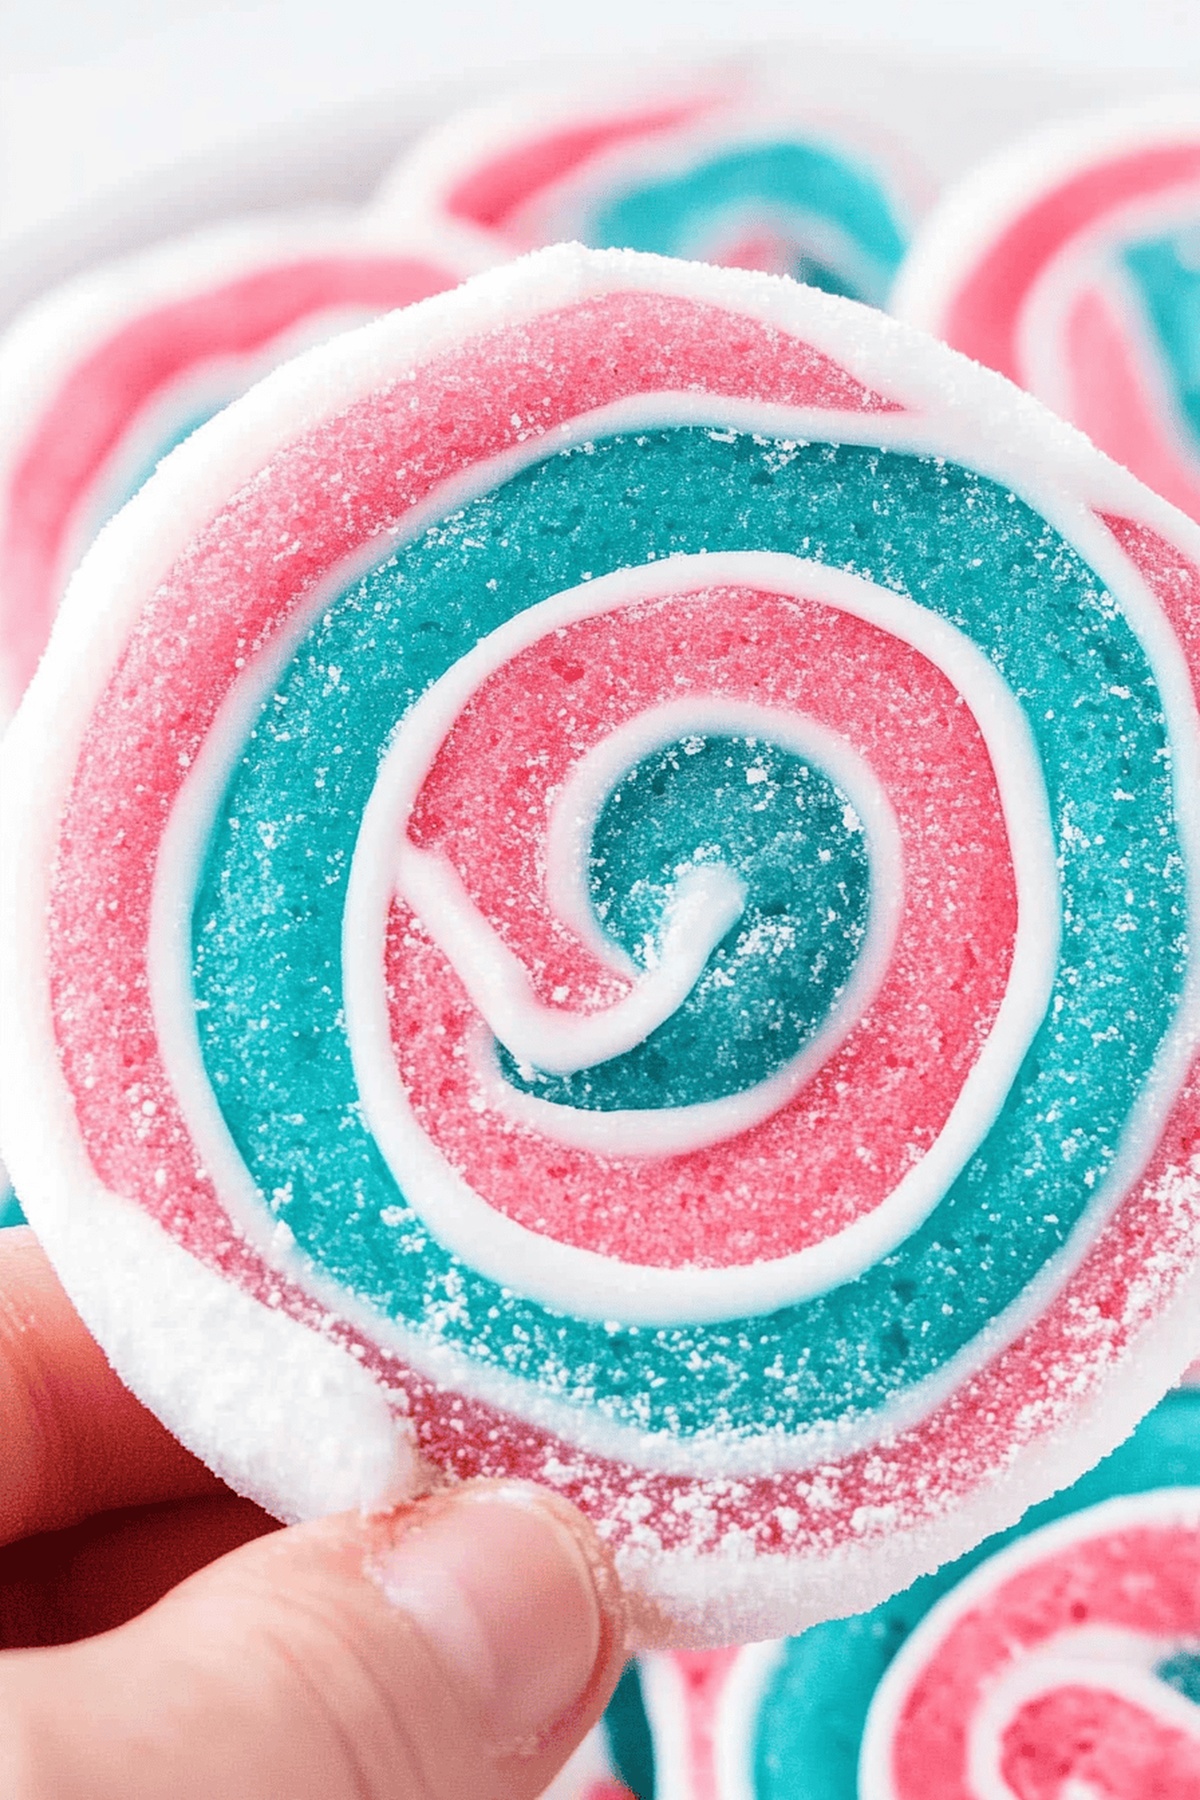
Fluffy Cotton Candy Cookies Recipe: A Sweet Carnival Treat
Whimsical cotton candy cookies revolutionize ordinary dessert expectations into pure magical delight.
Sweet childhood memories dance through this unexpected culinary creation that blends nostalgic carnival treats with classic baking techniques.
Soft, pillowy textures mingle with sugary bursts of playful flavor, promising a remarkable sensory experience.
These delicate confections capture the essence of carnival whimsy in every delectable bite.
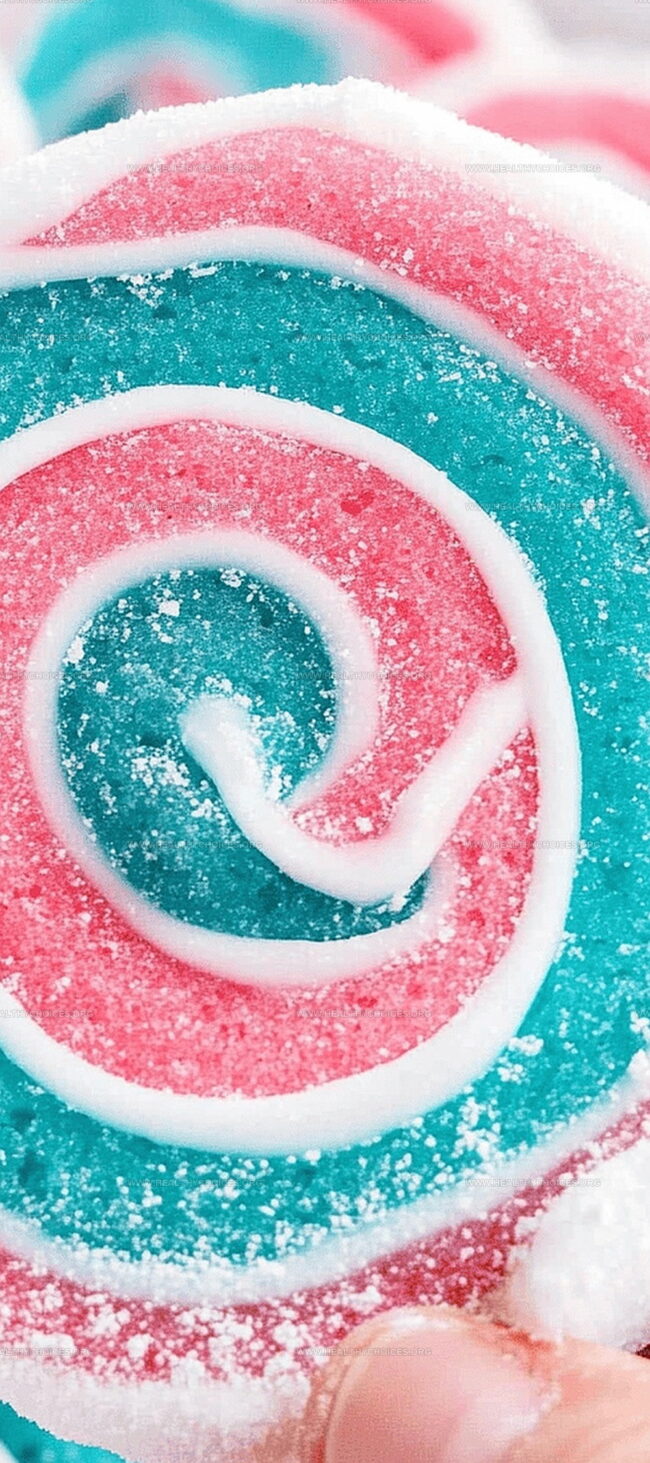
Delightful pastel hues and ethereal sweetness guarantee a conversation-starting treat that sparks immediate excitement.
Playful baking enthusiasts will adore this innovative recipe that bridges traditional cookie craft with imaginative flavor profiles.
Unexpected ingredients and creative techniques promise a truly memorable baking adventure.
Why Cotton Candy Cookies Are a Throwback Favorite
What You’ll Need for Sweet, Colorful Cotton Candy Cookies
Main Ingredients:
Dry Ingredients:Wet Ingredients:Decorative and Coloring Ingredients:How to Bake Cookies That Taste Like a Carnival

Step 1: Prepare the Oven
Crank up your oven to a toasty 350°F (175°C). Grab a baking sheet and line it with parchment paper for easy cleanup.
Step 2: Combine Dry Ingredients
Grab a medium bowl and whisk together:Set this magical mixture aside.
Step 3: Create Creamy Base
In a large mixing bowl, transform butter and sugar into a dreamy, fluffy cloud. Crack in an egg and splash of cotton candy flavoring. Mix until everything dances together perfectly.
Step 4: Blend Wet and Dry
Slowly marry the dry ingredients with your creamy base. Stir gently until just combined- don’t overwork the dough!
Step 5: Add Vibrant Colors
Dust your work surface with powdered sugar. Split the dough into two equal portions. Go wild with food coloring:Knead each portion until the color looks totally even and fabulous.
Step 6: Create Magical Swirl
Roll out each colored dough to about ¼ inch thick. Layer one color on top of the other. Gently press to remove any sneaky air bubbles. Roll the dough tightly like a colorful jelly roll.
Step 7: Slice and Bake
Cut the rolled dough into ¼ inch thick slices. Arrange cookies on the prepared baking sheet. Bake for 7-9 minutes- watch carefully to prevent over-browning. Let cookies chill on the baking sheet for 20 minutes.
Step 8: Whip Up the Icing
Microwave your icing for 1 minute. Want an extra flavor punch? Stir in cotton candy extract.
Step 9: Decorate with Flair
Use a piping bag or spoon to drizzle icing over cookies. Sprinkle with colorful confetti sprinkles while the icing is still wet.
Step 10: Final Touch
Let the icing dry completely. When storing, place parchment paper between cookie layers to prevent sticky situations.
Tips to Nail That Perfect Colorful Swirl
Keeping Cotton Candy Cookies Fresh and Fluffy
Store Leftovers:Reheat Cookies:What to Drink or Serve with These Whimsical Cookies
Creative Versions of This Childhood-Inspired Cookie
Print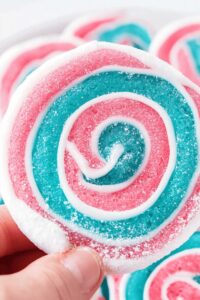
Cotton Candy Cookies Recipe
- Total Time: 39 minutes
- Yield: 24 1x
Description
Playful cotton candy cookies bring whimsical childhood memories to life with their pastel swirls and sugary charm. Sweet clouds of nostalgia melt in your mouth, delivering pure delight in each magical bite.
Ingredients
Main Ingredients:
- 1 cup butter, softened
- 1 cup sugar
- 1 egg
- 3 cups all-purpose flour
Dry Ingredients:
- 2 teaspoons baking powder
- 0.5 teaspoon salt
Flavoring and Coloring:
- 1.5 teaspoons cotton candy flavoring
- Pink food coloring
- Blue food coloring
Topping Ingredients:
- 16 ounces (454 grams) white icing
- Sprinkles (optional)
- 1 teaspoon cotton candy extract (optional)
Rolling Ingredient:
- Powdered sugar or flour
Instructions
- Heat the oven to 350°F and prepare a parchment-lined baking sheet for the cotton candy cookies.
- Sift together flour, baking powder, and salt in a medium mixing bowl, creating a uniform dry mixture.
- Cream butter and sugar in a large bowl until light and fluffy, ensuring a smooth texture.
- Incorporate egg and cotton candy flavoring into the butter mixture, blending thoroughly until well combined.
- Gradually fold dry ingredients into the wet mixture, mixing gently until just incorporated. The dough might appear slightly crumbly.
- Separate the dough into two equal portions on a surface dusted with powdered sugar.
- Knead pink food coloring into one portion and blue food coloring into the other, ensuring even color distribution throughout each section.
- Roll out each colored dough to approximately ¼ inch thickness on separate surfaces.
- Layer the pink and blue dough sheets, pressing gently to eliminate air pockets between them.
- Tightly roll the layered dough from one edge to the other, creating a swirled cylindrical shape.
- Cut the rolled dough into ¼ inch thick slices, revealing the marbled color pattern.
- Arrange cookie slices on the prepared baking sheet, spacing them evenly.
- Bake for 7-9 minutes, watching carefully to prevent over-browning.
- Allow cookies to cool completely on the baking sheet for at least 20 minutes.
- Warm the icing in the microwave for one minute, stirring in cotton candy extract if desired.
- Decorate cookies by piping or drizzling icing over the surface.
- Sprinkle decorative toppings while icing remains wet.
- Let icing set entirely before storing, using parchment paper between layers to prevent sticking.
Notes
- Elevate your baking game with these whimsical cotton candy cookies that blend vibrant colors and nostalgic carnival flavors into one delightful treat.
- Precision matters when rolling and slicing the dough to achieve those perfect swirled color patterns that make these cookies visually stunning.
- Use gel food coloring for more intense, even color distribution without changing the dough’s consistency or texture.
- Ensure butter is softened but not melted to create the ideal creamy base that helps bind ingredients smoothly.
- Cool cookies completely before icing to prevent melting and maintain crisp, clean decorative lines.
- Store cookies in an airtight container with parchment between layers to preserve their delicate texture and vibrant appearance for up to 5 days.
- Prep Time: 30 minutes
- Cook Time: 9 minutes
- Category: Desserts, Snacks
- Method: Baking
- Cuisine: American
Nutrition
- Serving Size: 24
- Calories: 210
- Sugar: 10g
- Sodium: 150mg
- Fat: 9g
- Saturated Fat: 5g
- Unsaturated Fat: 4g
- Trans Fat: 0g
- Carbohydrates: 30g
- Fiber: 1g
- Protein: 2g
- Cholesterol: 30mg
David Bennett
Founder & Head Recipe Developer
Expertise
Culinary Nutrition, Recipe Development, Nutritional Counseling, Food Science
Education
Johnson & Wales University
Certified Nutrition Specialist® (CNS®)
David Bennett is the lead recipe creator and nutrition expert at HealthyChoices.org, your friendly space for tasty meals that nourish body and mind.
With a Culinary Nutrition degree from Johnson & Wales University and a Certified Nutrition Specialist® credential, David pairs practical nutrition with delicious cooking, creating recipes you’ll crave daily.
At Healthy Choices, David shares easy, nutritious dishes and smart cooking tips to make healthy eating something everyone can enjoy, with no complicated diets needed.