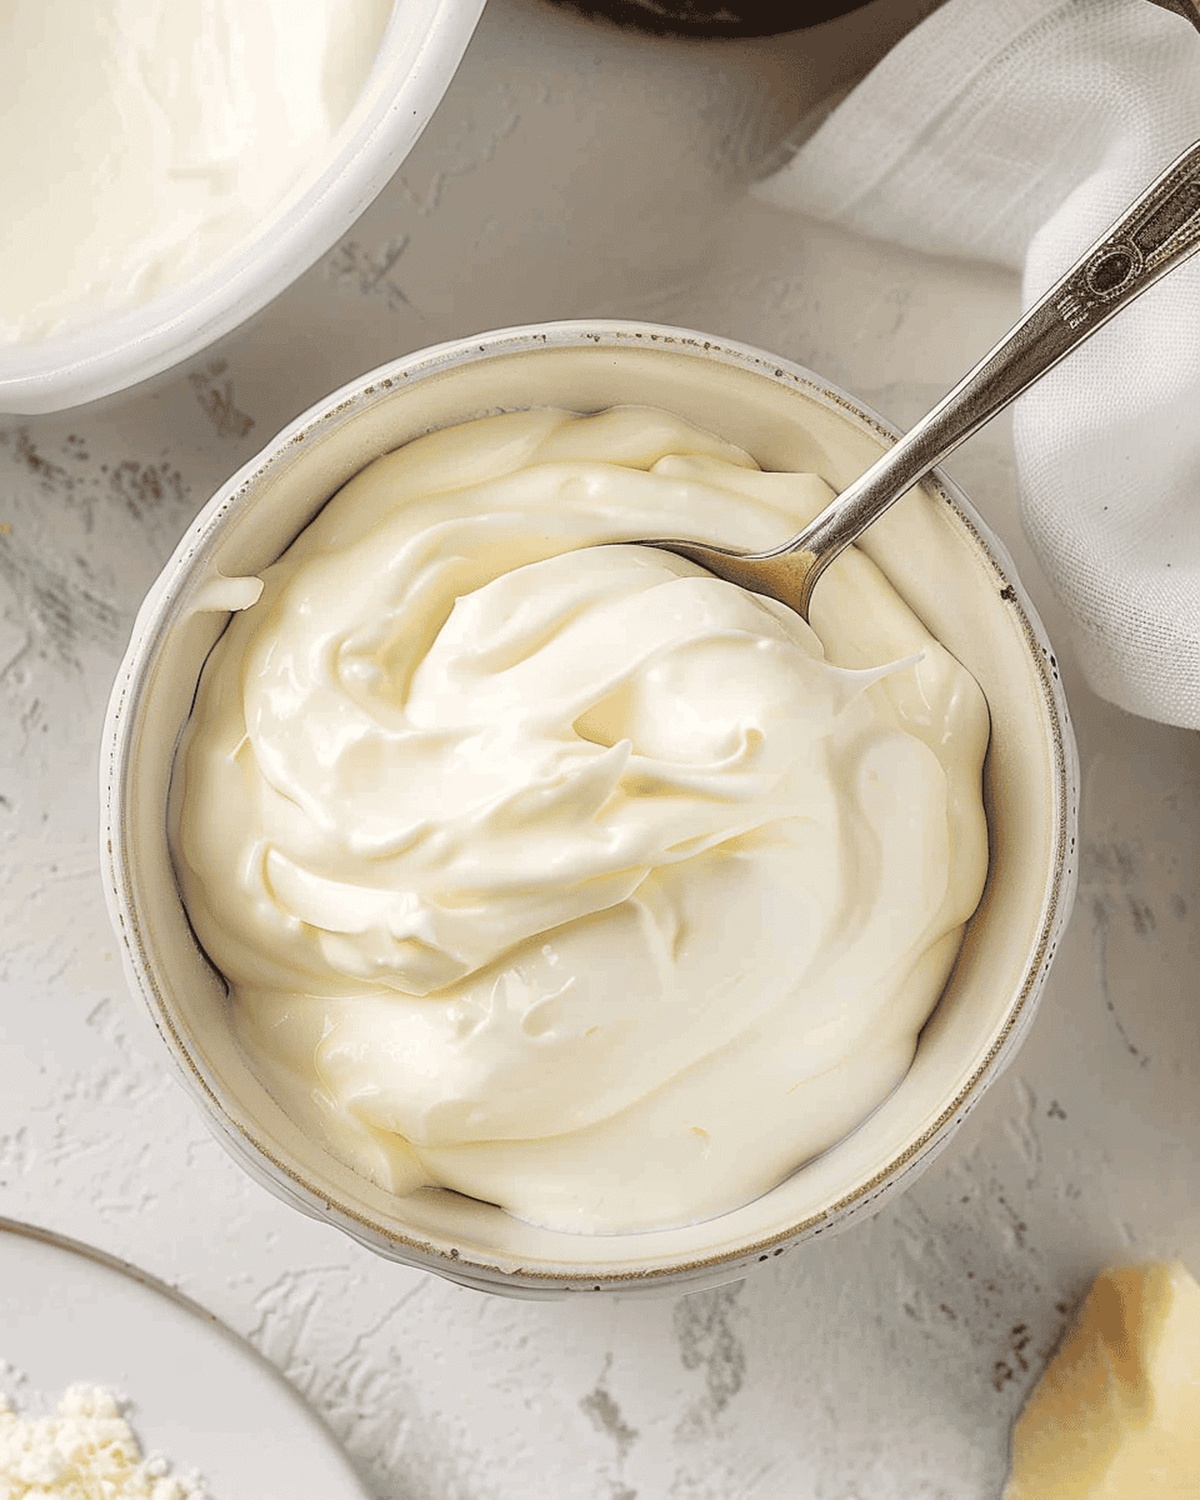
Dreamy Cream Cheese Spread Recipe for Any Kitchen
Silky smooth cream cheese beckons with its rich, luxurious texture that promises culinary magic.
Crafting homemade cream cheese can turn ordinary ingredients into an extraordinary spread that delights every palate.
Chefs and home cooks alike adore this versatile ingredient that brings depth and creaminess to countless dishes.
The simple art of making cream cheese at home unlocks a world of delectable possibilities.
Each creamy spoonful carries the potential to enhance both sweet and savory recipes with its distinctive tang.
With just a few basic ingredients and minimal effort, you can create a decadent spread that surpasses store-bought versions.
Start your culinary adventure and savor the satisfaction of crafting your very own luxurious cream cheese.
Quick Recipe Overview
Cream Cheese Essentials for Spreads and Dips
For Dairy Base:For Acidic Catalyst:For Seasoning:Tools That Keep Your Cheese Creamy
How to Mix and Use Cream Cheese at Home
Grab a sturdy pot and warm the milk gently over medium heat until it reaches a soft, bubbling state.
Drop fresh lemon juice into the heated milk and watch magical separation begin. The mixture will quickly transform with curds emerging from the liquid.
Line a colander with delicate cheesecloth and pour the curdled mixture through, letting liquid drain naturally while soft cheese solids remain.
Squeeze remaining moisture from cheese solids and transfer to a blender. Sprinkle a pinch of salt and blend until silky smooth and luxurious.
Transfer the freshly made cream cheese into a sealed container and let it rest in the refrigerator. This brief chilling period allows flavors to harmonize and texture to settle perfectly.
Flavor Combinations That Go Well With Cream Cheese
Serve Cream Cheese on Everything You Love
Keep It Fresh in the Fridge Until Needed
Print
Creamy Cream Cheese Recipe
- Total Time: 55 minutes
- Yield: 5 1x
Description
Homemade cream cheese elevates bagels and baked goods with creamy, tangy goodness. Chefs can master this simple spread easily, creating a delightful ingredient for countless culinary adventures.
Ingredients
- 4 cups / 32 fl oz whole milk
- 8 oz / 226 g cream cheese
- 3–4 tbsps / 45-60 ml fresh lemon juice
- 0.5 tsp / 2.5 ml salt
Instructions
- Milk Preparation: Gently heat whole milk in a heavy-bottomed saucepan over medium temperature until subtle bubbling appears across the surface.
- Curdling Process: Add fresh lemon juice to the warm milk, swirling with a slotted spoon to trigger immediate curd separation from liquid whey, then remove from heat and allow natural curdling.
- Straining Technique: Position fine-mesh cheesecloth over a sturdy strainer, carefully pour the curdled mixture, and let whey drain completely while collecting dense, creamy curds.
- Moisture Extraction: Delicately press and squeeze remaining liquid from curds using clean hands, ensuring maximum moisture removal.
- Texture Refinement: Transfer curds to a food processor, sprinkle salt, and blend continuously for 3-4 minutes until achieving a silky, uniform consistency with no visible lumps.
- Chilling and Storing: Scoop processed cream cheese into a sealed container, refrigerate for a minimum of 30 minutes to harmonize flavors and stabilize texture, then briefly stir before serving to ensure smoothness and spreadability.
Notes
- Choose the Right Pan: Use a heavy-bottomed saucepan to ensure even heat distribution and prevent scorching during milk heating.
- Watch Milk Closely: Monitor milk temperature carefully, looking for subtle bubbles that indicate perfect curdling stage without burning.
- Handle Curds Gently: Press and drain curds delicately to maintain a soft, creamy texture without squeezing out too much moisture.
- Blend for Smoothness: Process cream cheese thoroughly in a food processor for 3-4 minutes to eliminate lumps and create a silky, uniform consistency.
- Prep Time: 10 minutes
- Cook Time: 15 minutes
- Category: Snacks, Breakfast, Appetizer
- Method: Simmering
- Cuisine: American
Nutrition
- Serving Size: 5
- Calories: 265
- Sugar: 3 g
- Sodium: 123 mg
- Fat: 20 g
- Saturated Fat: 12 g
- Unsaturated Fat: 8 g
- Trans Fat: 0 g
- Carbohydrates: 9 g
- Fiber: 0 g
- Protein: 7 g
- Cholesterol: 55 mg
Emily Roberts
Content Creator & Kitchen Tips Specialist
Expertise
Dietary Planning, Public Health Nutrition, Nutritional Education, Content Development
Education
University of Illinois at Urbana-Champaign
Registered Dietitian Nutritionist (RDN)
Emily Roberts is our content specialist and registered dietitian at HealthyChoices.org. With her Master’s degree in Nutritional Sciences from the University of Illinois and her Registered Dietitian Nutritionist certification, Emily uses her deep nutrition knowledge to write helpful, easy-to-understand guides about healthy eating.
Her warm, practical advice empowers readers to confidently make healthier choices, turning everyday meals into simple moments of wellness and joy.