
Dreamy Espresso Cheesecake Recipe: Rich Flavor in Every Bite
Coffee lovers and dessert enthusiasts unite over this decadent espresso cheesecake that promises pure indulgence.
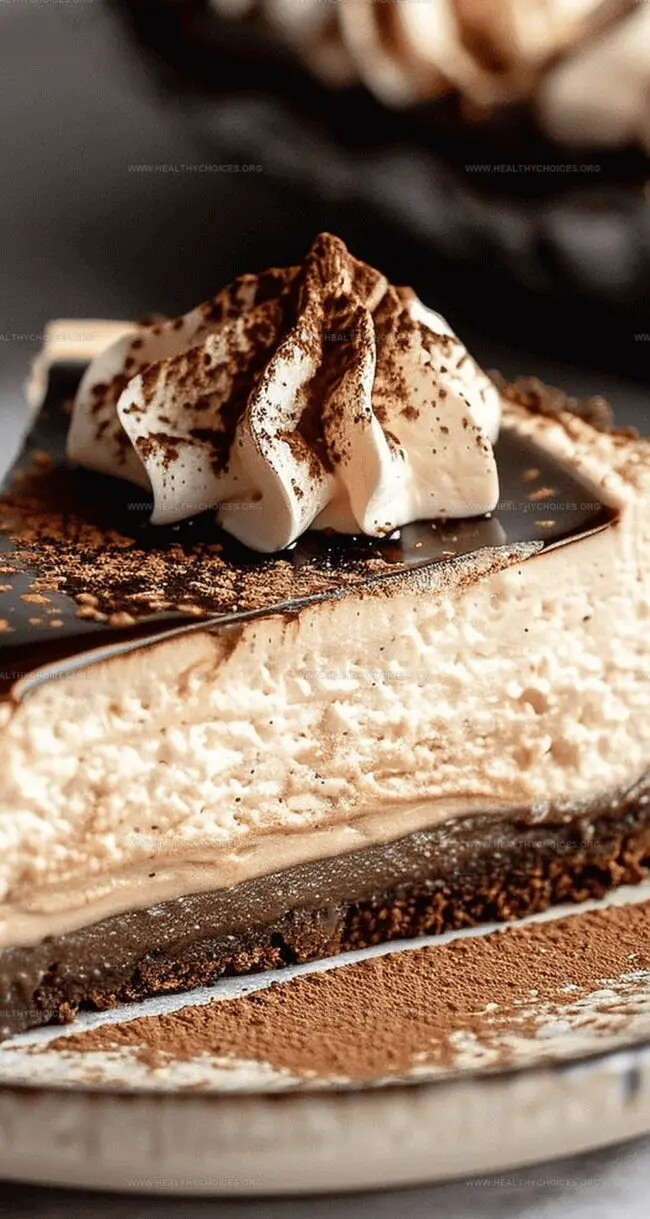
The rich, velvety texture melts perfectly with intense espresso notes dancing across each creamy bite.
Bold espresso flavors weave through a silky smooth cheesecake landscape, creating a sophisticated dessert experience.
Dark chocolate graham cracker crust adds a delightful crunch that complements the coffee-infused filling.
Every slice promises a luxurious escape into a world of deep, complex flavors that satisfy both sweet and caffeine cravings.
Elegant yet simple, this dessert delivers restaurant-quality decadence straight from your kitchen.
Grab a fork and prepare for a sublime culinary journey that celebrates the magic of coffee and cheesecake.
Quick Recipe Overview
What Goes in Espresso Cheesecake
For Crust:For Filling:For Topping and Frosting:Espresso Cheesecake Tools of the Trade
Espresso Cheesecake Preparation Instructions
Create a delicious base using crushed chocolate cookies mixed with melted butter. Press the mixture firmly into a springform pan, ensuring an even layer that covers the bottom and sides. Bake briefly to set the foundation for your decadent dessert.
Whip cream cheese until ultra-smooth, blending in rich espresso and subtle sweetness. Carefully incorporate eggs, maintaining a silky texture that promises a luxurious mouthfeel. Pour the velvety mixture over the cooled cookie crust with gentle precision.
Carefully place the cheesecake in a preheated oven, starting with high heat then reducing temperature. Allow the cake to bake slowly, developing deep flavors and creating a perfectly smooth surface. After baking, let the cheesecake rest inside the oven with the door slightly open, helping it cool gradually and prevent cracking.
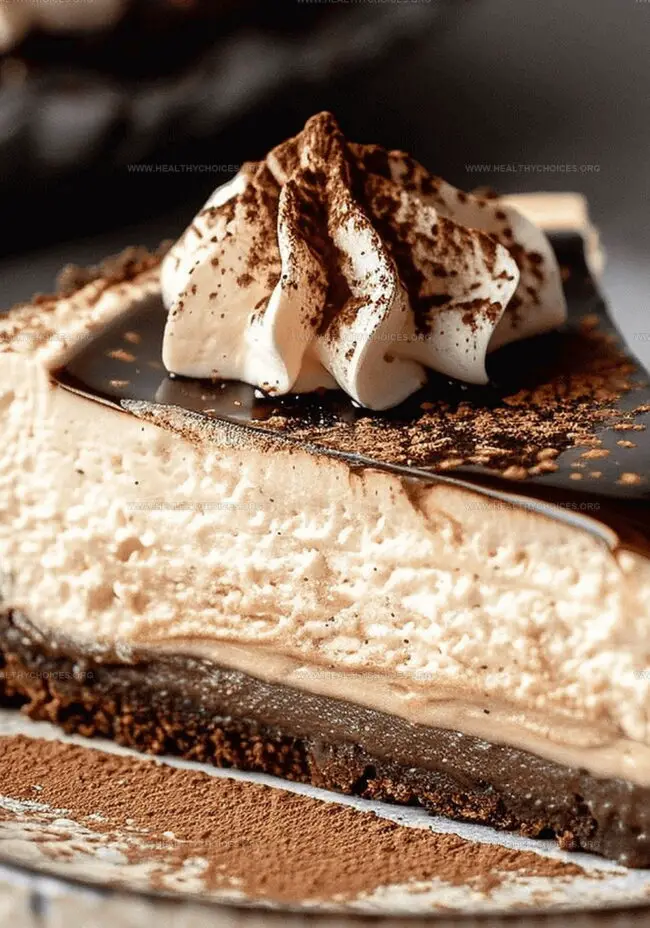
Craft a glossy chocolate ganache by melting premium chocolate with heated cream. Once smooth and luxurious, cascade the warm chocolate over the completely cooled cheesecake, creating an elegant finishing touch that adds rich depth and visual appeal.
Prepare a light cream cheese frosting to pipe delicate borders around the cake. Optional espresso beans can be sprinkled on top for an extra touch of sophistication, transforming the dessert into a stunning centerpiece that looks as incredible as it tastes.
Fun Tips for Espresso Cheesecake
Serve Espresso Cheesecake in Style
Stash and Save Espresso Cheesecake
Print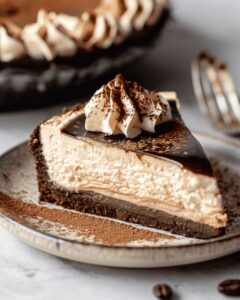
Creamy Espresso Cheesecake Recipe
- Total Time: 10 hours 45 minutes
- Yield: 13 1x
Description
Smooth, creamy espresso cheesecake delivers rich coffee notes through velvety filling and chocolate cookie crust. Dark roasted flavors mingle with silky mascarpone, inviting passionate dessert seekers to savor each luxurious bite.
Ingredients
- 24 oz (680 g) cream cheese, softened
- 4 oz (113 g) cream cheese, softened
- 3 eggs
- ¾ cup (150 g) granulated sugar
- 2 cups OREO cookie crumbs (about 20 cookies)
- 6 tbsps (90 mL) butter, melted
- 4 tbsps (60 mL) butter, softened
- 4 oz (113 g) bittersweet or dark chocolate, roughly chopped
- ½ cup (120 mL) heavy whipping cream
- ¼ cup (60 mL) heavy whipping cream
- ¼ cup (60 mL) espresso or strong coffee
- ¾ to 1 cup (90 to 120 g) powdered sugar
- 3 tbsps (23 g) flour
- ¼ tsp (1.25 mL) salt
- ½ tsp (2.5 mL) vanilla extract
- Espresso beans (optional for decoration)
Instructions
- Crust Preparation: Pulverize Oreo cookies into fine, uniform crumbs using a food processor, then blend with melted butter and salt until a cohesive mixture forms.
- Crust Setting: Press the dark, chocolatey mixture firmly into a springform pan’s bottom and sides, creating an even base. Bake at 350°F for 10 minutes, then cool completely.
- Cheesecake Batter Creation: Whip cream cheese until silky, gradually incorporating sugar, flour, and dissolved espresso powder. Gently fold in heavy whipping cream, maintaining a light texture.
- Egg Integration: Carefully add eggs one at a time, mixing thoroughly to create a smooth, delicate batter without overmixing.
- Baking Process: Pour the espresso-infused batter over the prepared crust, spreading evenly. Bake at 350°F for 15 minutes, then reduce temperature to 200°F and continue baking for 55-60 minutes.
- Cooling Technique: After baking, crack the oven door open and allow the cheesecake to cool gradually, preventing surface cracks and ensuring a perfect texture.
- Ganache Preparation: Heat cream until gently boiling, then pour over chocolate, whisking until a glossy, smooth ganache develops.
- Decorative Finishing: Once completely cooled, drizzle chocolate ganache over the surface. Whip cream cheese, butter, vanilla, and powdered sugar into a light, fluffy frosting.
- Final Presentation: Pipe decorative frosting swirls around the cheesecake’s edges and optionally garnish with whole espresso beans for an elegant touch.
Notes
- Precision Crumb Technique: Use a food processor to create uniformly fine Oreo cookie crumbs for a consistent, smooth crust texture.
- Crust Compaction Strategy: Press crumb mixture firmly and evenly into the pan to ensure a solid, stable cheesecake foundation.
- Temperature Control Critical: Gradually reduce oven temperature and allow slow cooling to prevent surface cracking and maintain creamy consistency.
- Mixing Mastery Tip: Add eggs one at a time and avoid overmixing to preserve the delicate, silky cheesecake texture.
- Prep Time: 30 minutes
- Cook Time: 1 hour 15 minutes
- Category: Desserts, Drinks
- Method: Baking
- Cuisine: Italian
Nutrition
- Serving Size: 13
- Calories: 426
- Sugar: 26 g
- Sodium: 291 mg
- Fat: 30 g
- Saturated Fat: 18 g
- Unsaturated Fat: 10 g
- Trans Fat: 1 g
- Carbohydrates: 36 g
- Fiber: 1 g
- Protein: 6 g
- Cholesterol: 110 mg
Emily Roberts
Content Creator & Kitchen Tips Specialist
Expertise
Dietary Planning, Public Health Nutrition, Nutritional Education, Content Development
Education
University of Illinois at Urbana-Champaign
Registered Dietitian Nutritionist (RDN)
Emily Roberts is our content specialist and registered dietitian at HealthyChoices.org. With her Master’s degree in Nutritional Sciences from the University of Illinois and her Registered Dietitian Nutritionist certification, Emily uses her deep nutrition knowledge to write helpful, easy-to-understand guides about healthy eating.
Her warm, practical advice empowers readers to confidently make healthier choices, turning everyday meals into simple moments of wellness and joy.