
Irresistible Frozen Peanut Butter Cup Pie Recipe for Summer
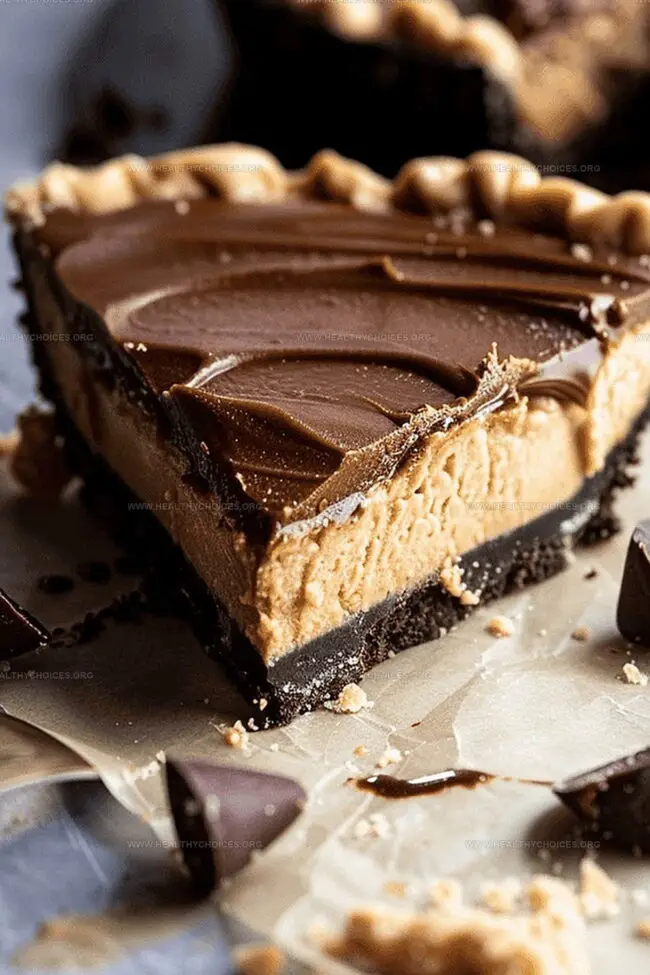
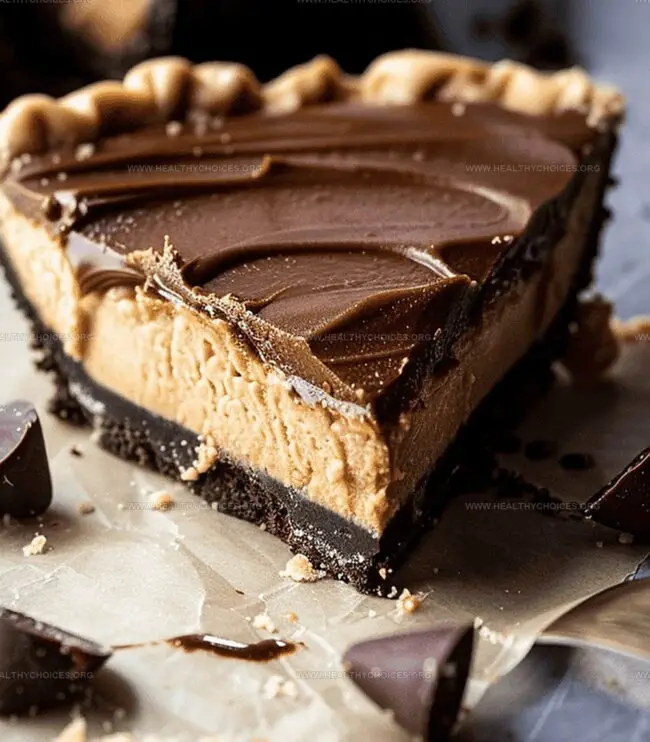
Indulgent desserts don’t get much better than this dreamy frozen peanut butter cup pie that combines rich chocolate and creamy peanut butter in every delectable bite.
Layers of smooth, velvety filling create a decadent treat that melts in your mouth with pure bliss.
Chocolate cookie crust provides the perfect crisp foundation for this irresistible pie.
Chocolate and peanut butter lovers will absolutely swoon over this no-bake sensation that requires minimal effort.
Each slice promises a luxurious combination of cool, silky textures and intense flavors that dance across your palate.
The best part?
You can whip up this show-stopping dessert in just minutes, making it an effortless crowd-pleaser for any occasion.
Get ready to become the dessert hero with this ultimate sweet indulgence that will have everyone asking for seconds.
Quick Recipe Overview
Frozen Peanut Butter Cup Pie Ingredients
For Crust Ingredients:For Peanut Butter Filling Ingredients:For Chocolate Topping Ingredients:Equipment Needed for PB Cup Pie
Instructions for PB Cup Pie Creation
Create a delectable base using ground cashews, coconut flakes, and rich cacao. The mixture should feel slightly moist and compact when pressed together.
Blend smooth peanut butter with sweet dates and a hint of vanilla. Gently fold whipped cream into the mixture to create a luxurious, airy filling.
Melt dark chocolate with a splash of milk, creating a silky topping that will blanket the peanut butter layer with decadent richness.
Place the assembled pie in the freezer, allowing each layer to set perfectly. Let the dessert rest at room temperature briefly before serving to soften slightly.
Sprinkle crushed nuts over the top for a delightful crunch and visual appeal. Slice and serve this elegant frozen treat that combines classic flavor combinations.
Peanut Butter Pie Tips & Tweaks
How to Serve PB Cup Pie
PB Cup Pie Storage Plans
Print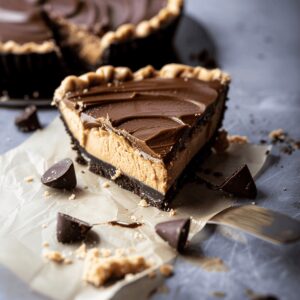
Creamy Frozen Peanut Butter Cup Pie Recipe
- Total Time: 1 hour 25 minutes to 2 hours 25 minutes
- Yield: 9 1x
Description
Cool peanut butter cup pie delivers a creamy chocolate-peanut butter paradise from scratch. Chilled slices promise rich indulgence with smooth filling and crumbly chocolate crust you’ll savor to the last bite.
Ingredients
- 1.5 cups (360 ml) roasted cashews
- 1 cup (240 ml) raw unsweetened coconut
- 3 tbsps cacao or cocoa powder
- 3 tbsps melted unsalted grass-fed butter, ghee, or coconut oil
- 1.5 cups (360 ml) creamy peanut butter (no sugar added)
- 0.5 cup (120 ml) pitted medjool dates
- 2 tsp vanilla extract
- 2 cups (480 ml) heavy whipping cream (or 1 cup cream + 1 cup plain Greek yogurt)
- 8 oz (226 g) dark chocolate, chopped
- 0.5 cup (120 ml) coconut milk or milk of choice
- Chopped nuts, for topping
Instructions
- Crust Preparation: Pulverize cashews, coconut, and cacao in a food processor until achieving a fine, uniform texture. Blend in melted butter to create a cohesive mixture that holds together when pressed.
- Crust Molding: Press the mixture into an 8-9 inch tart pan, carefully covering the bottom and sides with an even layer. Freeze for 15 minutes to set the foundation.
- Filling Creation: Blend peanut butter, dates, and vanilla in a food processor until smooth. Whip cream to stiff peaks and gently fold into the peanut butter mixture, maintaining a light, airy texture.
- Layering: Spread the creamy peanut butter filling evenly over the chilled crust. Return to the freezer to partially set.
- Chocolate Topping: Melt chocolate with milk, stirring until creating a glossy glaze. Pour and spread the chocolate mixture over the peanut butter layer, ensuring complete coverage.
- Freezing and Serving: Freeze the pie for 1-2 hours until completely firm. Before serving, let the pie rest at room temperature for 10 minutes to soften slightly. Garnish with chopped nuts for added crunch and visual appeal.
Notes
- Crust Consistency Check: Ensure crumb mixture holds together when gently pressed; too dry results in crumbly base, too wet creates dense foundation.
- Freezer Setting Technique: Chill crust and layers precisely to maintain structural integrity and prevent melting during preparation.
- Whipping Cream Perfection: Achieve stiff peaks carefully to maintain light texture without deflating during folding process.
- Chocolate Topping Tip: Melt chocolate slowly and stir consistently to prevent burning and achieve smooth, glossy finish.
- Prep Time: 15 minutes
- Cook Time: 1-2 hours
- Category: Desserts, Snacks
- Method: Blending
- Cuisine: American
Nutrition
- Serving Size: 9
- Calories: 450
- Sugar: 8 g
- Sodium: 50 mg
- Fat: 36 g
- Saturated Fat: 16 g
- Unsaturated Fat: 20 g
- Trans Fat: 0 g
- Carbohydrates: 34 g
- Fiber: 4 g
- Protein: 9 g
- Cholesterol: 40 mg
Emily Roberts
Content Creator & Kitchen Tips Specialist
Expertise
Dietary Planning, Public Health Nutrition, Nutritional Education, Content Development
Education
University of Illinois at Urbana-Champaign
Registered Dietitian Nutritionist (RDN)
Emily Roberts is our content specialist and registered dietitian at HealthyChoices.org. With her Master’s degree in Nutritional Sciences from the University of Illinois and her Registered Dietitian Nutritionist certification, Emily uses her deep nutrition knowledge to write helpful, easy-to-understand guides about healthy eating.
Her warm, practical advice empowers readers to confidently make healthier choices, turning everyday meals into simple moments of wellness and joy.