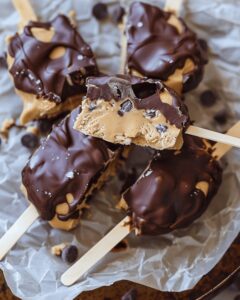
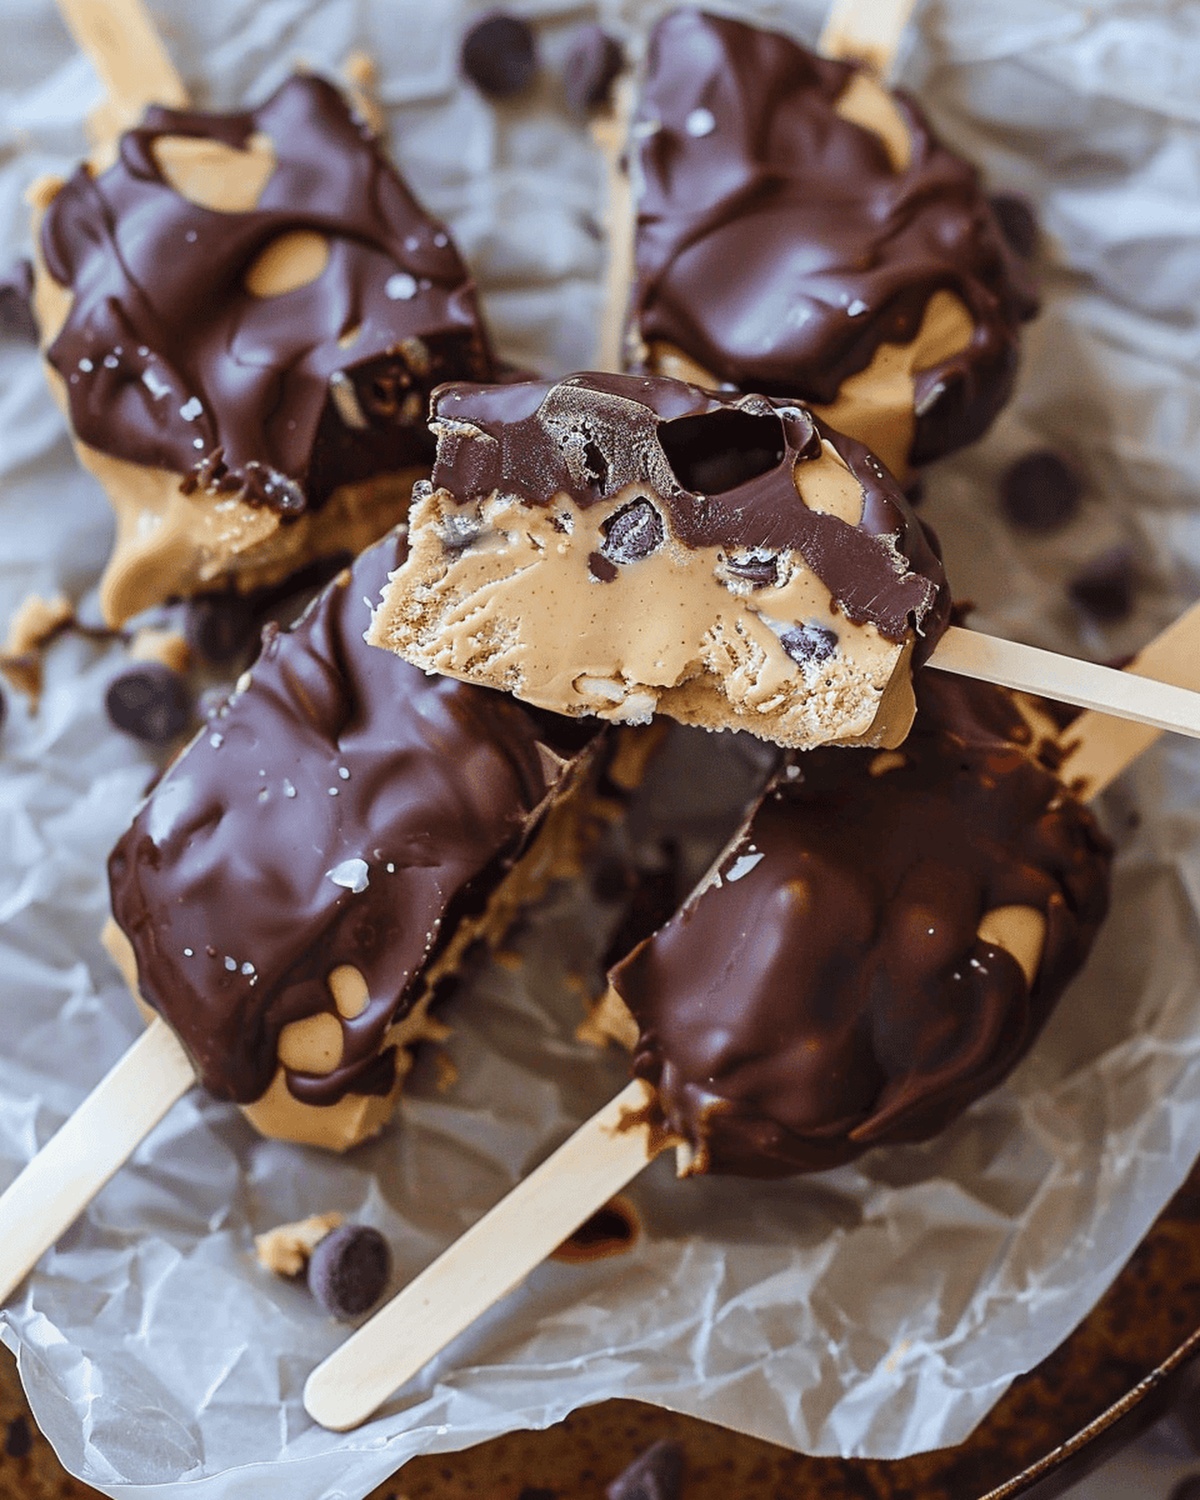
Creamy Frozen Peanut Butter Yogurt Bars Recipe for Summer
Chilled summer days call for a delightful frozen peanut butter yogurt bars treat that satisfies sweet tooths with minimal effort.
These creamy, protein-packed delights offer a healthier alternative to traditional ice cream bars.
Each bite delivers a perfect balance of tangy yogurt and rich peanut butter flavors.
The simple no-bake method makes preparing these bars a breeze for anyone seeking a quick dessert.
Smooth, cool, and utterly irresistible, these bars promise to become your new favorite warm-weather snack.
Whip up a batch and savor the delicious combination of creamy and nutty goodness that’ll keep you coming back for more.
Quick Recipe Overview
Ingredients for Frozen Peanut Butter Yogurt Bars
For Creamy Base:For Chocolate Elements:For Coating and Texture:Equipment Needed for Yogurt Bars
Instructions to Make Frozen Peanut Butter Yogurt Bars
Blend smooth yogurt with protein powder, peanut butter, and sweet maple syrup into a silky consistency. Fold in tiny chocolate morsels for delightful texture.
Arrange parchment paper on baking sheet. Dollop generous spoonfuls of mixture, creating clusters or popsicle-style shapes. Optional wooden stick insertion for easy handling. Carefully cover and place in freezer for several hours until completely solid.
Gently melt chocolate combined with coconut oil using microwave technique. Once bars are frozen solid, generously coat each piece with glossy chocolate layer. Allow brief setting time at room temperature.
Sprinkle crushed peanuts or delicate sea salt crystals across chocolate surface for gourmet flair. Transfer completed treats to freezer storage with parchment paper separating layers to prevent sticking.
Keep bars safely tucked in freezer compartment. Best enjoyed within several weeks for maximum flavor and texture enjoyment. Remove moments before serving to maintain perfect chilled consistency.
Flavor Variations for Yogurt Bars
Serving Frozen Peanut Butter Yogurt Bars
Storing Frozen Peanut Butter Yogurt Bars
Print
Creamy Frozen Peanut Butter Yogurt Bars Recipe
- Total Time: 2 hours 15 minutes
- Yield: 9 1x
Description
Cool peanut butter yogurt bars offer a refreshing summer dessert that balances creamy richness with light yogurt texture. Homemade treats provide quick satisfaction while satisfying sweet cravings with minimal kitchen effort.
Ingredients
- 1 cup (240 ml/8 fl oz) plain full-fat Greek yogurt
- ⅓ cup (80 ml/2.7 fl oz) natural runny peanut butter (crunchy or smooth)
- 1 cup (240 ml/8 fl oz) chocolate for melting
- 6 tbsps vanilla protein powder
- 1–2 tbsps maple syrup (optional)
- 3 tbsps mini chocolate chips
- ½ tbsp (7.5 ml/0.25 fl oz) coconut oil
Instructions
- Mixing: Combine Greek yogurt, protein powder, peanut butter, and maple syrup in a mixing bowl, whisking until a smooth, homogeneous texture forms.
- Incorporating Chocolate: Gently fold mini chocolate chips into the creamy mixture, ensuring even distribution throughout the base.
- Preparation: Line a baking sheet with parchment paper, creating an ideal surface for forming yogurt clusters. Drop generous spoonfuls of the mixture onto the sheet, spacing them adequately. Optionally, insert wooden sticks into the center of each portion for easy handling.
- Freezing: Transfer the baking sheet to the freezer, loosely covering with plastic wrap. Allow clusters to solidify completely, typically requiring 2-3 hours of freezing time.
- Chocolate Coating: Melt chocolate and coconut oil in a microwave-safe bowl, stirring at 30-second intervals until achieving a smooth, glossy consistency. Remove frozen yogurt clusters and carefully dip or drizzle each piece with the melted chocolate.
- Finishing Touches: Return chocolate-coated clusters to the parchment paper, letting the chocolate set for approximately one minute. Enhance flavor and texture by sprinkling chopped peanuts or a pinch of sea salt over the coating.
- Storage: Preserve the completed yogurt bars in a freezer-safe container, placing parchment paper between layers to prevent adhesion.
Notes
- Quick Chilling Tip: Ensure parchment paper is completely flat to create uniform yogurt clusters with smooth edges.
- Chocolate Coating Technique: Melt chocolate and coconut oil slowly to prevent burning, stirring consistently for a glossy finish.
- Texture Enhancement: Sprinkle chopped peanuts or sea salt immediately after chocolate coating for maximum flavor and crunch adhesion.
- Storage Strategy: Use separate parchment layers between yogurt bars to prevent freezer burn and maintain individual cluster integrity.
- Prep Time: 15 minutes
- Cook Time: 1 minutes
- Category: Snacks, Desserts
- Method: Freezing
- Cuisine: American
Nutrition
- Serving Size: 9
- Calories: 250
- Sugar: 6 g
- Sodium: 50 mg
- Fat: 15 g
- Saturated Fat: 5 g
- Unsaturated Fat: 10 g
- Trans Fat: 0 g
- Carbohydrates: 20 g
- Fiber: 2 g
- Protein: 12 g
- Cholesterol: 15 mg


Emily Roberts
Content Creator & Kitchen Tips Specialist
Expertise
Dietary Planning, Public Health Nutrition, Nutritional Education, Content Development
Education
University of Illinois at Urbana-Champaign
Registered Dietitian Nutritionist (RDN)
Emily Roberts is our content specialist and registered dietitian at HealthyChoices.org. With her Master’s degree in Nutritional Sciences from the University of Illinois and her Registered Dietitian Nutritionist certification, Emily uses her deep nutrition knowledge to write helpful, easy-to-understand guides about healthy eating.
Her warm, practical advice empowers readers to confidently make healthier choices, turning everyday meals into simple moments of wellness and joy.