Fluffy Cloud Delight: Simple Homemade Marshmallows Recipe
Sweet, pillowy homemade marshmallows dance with sugary magic, promising a foolproof easy homemade marshmallows recipe that melts in your mouth.
No store-bought brand can match the pure delight of these cloud-like treats.
Soft, billowy, and impossibly light, these marshmallows bring bakery-quality perfection straight to your kitchen.
Each fluffy cube bursts with rich vanilla essence and delicate sweetness.
The process looks complex but requires just a few simple ingredients and basic kitchen tools.
Professional bakers and novice cooks alike can master this delectable confection with minimal effort.
Get ready to impress everyone with these irresistible homemade marshmallows that will spark joy and create sweet memories.
Quick Recipe Overview

What You’ll Need for Foolproof Marshmallows
For Dusting:For Binding and Structure:For Flavor Enhancement:Tools to Whip Up Fluffy Marshmallows Smoothly
Steps to Make Homemade Marshmallows Easily
Marshmallow Magic
Create a cozy workspace with a large baking pan, parchment paper, and non-stick cooking spray. Line the pan carefully, ensuring parchment extends beyond the edges for easy removal.
Sprinkle gelatin over cold water and let it transform into a soft, wobbly base. This magical ingredient will give your marshmallows their signature fluffy texture.
In a saucepan, combine sugar, corn syrup, and water. Heat until the mixture reaches a perfect 240 degrees, creating a sweet, bubbling concoction that will bind your marshmallows together.
Pour the hot syrup into the gelatin mixture, whipping on high speed. Watch as the liquid turns white and glossy, expanding into a cloud-like mixture that’s pure marshmallow magic.
Quickly spread the fluffy mixture into your prepared pan. Dust with powdered sugar mixture and let it rest overnight, allowing the marshmallows to set and develop their perfect texture.
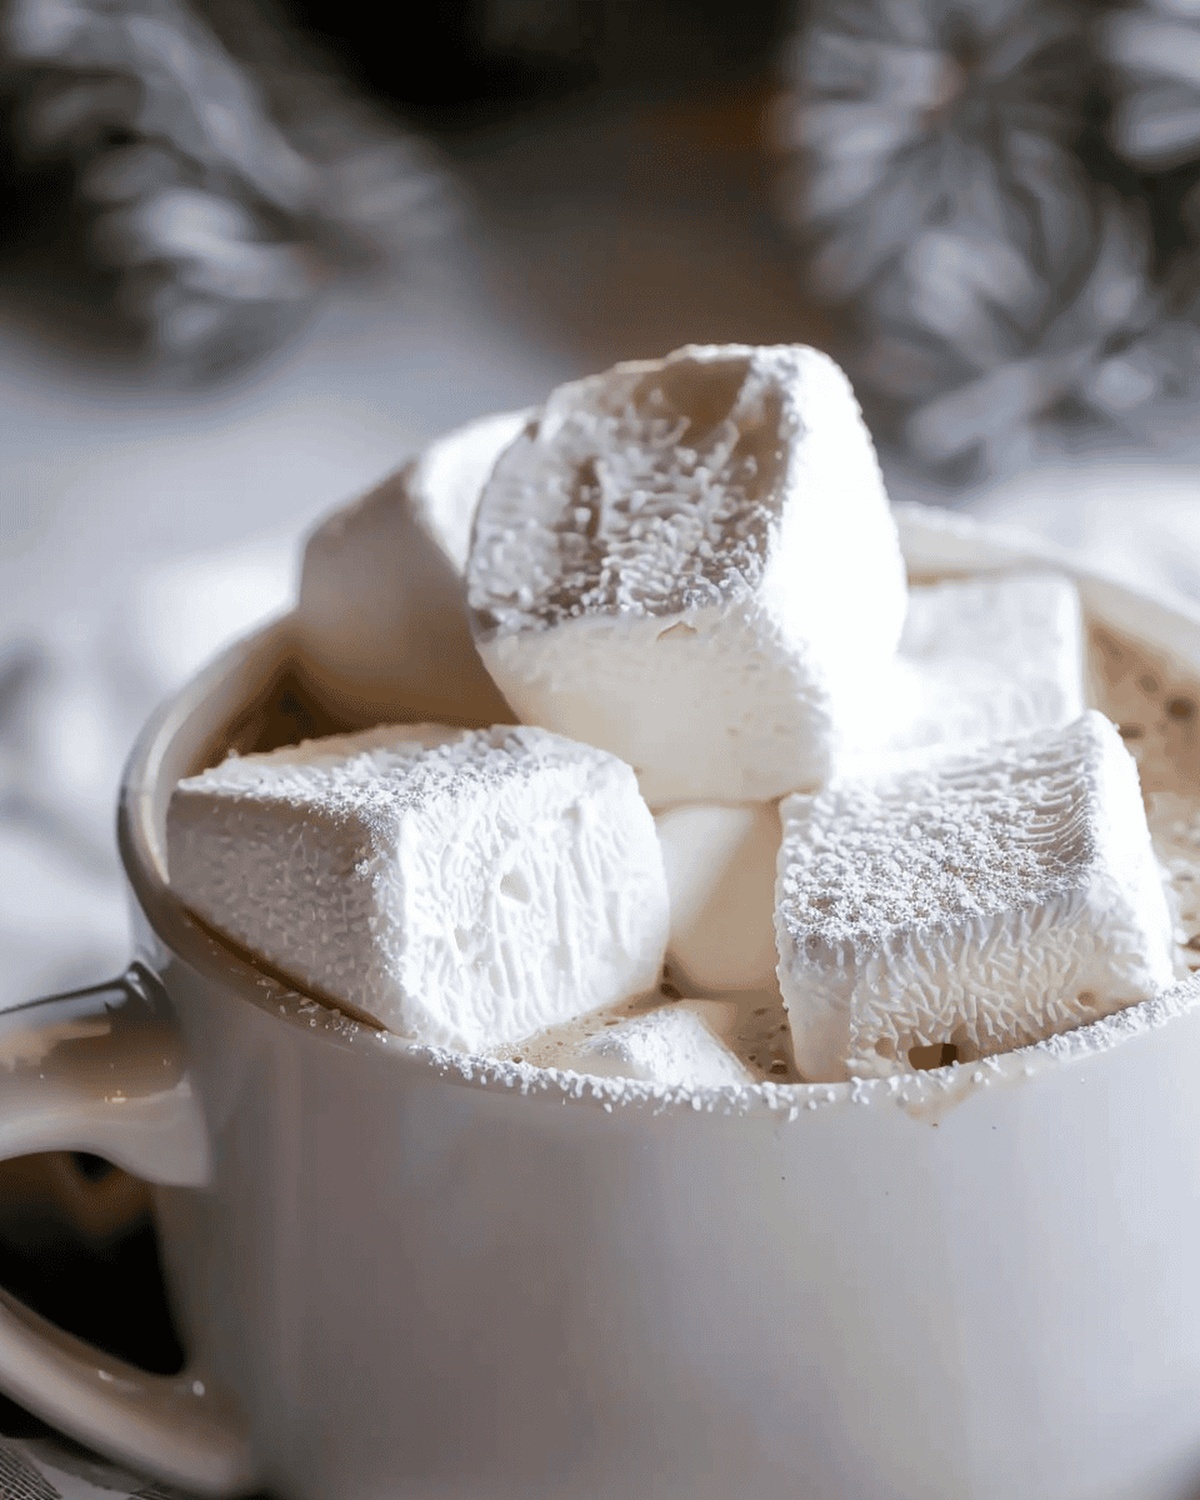
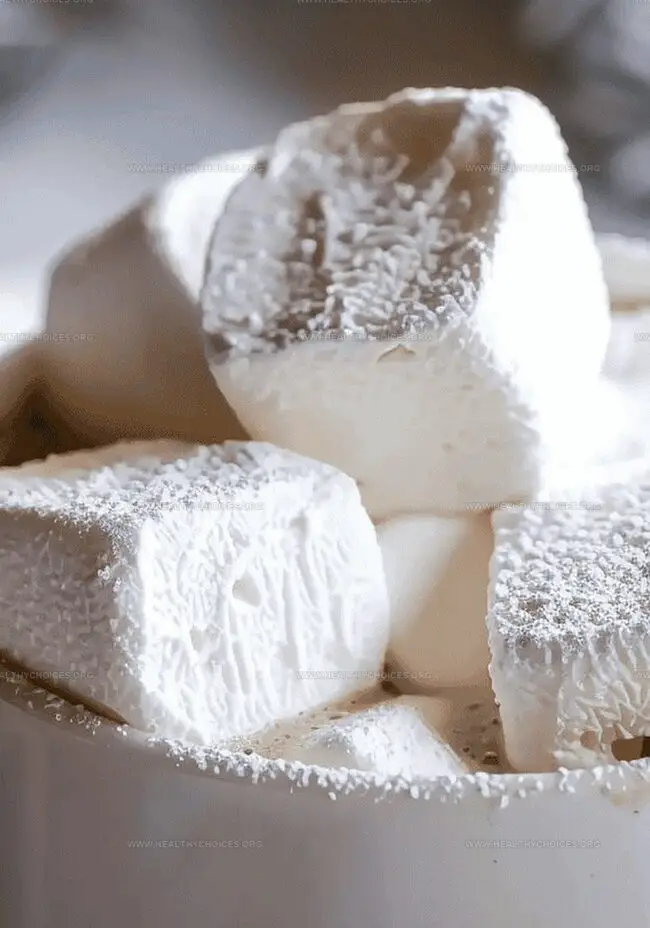
The next day, turn out the marshmallow slab and slice into delightful squares or fun shapes. Toss each piece in powdered sugar for that classic, melt-in-your-mouth finish.
Keep your homemade marshmallows in an airtight container, ready to sweeten hot chocolate, decorate desserts, or enjoy as a special treat for up to two weeks.
Add-Ins and Flavor Swaps for Marshmallows
Present Marshmallows for S’mores or Gifts
Store Homemade Marshmallows the Tidy Way
Print
Creamy Homemade Marshmallows
- Total Time: Overnight + 30-32 minutes
- Yield: 17 1x
Description
Silky homemade marshmallows deliver sweet clouds of pure delight with simple ingredients and straightforward technique. Delicate squares melt smoothly in hot cocoa or stack perfectly for classic s’mores you will savor.
Ingredients
- 2 cups (480 ml) granulated sugar
- 2½ tbsps (about 3 [0.25-oz] packets) unflavored gelatin
- 1 cup (240 ml) powdered sugar
- ⅔ cup (160 ml) light corn syrup
- 1 cup (240 ml) cold water, divided
- ⅓ cup (40 g) cornstarch
- 2 tsps vanilla extract
- ¼ tsp salt
Instructions
- Prepare Pan: Line a 9×13-inch pan with oversized parchment paper, creating easy-removal handles. Generously coat with non-stick spray.
- Gelatin Activation: Sprinkle gelatin over cold water in an electric mixer bowl, allowing it to bloom and firm for 10 minutes.
- Sugar Syrup Creation: In a medium saucepan, combine water and corn syrup. Center sugar and salt, heating over medium-high until completely dissolved and reaching 240 degrees F.
- Marshmallow Formation: Cautiously stream hot syrup into bloomed gelatin while mixer runs on low, then increase to high speed. Whip until mixture becomes thick, white, and glossy. Briefly mix in vanilla extract.
- Setting and Cooling: Transfer marshmallow mixture to prepared pan using a non-stick sprayed silicone spatula. Smooth surface quickly. Dust half of powdered sugar-cornstarch blend over the slab. Cover loosely with plastic wrap and rest overnight at room temperature.
- Cutting and Coating: Invert marshmallow onto a parchment-lined cutting board. Remove original lining and sprinkle remaining sugar-cornstarch mixture. Use a pizza cutter or sharp knife to slice into 1-inch strips horizontally and vertically. Alternatively, use cookie cutters for different shapes.
- Final Preparation: Tumble marshmallows in a zip-top bag filled with powdered sugar, 3-4 at a time. Sift through a fine-mesh strainer to remove excess powder.
- Storage: Keep marshmallows in an airtight container at room temperature for up to two weeks.
Notes
- Prepare Pan Perfectly: Use oversized parchment paper with extended handles for effortless marshmallow removal and prevent sticking.
- Gelatin Blooming Technique: Let gelatin sit in cold water for exactly 10 minutes to ensure smooth, stable marshmallow texture.
- Syrup Temperature Matters: Heat sugar mixture precisely to 240 degrees F for the ideal marshmallow consistency and structure.
- Handle with Care: Work quickly when transferring and smoothing marshmallow mixture, as it sets rapidly and can become difficult to manage.
- Prep Time: 10 minutes
- Cook Time: 18-22 minutes
- Category: Desserts, Snacks
- Method: Boiling
- Cuisine: American
Nutrition
- Serving Size: 17
- Calories: 100
- Sugar: 20 g
- Sodium: 0.5 mg
- Fat: 0 g
- Saturated Fat: 0 g
- Unsaturated Fat: 0 g
- Trans Fat: 0 g
- Carbohydrates: 25 g
- Fiber: 0 g
- Protein: 1 g
- Cholesterol: 0 mg
Emily Roberts
Content Creator & Kitchen Tips Specialist
Expertise
Dietary Planning, Public Health Nutrition, Nutritional Education, Content Development
Education
University of Illinois at Urbana-Champaign
Registered Dietitian Nutritionist (RDN)
Emily Roberts is our content specialist and registered dietitian at HealthyChoices.org. With her Master’s degree in Nutritional Sciences from the University of Illinois and her Registered Dietitian Nutritionist certification, Emily uses her deep nutrition knowledge to write helpful, easy-to-understand guides about healthy eating.
Her warm, practical advice empowers readers to confidently make healthier choices, turning everyday meals into simple moments of wellness and joy.