Fun & Spooky Pumpkin Dirt Cups Recipe for Fall Treats
Sweet autumn calls for a spooky dirt cups recipe that blends childhood nostalgia with seasonal pumpkin magic.
These delightful desserts combine creamy textures with playful Halloween vibes.
Chocolate pudding and crushed cookies create a delectable base for pumpkin-infused fun.
Layers of chocolate and pumpkin blend into a treat that delights both kids and adults.
Crushed Oreos mimic dirt while pumpkin adds a festive twist to the classic dessert.
Gummy worms peeking through the layers make these cups an irresistible Halloween-themed indulgence.
You’ll love how simple and impressive these pumpkin dirt cups are to serve at any autumn gathering.
Quick Recipe Overview
Pumpkin Dirt Cup Ingredient Guide
For Base and Creaminess:For Crumbly Texture:For Decorative Touches:Tools That Help Layer These Halloween Cups
Steps to Build Spooky Pumpkin Dirt Cups
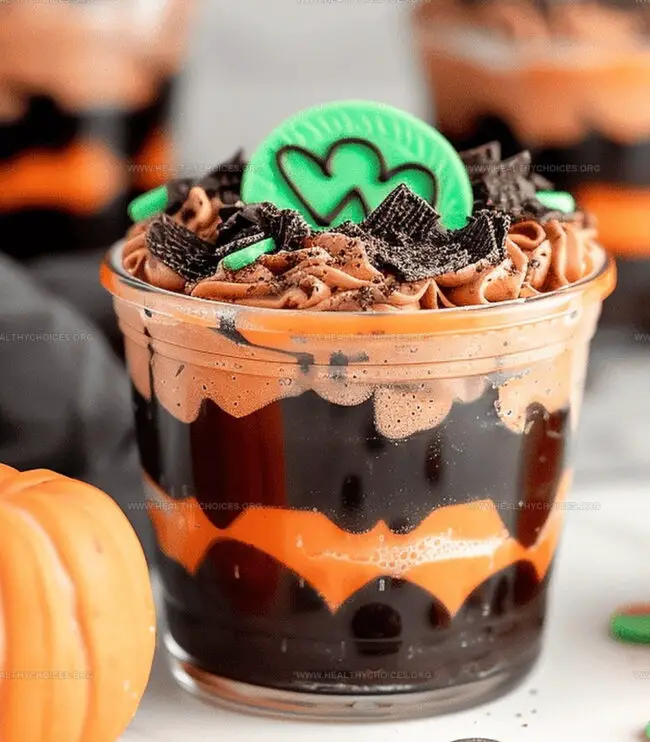
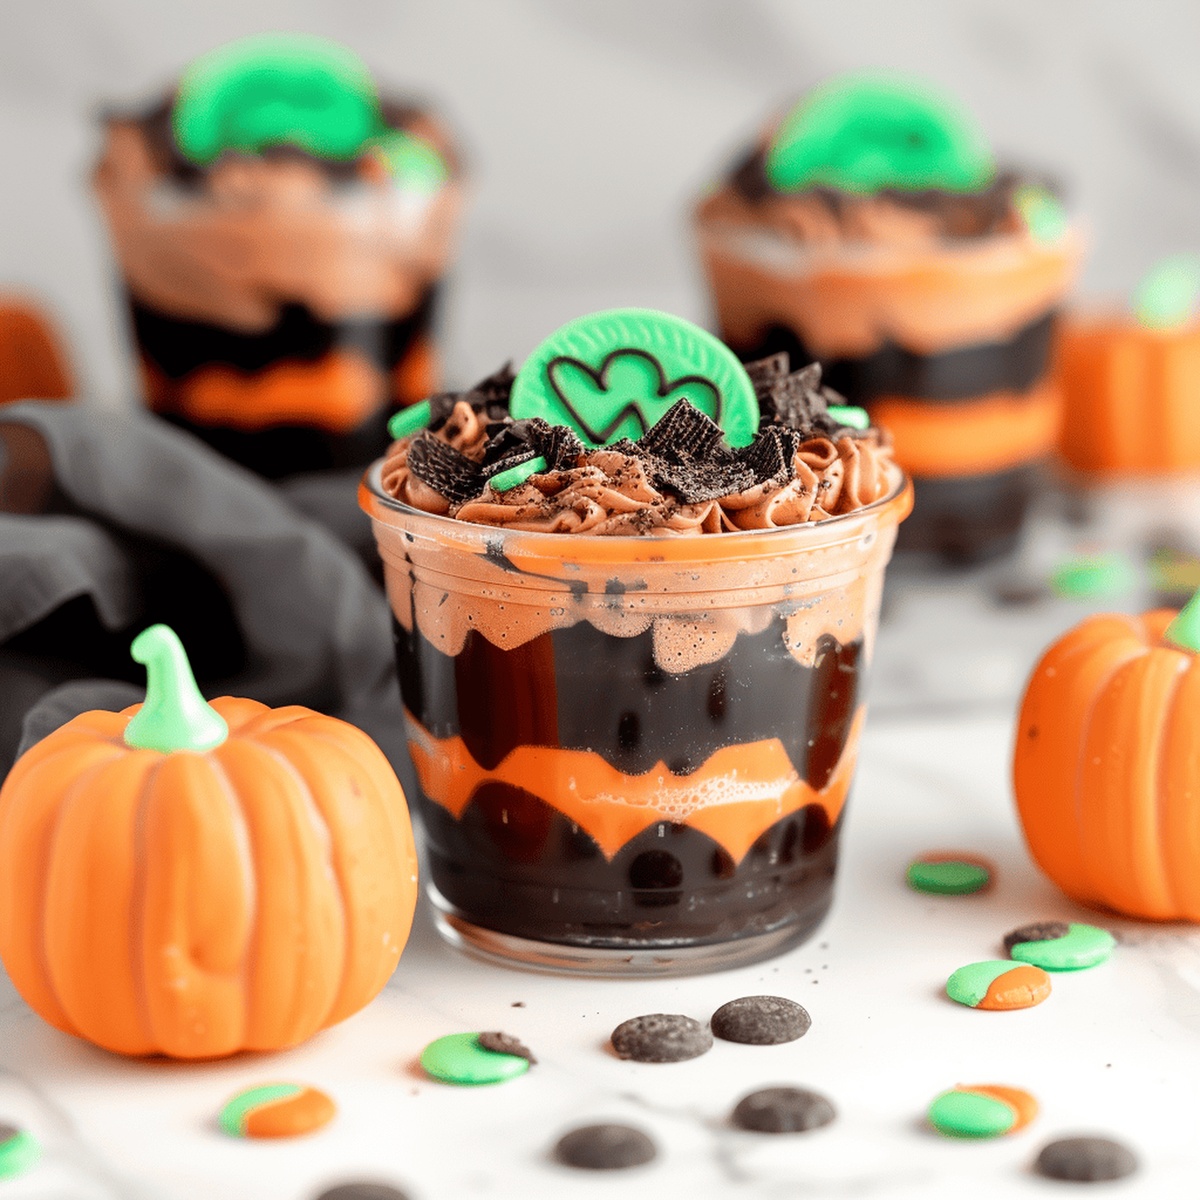
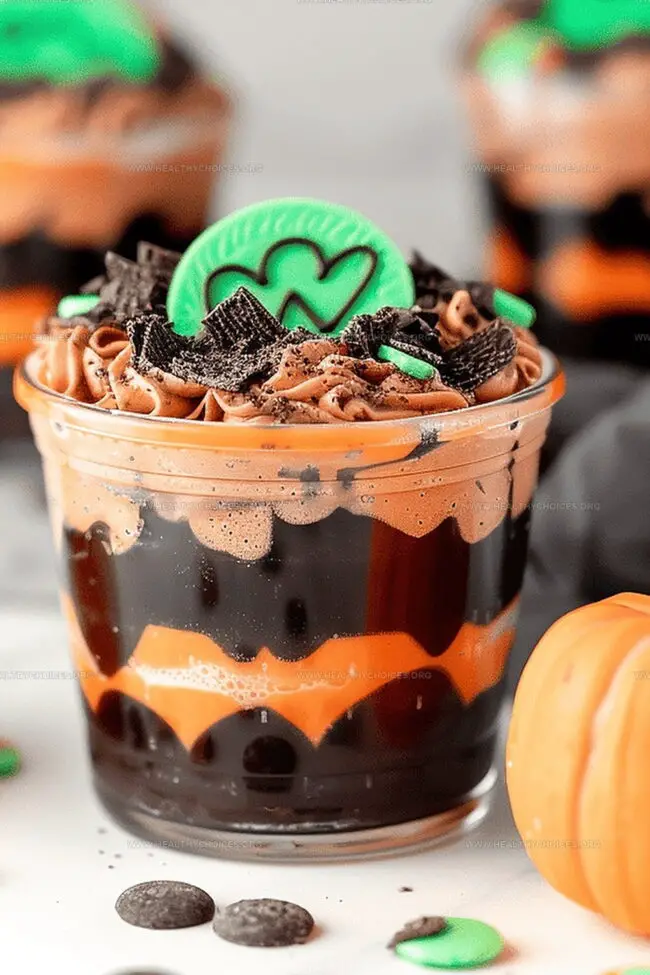
Pumpkin Dirt Dessert Cups
Grab your favorite pudding mix and milk for a creamy base. Whisk everything together until smooth and let it rest briefly to develop its rich texture.
Gently fold in fluffy whipped topping, creating a dreamy, light mixture that will make your dessert irresistibly soft and airy.
Sprinkle a generous layer of crushed cookies at the bottom of each serving cup, creating a delightful crunchy base for your sweet creation.
Build your dessert by alternating pudding and cookie layers, creating a beautiful visual and taste experience that will wow everyone.
Pop your assembled dessert cups into the refrigerator and let them chill, allowing the flavors to mingle and the texture to set perfectly.
Transform plain coconut into a magical green landscape by adding a splash of food coloring, creating a whimsical garnish for your dessert.
Just before serving, sprinkle your green coconut on top and add adorable candy pumpkins to complete this festive and delicious treat.
Candy and Cookie Toppings You Can Try
How to Serve Pumpkin Dirt Cups
Storing Tips for Pumpkin Dirt Cups
Print
Creamy Pumpkin Dirt Cups Recipe
- Total Time: 1 hour 10 minutes
- Yield: 7 1x
Description
Creamy pumpkin dirt cups blend autumn’s sweetness with playful Halloween charm. Rich chocolate pudding and crushed cookies create a delightful seasonal dessert you’ll crave all fall long.
Ingredients
- 1 package (3.9 oz/110 g) chocolate instant pudding
- 8 oz (226 g) cool whip
- 2 cups milk
- 20 oreo cookies, crushed
- Green food coloring
- Candy pumpkins
- Shredded coconut
Instructions
- Pudding Preparation: Whisk pudding mix and milk in a medium bowl until smooth, allowing the mixture to thicken for a few minutes.
- Creamy Fusion: Gently fold Cool Whip into the pudding, creating a light and airy texture that will form the core of the dessert.
- Cookie Foundation: Craft the base layer by evenly distributing crushed cookies across the bottom of each serving cup, establishing a crunchy groundwork.
- Layering Technique: Alternate between spreading the pudding mixture and sprinkling crushed cookies, ensuring each layer is uniform and visually appealing.
- Chilling Process: Refrigerate the dessert for at least one hour, allowing the flavors to meld and the texture to set perfectly.
- Festive Topping Preparation: Transform shredded coconut into a vibrant green garnish by adding food coloring and water in a sealed container, shaking until the color is consistent.
- Final Presentation: Immediately before serving, crown each dirt cup with the green coconut and strategically place candy pumpkins to create a whimsical Halloween-inspired masterpiece.
Notes
- Pudding Perfection: Whisk the pudding mix and milk thoroughly to eliminate lumps and achieve a silky-smooth consistency.
- Folding Technique: Gently fold Cool Whip into the pudding to maintain a light, airy texture without deflating the mixture.
- Layering Strategy: Build layers evenly, alternating between crushed cookies and pudding for a balanced flavor and textural experience.
- Chill for Success: Refrigerate the dessert for at least one hour to allow flavors to meld and achieve optimal set and taste.
- Prep Time: 10 minutes
- Cook Time: 0 minutes
- Category: Desserts, Snacks
- Method: None
- Cuisine: American
Nutrition
- Serving Size: 7
- Calories: 300
- Sugar: 22g
- Sodium: 220mg
- Fat: 14g
- Saturated Fat: 7g
- Unsaturated Fat: 5g
- Trans Fat: 0g
- Carbohydrates: 41g
- Fiber: 1g
- Protein: 4g
- Cholesterol: 10mg
Emily Roberts
Content Creator & Kitchen Tips Specialist
Expertise
Dietary Planning, Public Health Nutrition, Nutritional Education, Content Development
Education
University of Illinois at Urbana-Champaign
Registered Dietitian Nutritionist (RDN)
Emily Roberts is our content specialist and registered dietitian at HealthyChoices.org. With her Master’s degree in Nutritional Sciences from the University of Illinois and her Registered Dietitian Nutritionist certification, Emily uses her deep nutrition knowledge to write helpful, easy-to-understand guides about healthy eating.
Her warm, practical advice empowers readers to confidently make healthier choices, turning everyday meals into simple moments of wellness and joy.