Golden Sweet & Salty Nut Roll Recipe: Homemade Treat Magic
Nostalgic memories flood back with every bite of this classic salted nut roll recipe that captures the essence of homemade comfort.
Sweet caramel and chewy nougat dance together, creating a symphony of textures and flavors.
Crunchy peanuts add the perfect salty contrast to the sugary center, making each piece a delightful treat.
The magic happens when simple ingredients combine with love and a touch of culinary skill.
Generations have cherished this beloved confection, passing down its delectable secrets from one baker to another.
You’ll fall in love with how easy it is to craft these irresistible bars at home.
Dive into this recipe and recreate a timeless candy that promises pure deliciousness.
Quick Recipe Overview
Ingredients Required for Salted Nut Roll
For the Filling:For the Coating:Gear for Making Nut Rolls
Equipment & Tools:Assembly Steps for Salted Nut Roll
Combine melted butter and marshmallow cream in a bowl. Stir until smooth and creamy, creating a fluffy base for the candy.
Blend the marshmallow mixture with powdered sugar and vanilla. Knead the mixture into a soft, pliable ball that holds together easily.
Divide the dough into several equal portions. Gently roll each portion into smooth, uniform logs about the length of your hand.
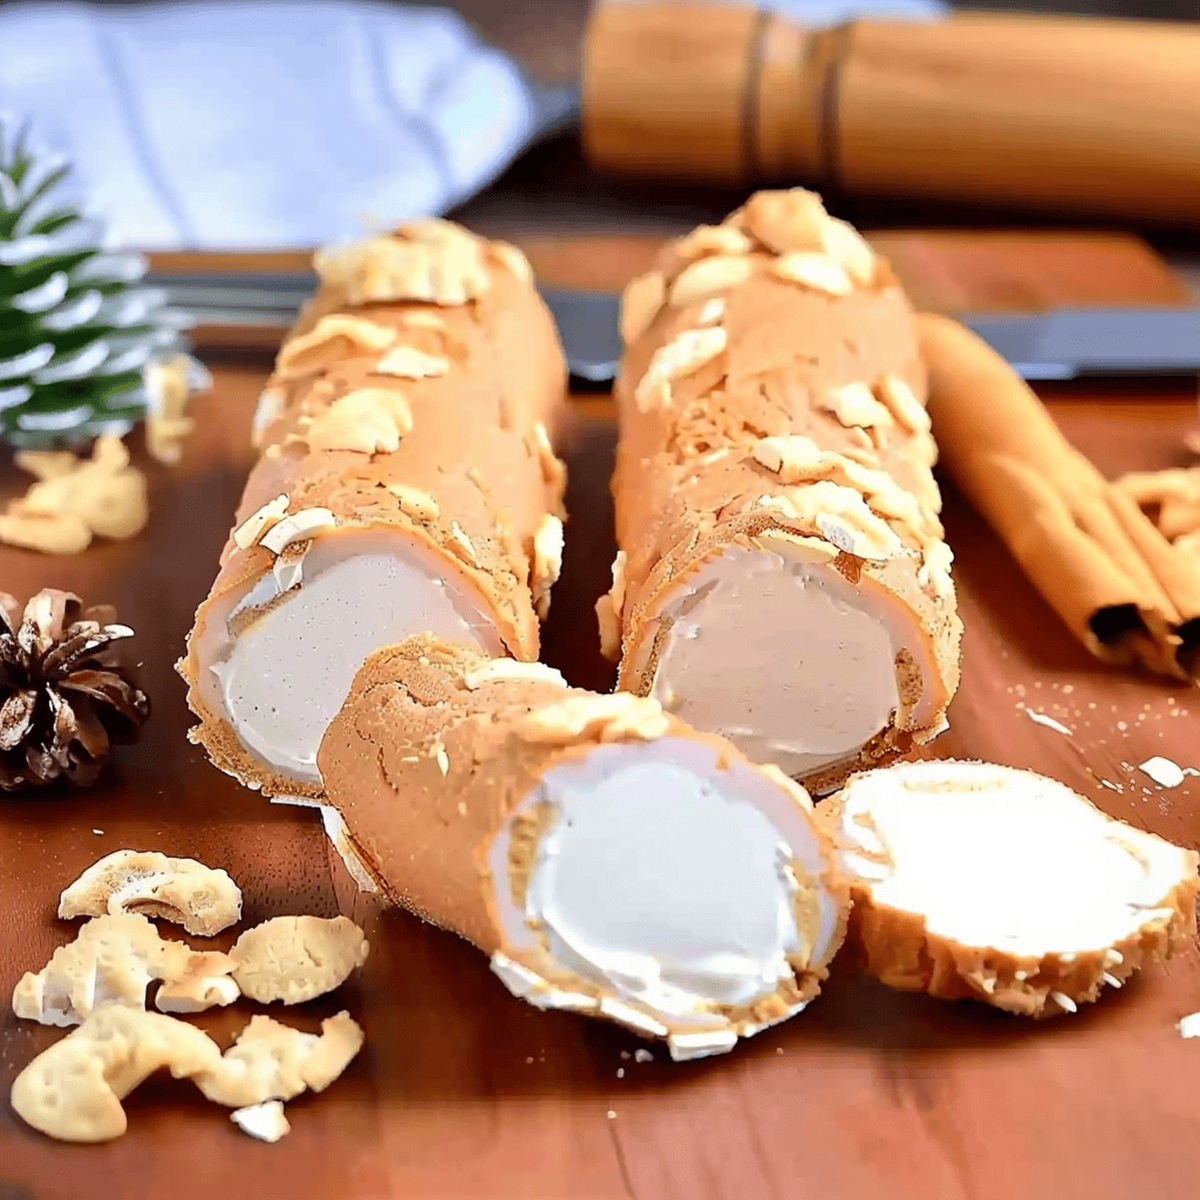
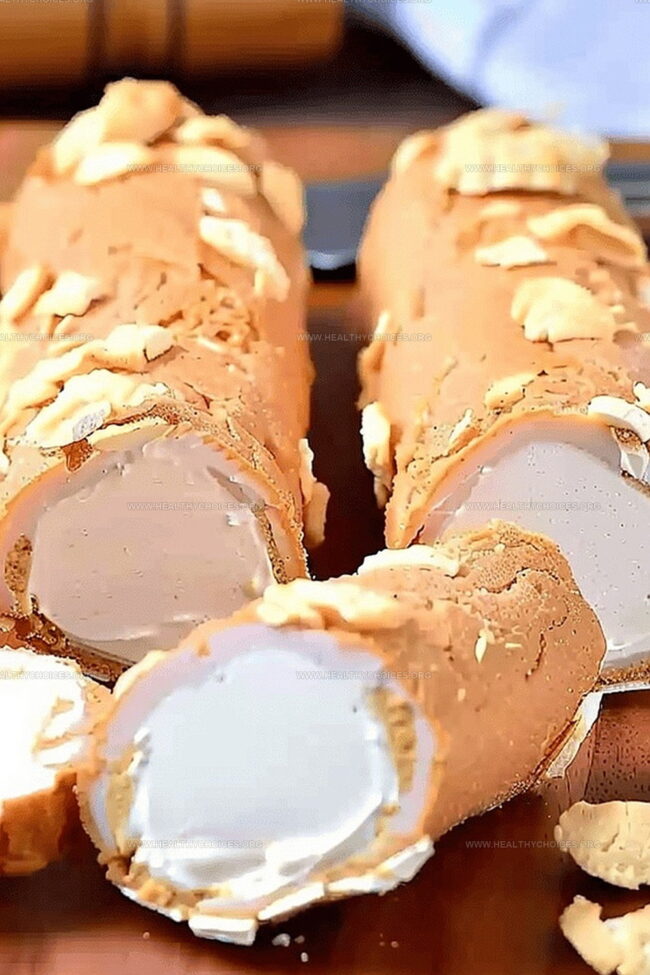
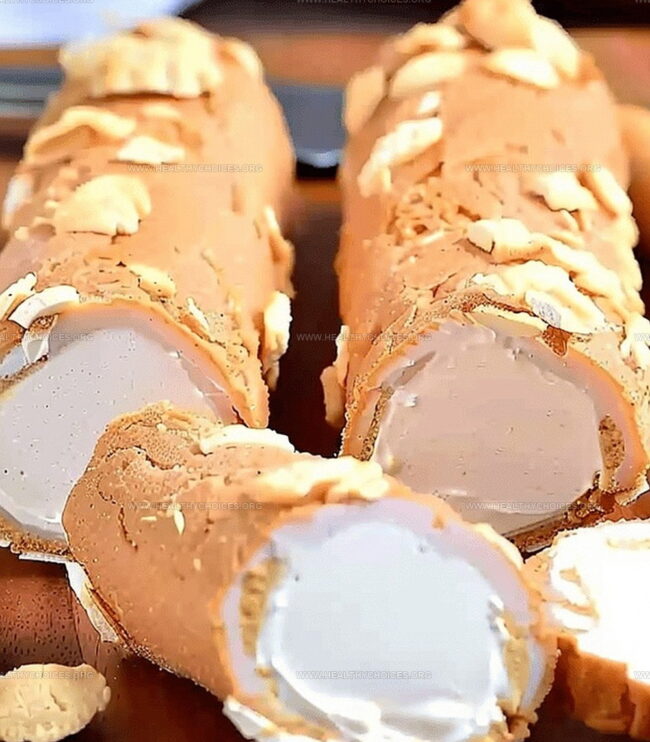
Melt caramel with butter until silky. Let the mixture cool slightly, then carefully spread over each frozen log. Press chopped peanuts around the surface for a crunchy exterior.
Refrigerate the coated logs to set the caramel. When ready, slice into bite-sized pieces that reveal the soft inner layer and crunchy peanut exterior.
Expert Tips for Rolling & Setting
How to Serve Nut Rolls
Storage for Salted Nut Roll
Print
Creamy Salted Nut Roll Recipe
- Total Time: 2 hours
- Yield: 17 1x
Description
Midwestern Salted Nut Roll delivers classic comfort with creamy nougat and nutty exterior. Sweet nostalgia wraps fans in pure Minnesota-style confectionery delight you can savor bite by delicious bite.
Ingredients
- 2 cups chopped peanuts
- 5 cups powdered sugar
- 2 11 oz (311 g) caramel bits
- ½ cup (113 g) unsalted butter
- 7 oz (198 g) marshmallow cream
- 2 tbsps unsalted butter
- 1 tsp pure vanilla extract
Instructions
- Melt Mixture: Combine butter and marshmallow cream in a microwave-safe bowl, heating until completely liquefied and silky smooth.
- Blend Ingredients: Transfer melted mixture to a large mixing bowl, stirring in powdered sugar and vanilla extract until achieving a uniform, consistent texture.
- Form Dough: Knead the soft mixture on a parchment-lined surface, consolidating into a cohesive mass and dividing into six equal cylindrical logs, each 7-8 inches long.
- Freeze Logs: Individually wrap each log in parchment paper and freeze for two hours to solidify the texture.
- Prepare Caramel Coating: Melt caramel bits with butter in a baking dish, ensuring a smooth, integrated mixture and allowing slight cooling while gently redistributing any separated butter.
- Coat and Dress: Remove a frozen log, thoroughly coat with caramel, then generously press chopped peanuts into the exterior, rewrapping in fresh parchment and refrigerating.
- Serve: Once completely chilled, slice each log into one-inch bite-sized pieces ready for enjoyment.
Notes
- Prep Smoothness: Use a microwave-safe bowl to ensure even heating and prevent scorching when melting butter and marshmallow cream.
- Mixing Technique: Blend powdered sugar and vanilla extract gently to maintain a uniform consistency without overmixing.
- Freezing Strategy: Wrap logs in parchment paper before freezing to prevent sticking and maintain clean cylindrical shapes.
- Caramel Coating Pro-Tip: Allow caramel to cool slightly before dipping frozen logs to achieve a smooth, even coverage and help nuts adhere better.
- Prep Time: 30 minutes
- Cook Time: 1 hour 30 minutes
- Category: Snacks, Desserts
- Method: Blending
- Cuisine: American
Nutrition
- Serving Size: 17
- Calories: 250
- Sugar: 28 g
- Sodium: 60 mg
- Fat: 10 g
- Saturated Fat: 4 g
- Unsaturated Fat: 6 g
- Trans Fat: 0 g
- Carbohydrates: 38 g
- Fiber: 1 g
- Protein: 2 g
- Cholesterol: 15 mg
Emily Roberts
Content Creator & Kitchen Tips Specialist
Expertise
Dietary Planning, Public Health Nutrition, Nutritional Education, Content Development
Education
University of Illinois at Urbana-Champaign
Registered Dietitian Nutritionist (RDN)
Emily Roberts is our content specialist and registered dietitian at HealthyChoices.org. With her Master’s degree in Nutritional Sciences from the University of Illinois and her Registered Dietitian Nutritionist certification, Emily uses her deep nutrition knowledge to write helpful, easy-to-understand guides about healthy eating.
Her warm, practical advice empowers readers to confidently make healthier choices, turning everyday meals into simple moments of wellness and joy.