Zesty Party Bites: Appetizer Tortilla Pinwheels Recipe
When it comes to party-pleasing appetizer tortilla pinwheels, these bite-sized delights never fail to impress guests with their vibrant colors and bold flavors.
Rolled with creamy fillings and packed with zesty ingredients, these pinwheels offer a delectable twist on traditional appetizers.
Soft tortillas become the perfect canvas for a delightful mixture of cream cheese, herbs, and savory proteins.
Each pinwheel promises a burst of flavor that dances across your palate with every single bite.
The recipe is surprisingly simple, requiring minimal cooking skills and just a few fresh ingredients.
Quick to assemble and even quicker to disappear from the serving platter, these pinwheels are guaranteed to be the star of any gathering.
You’ll want to bookmark this recipe for your next social event or casual get-together.
Quick Recipe Overview
Ingredients for Appetizer Tortilla Pinwheels
For Creamy Base:For Flavor Boosters:For Wrap and Serving:Tools to Create Appetizer Tortilla Pinwheels
Rolling Instructions for Tortilla Pinwheels
Gather all ingredients and blend cream cheese, cheddar, and sour cream into a creamy, smooth consistency. Fold in chopped olives, green chiles, green onions, and spices until perfectly combined.
Warm tortillas slightly and spread the rich cheese mixture across each one. Roll each tortilla tightly, creating a compact cylinder that holds the zesty filling.
Wrap each rolled tortilla in plastic wrap, securing the ends to maintain shape. Place in refrigerator for several hours to allow flavors to meld and texture to set.
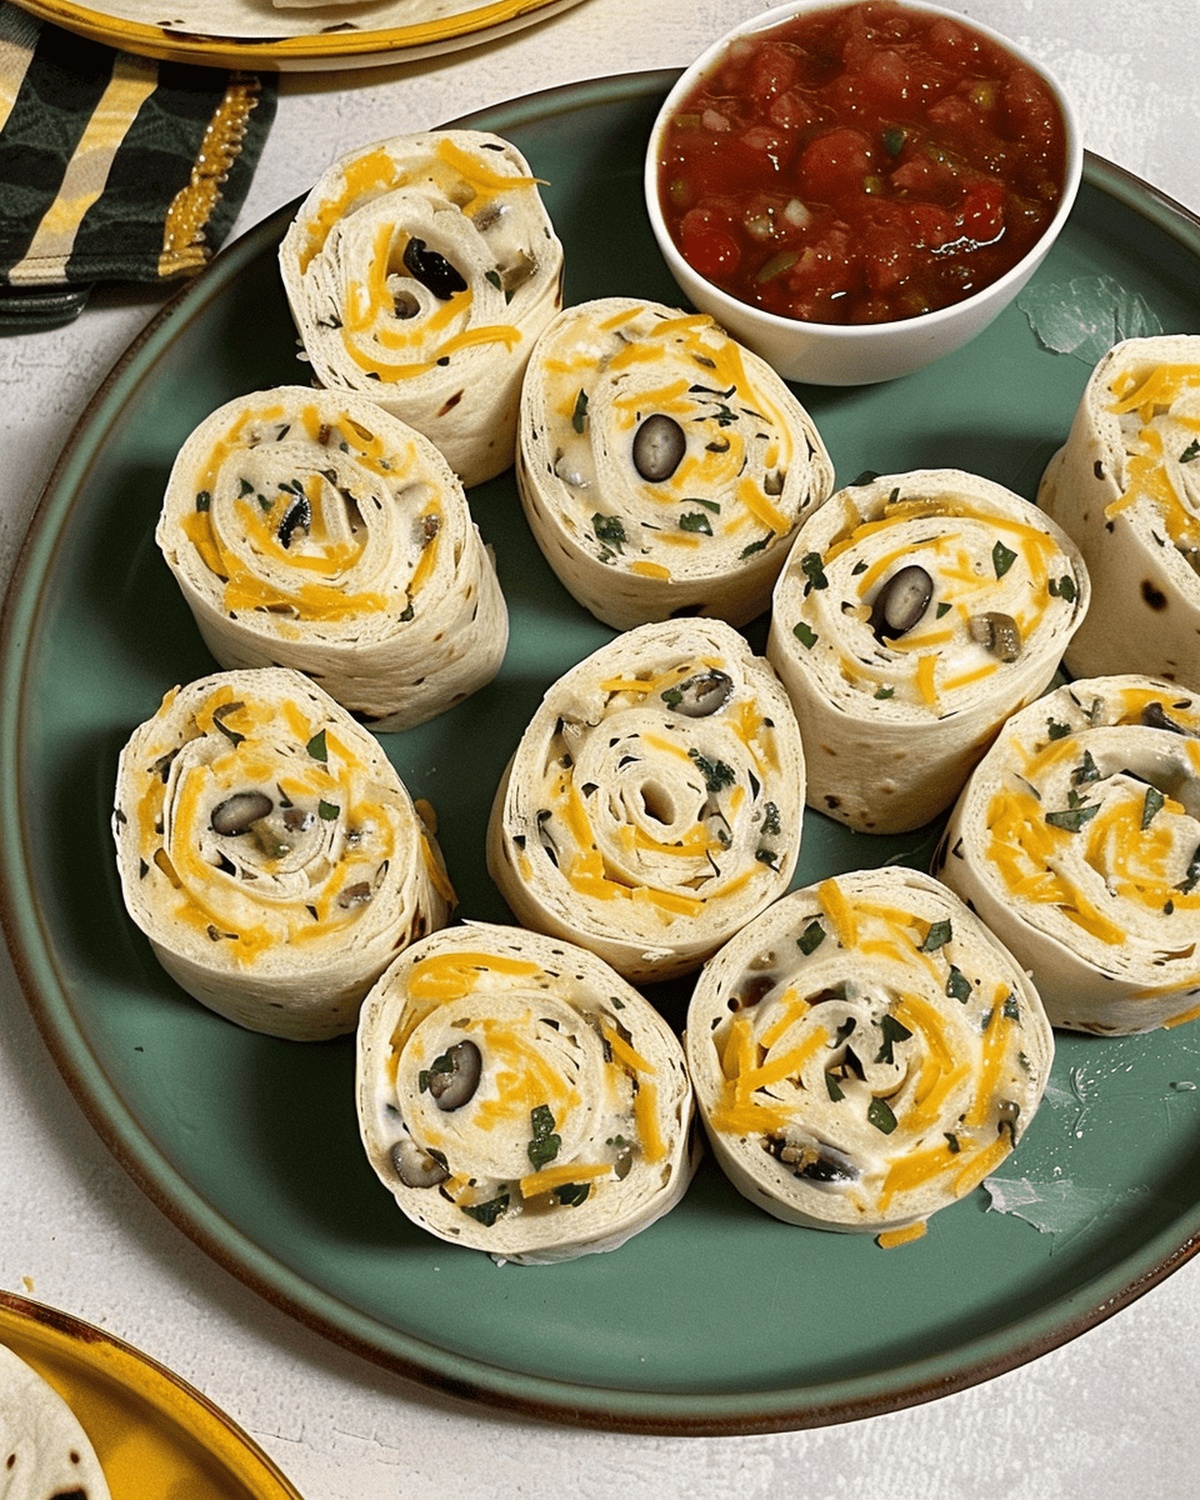
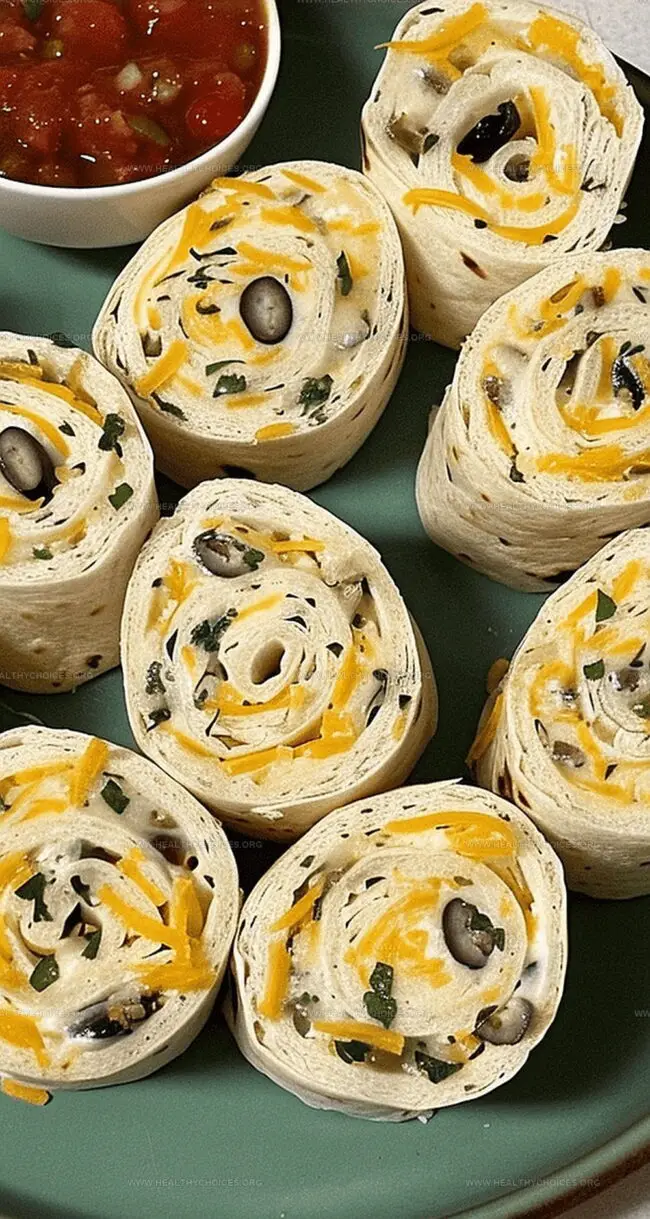
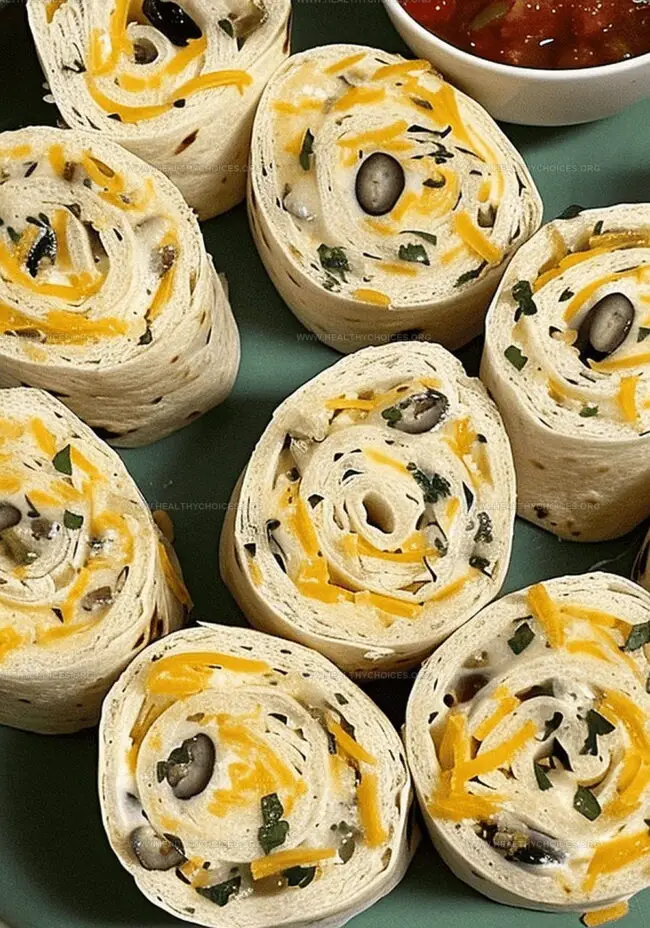
Remove chilled rolls from refrigerator and slice into bite-sized rounds using a sharp serrated knife. Arrange on a serving platter and pair with fresh salsa for an extra burst of flavor.
Filling Ideas for Appetizer Tortilla Pinwheels
Serving Tips for Tortilla Pinwheels
Storing Appetizer Tortilla Pinwheels Correctly
Print
Crispy Appetizer Tortilla Pinwheels Recipe
- Total Time: 3 hours 10 minutes
- Yield: 11 1x
Description
Appetizer tortilla pinwheels deliver a zesty Mexican-inspired snack perfect for parties and gatherings. Creamy cheese, herbs, and tender meats roll together in soft tortillas, promising delightful bites you’ll crave at your next celebration.
Ingredients
- 5 flour tortillas (10 inches / 25.4 centimeters), warmed
- 1 pkg (8 oz / 226 g) cream cheese, softened
- 1 cup (8 fl oz / 240 mL) sour cream
- 1 cup (100 g) cheddar cheese, shredded
- 1 can (4.25 oz / 120 g) ripe olives, chopped
- 1 can (4 oz / 113 g) green chiles, chopped and well drained
- ½ cup (50 g) green onions, chopped
- Garlic powder, to taste
- Seasoned salt, to taste
- Salsa, for serving (optional)
Instructions
- Mixture Creation: Blend cream cheese, cheddar cheese, and sour cream until smooth and uniform, using an electric mixer to achieve a creamy consistency.
- Flavor Infusion: Fold chopped olives, green chiles, green onions, garlic powder, and seasoned salt into the cheese mixture, ensuring ingredients are evenly distributed for a balanced flavor profile.
- Tortilla Preparation: Warm tortillas briefly to increase flexibility, preventing potential cracking during the rolling process.
- Assembly Technique: Spread cheese mixture across each tortilla, leaving a slight border to prevent filling from squeezing out, then tightly roll into compact cylinders, maintaining even pressure.
- Chilling Process: Individually wrap rolled tortillas in plastic wrap and refrigerate for 2-3 hours, allowing flavors to meld and filling to firm up for precise cutting.
- Serving Presentation: Unwrap chilled rolls and slice into neat pinwheel rounds using a sharp serrated knife, cutting approximately ½–¾ inches thick. Arrange artfully on a serving platter and optionally garnish with fresh salsa for dipping.
Notes
- Chill for Perfect Shape: Refrigerate rolls for at least 2 hours to ensure clean, precise cuts and allow flavors to develop deeply.
- Master the Soft Tortilla Technique: Gently warm tortillas before spreading to prevent cracking and make rolling smoother.
- Slice with Precision: Use a sharp serrated knife and clean between cuts to create uniform, attractive pinwheel slices.
- Control Filling Spread: Leave a small margin around tortilla edges when spreading cheese mixture to prevent messy overflow during rolling.
- Prep Time: 10 minutes
- Cook Time: 0 minutes
- Category: Appetizer, Snacks
- Method: Blending
- Cuisine: Mexican
Nutrition
- Serving Size: 11
- Calories: 230
- Sugar: 2 g
- Sodium: 450 mg
- Fat: 15 g
- Saturated Fat: 8 g
- Unsaturated Fat: 7 g
- Trans Fat: 0 g
- Carbohydrates: 20 g
- Fiber: 1 g
- Protein: 6 g
- Cholesterol: 30 mg
Emily Roberts
Content Creator & Kitchen Tips Specialist
Expertise
Dietary Planning, Public Health Nutrition, Nutritional Education, Content Development
Education
University of Illinois at Urbana-Champaign
Registered Dietitian Nutritionist (RDN)
Emily Roberts is our content specialist and registered dietitian at HealthyChoices.org. With her Master’s degree in Nutritional Sciences from the University of Illinois and her Registered Dietitian Nutritionist certification, Emily uses her deep nutrition knowledge to write helpful, easy-to-understand guides about healthy eating.
Her warm, practical advice empowers readers to confidently make healthier choices, turning everyday meals into simple moments of wellness and joy.