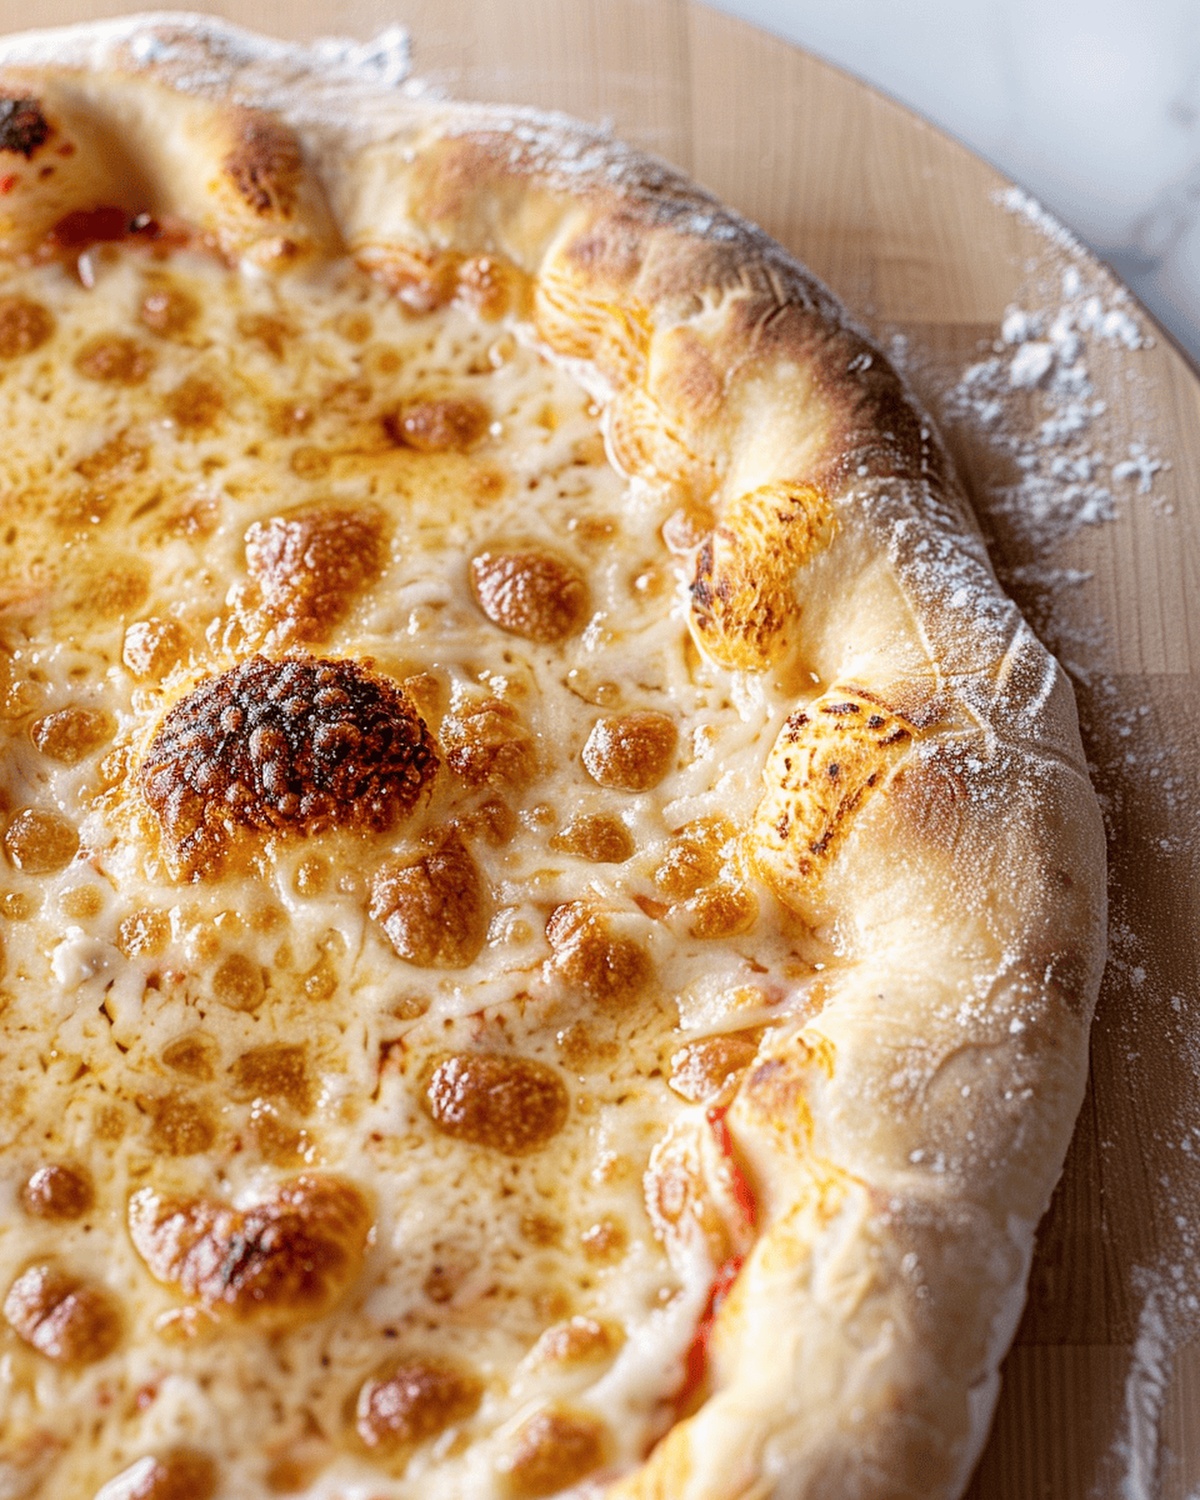
Quick & Homey Artisan Pizza Crust Recipe That’s Pure Magic
Artisan pizza crust revolutionizes ordinary meals into culinary adventures with its remarkable texture and depth of flavor.
Passionate home cooks understand the magic behind creating a perfect base that elevates every single bite.
Professional bakers know this craft requires careful techniques and precise ingredient selection.
Crisp edges, tender centers, and complex flavor profiles distinguish exceptional crusts from mundane alternatives.
Authentic techniques blend traditional methods with modern understanding of flour, yeast, and fermentation processes.
Mastering this skill means embracing both science and artistry in kitchen preparation.
Each handcrafted pizza represents a personal journey of flavor and technique.
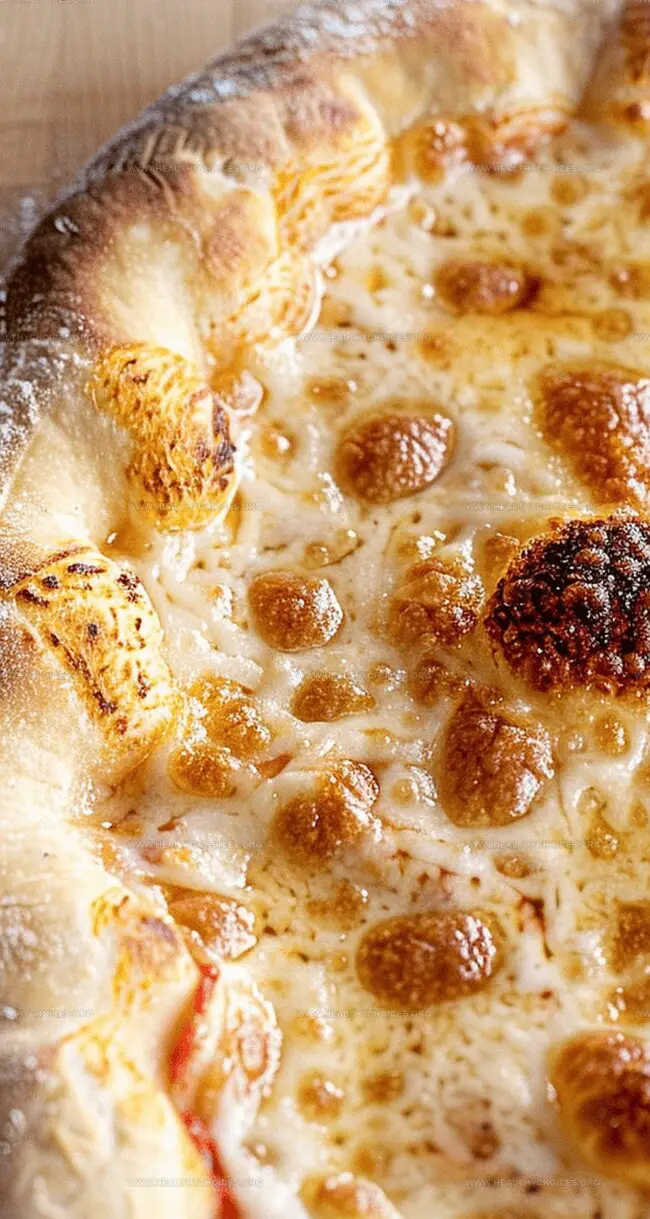
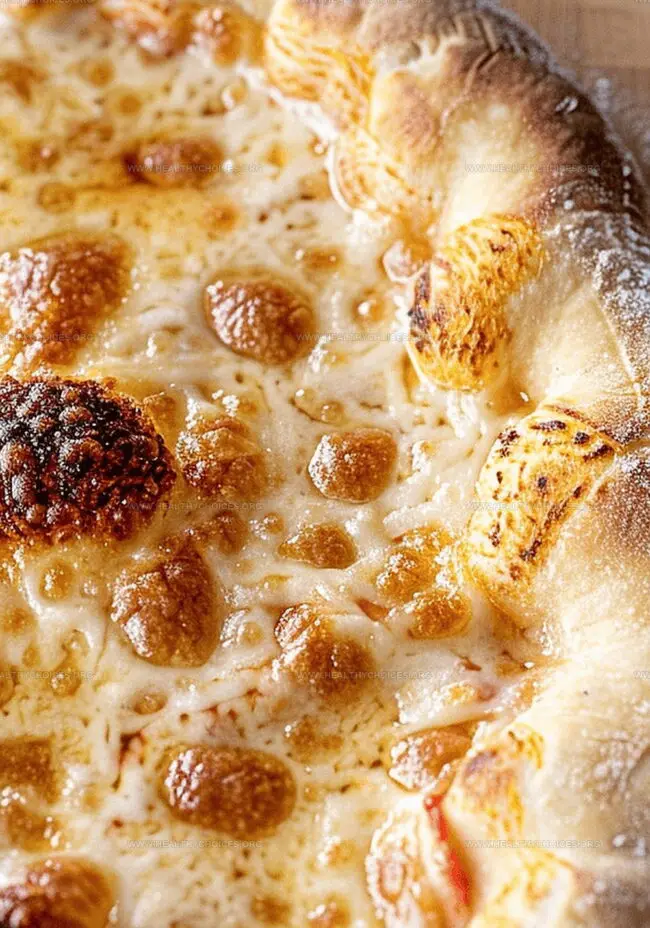
What Makes This Artisan Pizza Crust Crispy and Chewy
Ingredients for the Perfect Bubbly Pizza Dough
Pizza Dough Base:Seasoning Elements:Optional Preparation Ingredients:How to Make a Homemade Artisan-Style Pizza Crust
Step 1: Create Dough Base
Mix flour with most of the water in a large bowl until just combined. Cover and let the mixture rest for 20 minutes.
Step 2: Activate Yeast
Dissolve yeast in the remaining water. This tiny step will bring your dough to life!
Step 3: Incorporate Seasoning
Sprinkle salt over the dough. Pour yeast mixture on top. Using a slightly wet hand, gently stretch and fold the dough to mix ingredients evenly.
Step 4: Develop Dough Texture
Pinch and squeeze chunks of dough with your thumb and fingers. Fold the dough over itself multiple times. Continue until the mixture looks shaggy and ingredients are well combined.
Step 5: First Resting Period
Cover the bowl and let the dough relax for about an hour. During this time, magical transformations are happening!
Step 6: Build Gluten Structure
Stretch and fold the dough sections towards the center. Rotate the bowl and repeat 4-5 times until the dough forms a tight ball.
Step 7: Initial Rise
Transfer dough to a lightly greased bowl, seam side down. Cover and let rise for 5-6 hours until it doubles in size.
Step 8: Shape Dough Balls
Turn dough onto a floured surface. Divide into two portions. Shape each half by stretching and folding edges towards the center.
Step 9: Create Perfect Dough Rounds
Place dough ball on an un-floured surface. Gently drag towards you to create surface tension. Rotate and repeat until the dough becomes tight and round.
Step 10: Final Preparation
Transfer dough balls to a greased plate. Lightly oil the tops. Let rest at room temperature for one hour. For longer storage, refrigerate up to two days.
Step 11: Preheat Pizza Station
Set oven to 500°F. Place pizza steel or stone on middle rack. Heat for 45 minutes.
Step 12: Stretch Pizza Dough
Flour a pizza peel. Flatten dough center, leaving a thick edge. Use gravity to stretch into a 12-inch circle.
Step 13: Add Toppings
Place dough on prepared surface. Add sauce and toppings, keeping the edge clear.
Step 14: Bake to Perfection
Slide pizza onto hot steel. Bake 5 minutes. Activate broiler for 2-4 minutes until cheese melts and crust turns golden.
Step 15: Serve and Enjoy
Remove pizza, let cool briefly, slice, and savor your homemade artisan creation!
Tips for Getting the Right Texture and Airiness
Best Way to Store and Reheat Pizza Crust
Great Toppings and Dishes to Serve with It
Simple Variations to Try for Different Flavors
Print
Crispy, Chewy, and Bubbly Artisan Pizza Crust Recipe
- Total Time: 50 minutes
- Yield: 4 1x
Description
Homemade artisan pizza crust promises a delightful culinary journey through crispy edges and chewy centers. Italian-inspired techniques deliver restaurant-quality results with minimal effort, inviting pizzaiolos to create memorable meals right in their own kitchen.
Ingredients
Main Ingredients:
- 500 grams (3 ¾ cups plus 2 tablespoons) all-purpose flour
- 375 grams (1 ½ cups plus 2 tablespoons) warm water
Leavening Agent:
- 1 gram (¼ teaspoon) active dry yeast
Seasoning:
- 10 grams (1 ½ teaspoons) fine salt
Instructions
- In a spacious mixing vessel, combine flour with most of the water until just integrated. Allow the mixture to relax, covered, for 20 minutes.
- Activate the yeast by dissolving it in the remaining warm water.
- Sprinkle salt across the dough surface, then pour the yeast liquid over it. Incorporate ingredients by moistening your hand and gently stretching sections of dough over each other until evenly distributed.
- Use thumb and fingers to pinch and squeeze dough chunks, folding repeatedly until the mixture becomes shaggy and ingredients are thoroughly combined.
- Shield the bowl and permit the dough to mature for approximately one hour.
- Develop gluten structure by stretching and folding the dough toward its center. Rotate the container and repeat this motion 4-5 times until the dough forms a compact ball.
- Relocate the dough ball to a pristine, lightly oiled container, positioning the seam downward. Ensure complete coverage and allow rising for 5-6 hours until volume doubles.
- Transfer the risen dough onto a flour-dusted surface. Divide into two equal portions, shaping each by stretching quarter sections toward the center and folding systematically.
- Position each dough ball seam-side down, creating surface tension by gently dragging across the work surface. Rotate and repeat until achieving a taut, circular shape.
- Place dough balls on greased plates, lightly coat with oil, and rest at ambient temperature for one hour. Optionally, refrigerate for up to two days if not immediately using.
- Heat oven to maximum temperature (500°F), positioning pizza steel or stone on middle rack for at least 45 minutes.
- Prepare a pizza peel with generous flour or cast iron pan with olive oil.
- Flatten dough into a substantial disk, maintaining a thick perimeter. Utilize gravitational pull to stretch into a 12-inch circular form.
- Transfer dough carefully, ensuring no adhesion to surface. Adjust circular shape and add additional flour if necessary.
- Layer preferred sauce and toppings, preserving the untouched outer edge.
- Slide pizza onto preheated surface and bake for 5 minutes. Activate broiler to complete cooking, watching for golden, blistered crust and melted cheese (approximately 2-4 minutes).
- Repeat process with remaining dough ball and alternate toppings.
Notes
- Master the art of patience, as this artisan pizza dough requires slow fermentation for incredible flavor and texture development.
- Handle the dough gently and minimally to preserve the delicate air bubbles that create a light, crispy crust with chewy interior.
- Invest in a pizza steel or stone to achieve professional-level crispiness and even heat distribution during baking.
- Create tension when shaping dough balls by dragging them across an un-floured surface, which helps develop a beautiful round shape and tight exterior.
- Refrigerating dough allows for deeper flavor development and can be stored up to two days, making meal prep flexible and convenient.
- High oven temperature is crucial for achieving that restaurant-quality crisp crust with beautiful blistering and golden edges.
- Prep Time: 30 minutes (plus resting and rising time)
- Cook Time: 20 minutes
- Category: Lunch, Dinner, Appetizer, Snacks
- Method: Baking
- Cuisine: Italian
Nutrition
- Serving Size: 4
- Calories: 240
- Sugar: 0g
- Sodium: 250mg
- Fat: 1g
- Saturated Fat: 0g
- Unsaturated Fat: 0g
- Trans Fat: 0g
- Carbohydrates: 50g
- Fiber: 2g
- Protein: 8g
- Cholesterol: 0mg
David Bennett
Founder & Head Recipe Developer
Expertise
Culinary Nutrition, Recipe Development, Nutritional Counseling, Food Science
Education
Johnson & Wales University
Certified Nutrition Specialist® (CNS®)
David Bennett is the lead recipe creator and nutrition expert at HealthyChoices.org, your friendly space for tasty meals that nourish body and mind.
With a Culinary Nutrition degree from Johnson & Wales University and a Certified Nutrition Specialist® credential, David pairs practical nutrition with delicious cooking, creating recipes you’ll crave daily.
At Healthy Choices, David shares easy, nutritious dishes and smart cooking tips to make healthy eating something everyone can enjoy, with no complicated diets needed.