Heavenly Butterfinger Bliss Pie Recipe: Sweet Crunchy Delight
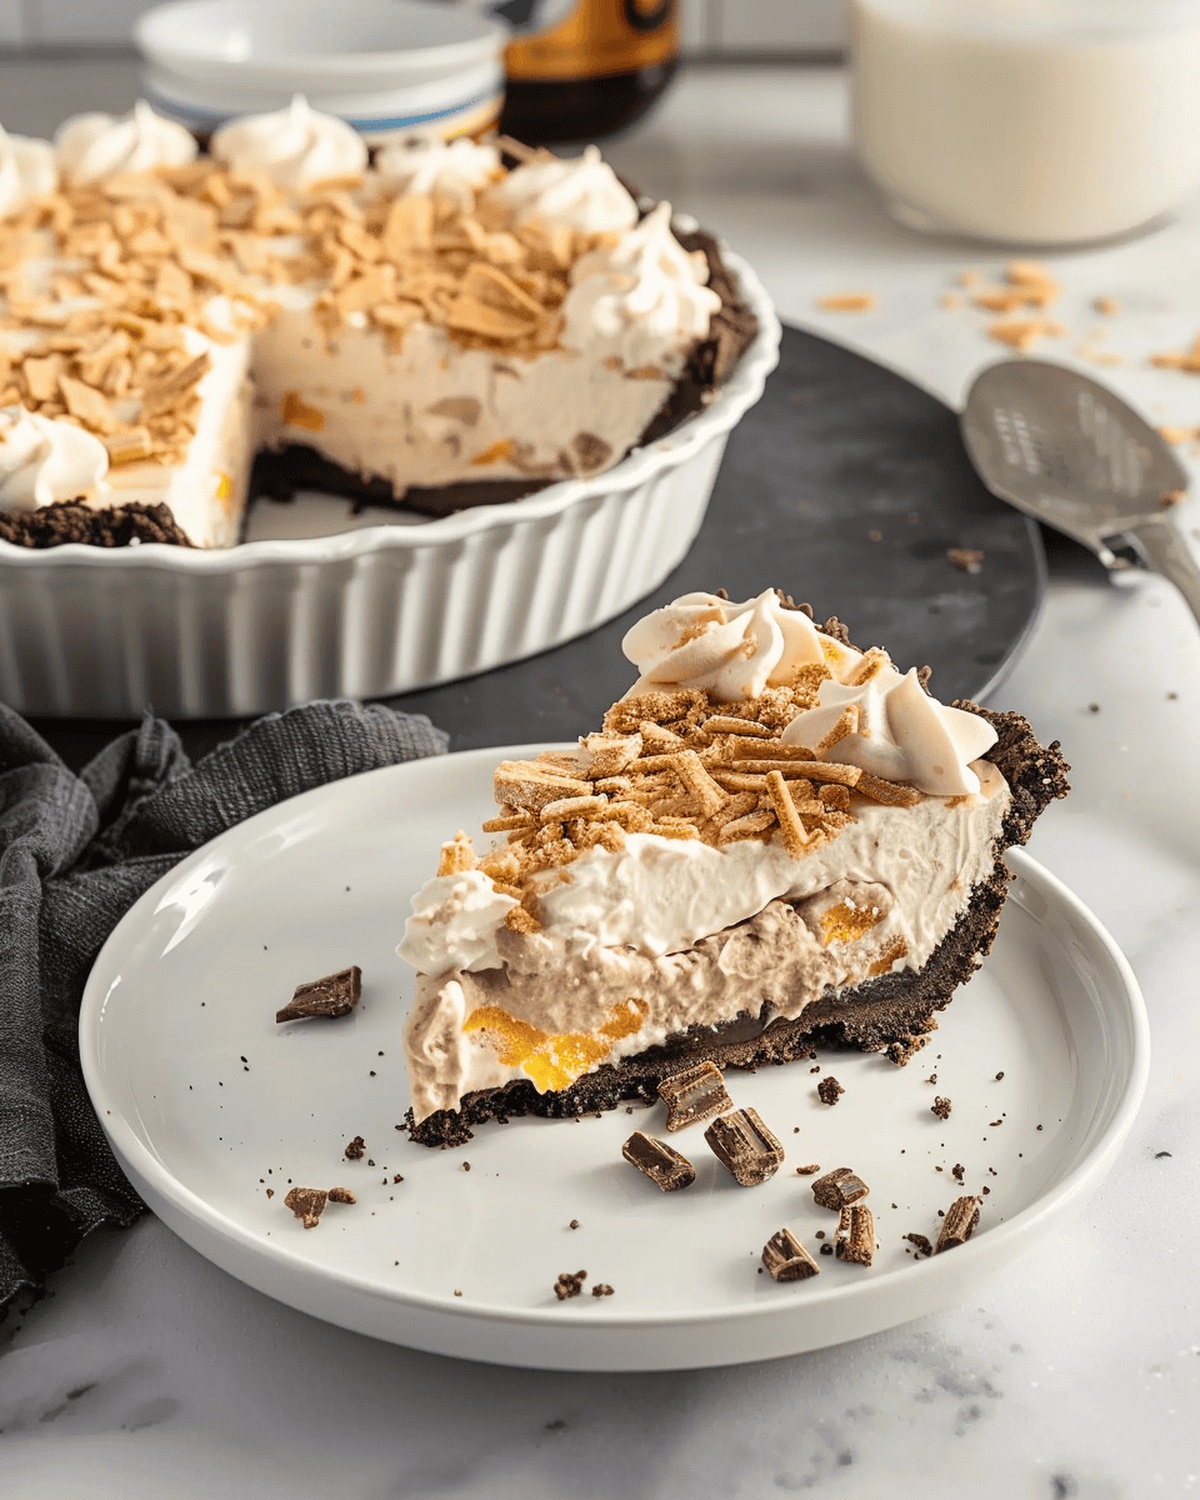
Sweet, creamy, and irresistibly decadent, this butterfinger bliss pie recipe promises a dessert that dances on the edge of pure indulgence.
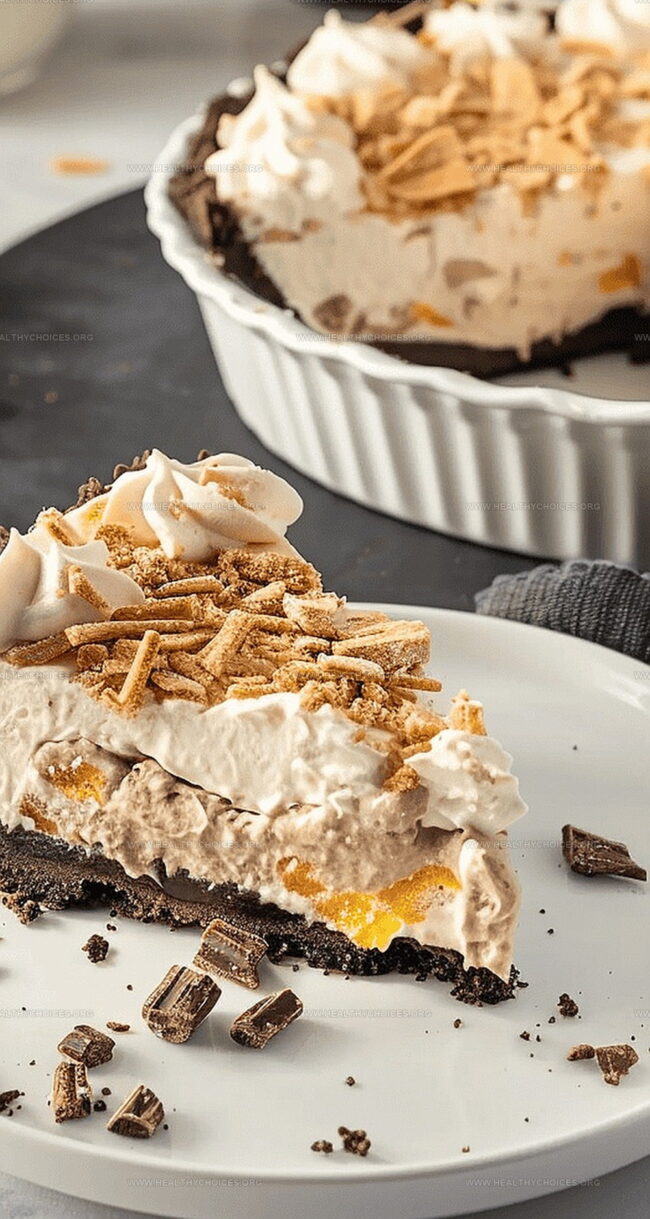
Layers of smooth filling and crunchy candy bars create a textural symphony that will make taste buds sing.
The rich, velvety base holds chunks of crushed butterfinger, adding a delightful caramel-peanut butter crunch to every bite.
You’ll love how effortlessly this pie comes together, requiring minimal baking skills and maximum flavor impact.
The combination of silky cream cheese, whipped topping, and candy pieces makes this dessert a guaranteed crowd-pleaser.
Each forkful delivers a perfect balance of sweetness and texture that feels like a celebration on a plate.
Dive into this delectable treat and let the butterfinger bliss transport you to dessert paradise.
Quick Recipe Overview
Butterfinger Bliss Pie Shopping List
For Crust:For Filling:For Optional Topping:Tools Required for Butterfinger Bliss Pie
Making Butterfinger Bliss Pie – Directions
Chocolatey Peanut Butter Paradise
Grab your food processor and transform chocolate sandwich cookies into powdery crumbs. Drizzle melted butter into the crumbs, creating a rich, clumpy mixture that will become your pie’s sturdy foundation. Press this decadent base firmly into your pie dish, creating smooth walls and an even bottom. Quick chill in the freezer will set the stage for deliciousness.
Whip cream cheese, sweet powdered sugar, and luxurious peanut butter into a silky smooth landscape. Sprinkle in crunchy candy bar pieces, folding gently to maintain their texture. Introduce fluffy whipped topping, blending everything into a cloud-like filling that promises pure indulgence.
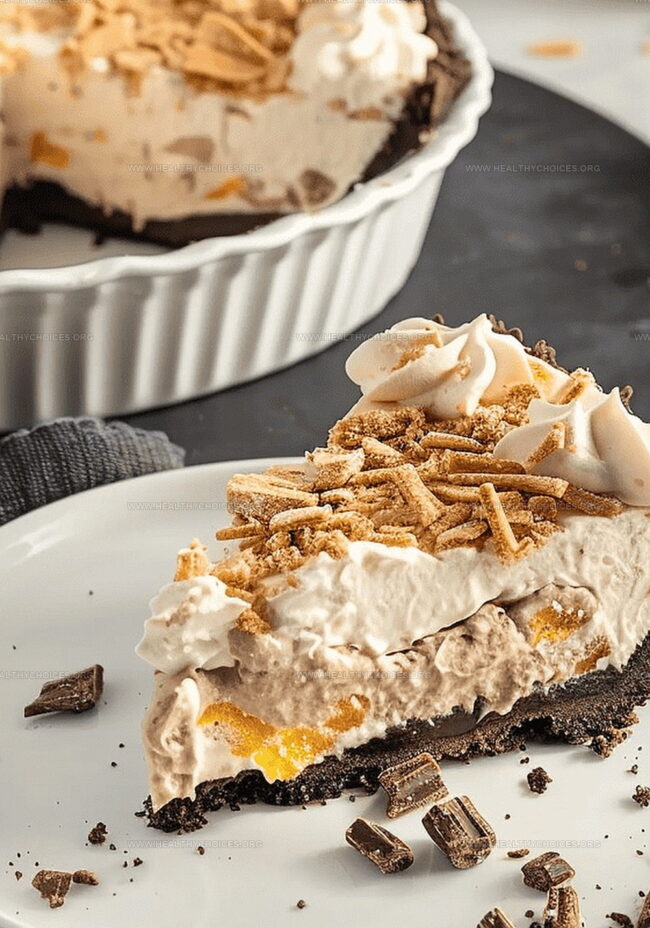
Lovingly spread the filling over your chilled crust, creating gentle peaks and smooth valleys. Refrigerate this masterpiece, allowing flavors to mingle and textures to harmonize. Before serving, consider a playful garnish of extra candy bar fragments for a delightful crunch.
Slice into this dreamy creation when thoroughly chilled. Each bite promises a symphony of creamy, crunchy, sweet sensations that dance across your taste buds. Optional whipped cream can elevate this dessert from amazing to absolutely extraordinary.
Tips to Enhance Butterfinger Bliss Pie
Serving the Butterfinger Bliss Pie
Saving and Storing Butterfinger Bliss Pie
Print
Decadent Butterfinger Bliss Pie Recipe
- Total Time: 30 minutes
- Yield: 9 1x
Description
Classic Butterfinger bliss pie combines creamy peanut butter filling with crushed candy bar layers in a graham cracker crust. Chocolate drizzles and whipped cream complete this indulgent dessert you’ll crave after one delicious bite.
Ingredients
- 24 Oreo cookies
- 7 tablespoons (105 ml) butter, melted
- 1 (8 oz/226 g) cream cheese, room temperature
- ¾ cup (180 ml) creamy peanut butter
- 1 cup (120 g) chopped Butterfingers (about 12 Fun Size bars)
- 8 oz (226 g) whipped topping
- 1 cup (120 g) confectioners sugar
- Cool Whip (optional)
- Chopped Butterfingers (optional)
Instructions
- Crust Preparation: Pulse Oreo cookies in a food processor until finely ground, then blend with melted butter to create a uniform, moist crumb mixture.
- Crust Molding: Press the crumb mixture firmly into a 9-inch pie dish, ensuring complete coverage of base and sides, then freeze for 20 minutes to solidify.
- Filling Creation: Whip cream cheese until smooth, then blend in confectioners sugar and peanut butter until silky and fully incorporated.
- Texture Enhancement: Gently fold chopped Butterfinger pieces and whipped topping into the cream cheese mixture, maintaining a light, airy consistency.
- Assembly: Transfer the creamy filling into the chilled Oreo crust, smoothing the surface with a spatula to create an elegant, even layer.
- Chilling and Serving: Refrigerate the pie for a minimum of 4 hours to set, then garnish with additional whipped cream and sprinkled Butterfinger pieces before serving.
Notes
- Crush Cookies Perfectly: Use a food processor for uniform, fine crumbs to create a consistent, sandy texture that will form a solid base.
- Butter Binding Technique: Pulse melted butter with cookie crumbs to ensure even moisture distribution, preventing a dry or crumbly crust.
- Chill for Structure: Freezing the crust for 20 minutes helps solidify the base, making it more stable and easier to slice cleanly.
- Whip with Care: Beat cream cheese until completely smooth to avoid lumps, ensuring a silky, professional-looking pie filling.
- Prep Time: 30 minutes
- Cook Time: 0 minutes
- Category: Desserts
- Method: None
- Cuisine: American
Nutrition
- Serving Size: 9
- Calories: 350
- Sugar: 23 g
- Sodium: 250 mg
- Fat: 22 g
- Saturated Fat: 10 g
- Unsaturated Fat: 12 g
- Trans Fat: 0 g
- Carbohydrates: 34 g
- Fiber: 1 g
- Protein: 6 g
- Cholesterol: 30 mg
Emily Roberts
Content Creator & Kitchen Tips Specialist
Expertise
Dietary Planning, Public Health Nutrition, Nutritional Education, Content Development
Education
University of Illinois at Urbana-Champaign
Registered Dietitian Nutritionist (RDN)
Emily Roberts is our content specialist and registered dietitian at HealthyChoices.org. With her Master’s degree in Nutritional Sciences from the University of Illinois and her Registered Dietitian Nutritionist certification, Emily uses her deep nutrition knowledge to write helpful, easy-to-understand guides about healthy eating.
Her warm, practical advice empowers readers to confidently make healthier choices, turning everyday meals into simple moments of wellness and joy.