
The Perfect Cannoli Cheesecake Recipe: Sweet Italian Dream Fusion
Indulge in a decadent fusion where classic Italian cannoli meets creamy cheesecake, creating a mouthwatering cannoli cheesecake recipe that blends rich traditions.
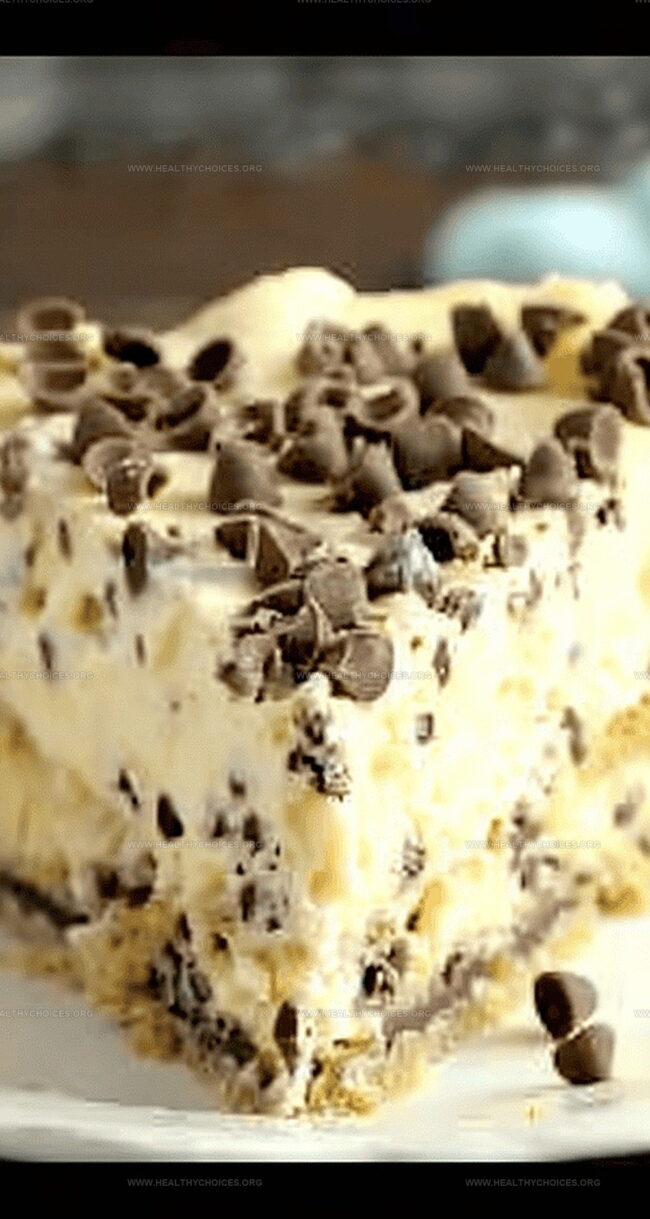
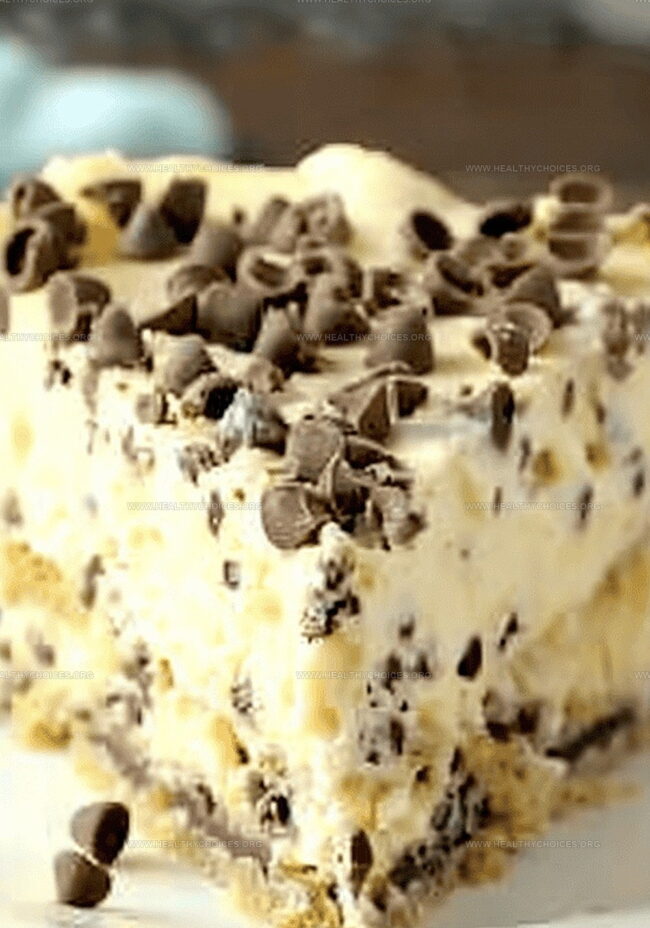
The crisp cannoli shell fragments dance through silky smooth cream cheese, promising an unforgettable dessert experience.
Each delectable slice combines the iconic ricotta filling’s sweetness with a luxurious cheesecake base that melts perfectly on your tongue.
Delicate chocolate chips and powdered sugar add elegant touches to this show-stopping treat.
The contrasting textures and harmonious flavors will transport you straight to a Sicilian pastry shop.
Prepare to wow everyone at your next gathering with this irresistible dessert that strikes the perfect balance between classic comfort and sophisticated indulgence.
Dive into this heavenly recipe and let your taste buds celebrate.
Quick Recipe Overview
Cannoli Cheesecake: Ingredients Guide
For Crust:For Cheesecake Filling:For Toppings:Kitchen Equipment for Cannoli Cheesecake
Cannoli Cheesecake Instructions
Crush waffle cones into fine crumbs and mix with sweet sugar and a pinch of salt. Combine with melted butter to create a delicious foundation. Press mixture firmly into springform pan, creating a solid bottom and slightly raised sides.
Warm the oven and lightly toast the crust until golden. Let the base cool while reducing oven temperature for the next stage.
Blend smooth mascarpone and ricotta until silky. Add flavor boosters like zesty orange, warm cinnamon, and vanilla. Incorporate eggs gently, ensuring a luxurious, velvety texture.
Pour half the cheesecake batter into the pan. Sprinkle chocolate chips for delightful bursts of sweetness. Repeat the layer for a beautiful marbled effect.
Place cheesecake in a larger pan filled with hot water. This technique ensures gentle, even baking and prevents cracking.
Bake until center is slightly wobbly. Allow cheesecake to rest in the oven with door cracked, then cool completely at room temperature. Refrigerate for several hours to set perfectly.
Carefully remove from pan, slice into beautiful wedges, and add optional decorative toppings for a stunning dessert presentation.
Flavor Tweaks for Cannoli Cheesecake
Presentation Ideas for Cannoli Cheesecake
How to Store Cannoli Cheesecake Properly
Print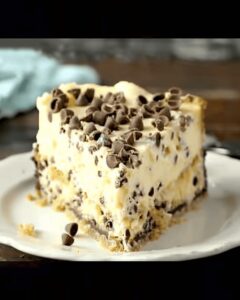
Decadent Cannoli Cheesecake Recipe
- Total Time: 4 hours 55 minutes
- Yield: 13 1x
Description
Sicilian cannoli cheesecake blends creamy ricotta with crisp pastry shells in a luscious dessert. Smooth filling and crunchy texture create a delightful Italian-inspired treat you’ll savor to the last bite.
Ingredients
- 16 oz (454 g) mascarpone cheese, room temperature & drained
- 15 oz (425 g) ricotta cheese, room temperature & drained
- 4 large eggs
- ½ cup (85 g) mini chocolate chips
- 1 ¼ cups (250 g) granulated sugar
- 2 tbsps all-purpose flour
- 2 tsps vanilla extract
- ½ cup (113 g) unsalted butter, melted
- 2 cups (240 g) waffle ice cream cone crumbs (about 12 cones)
- 1 tsp fresh orange zest
- ¼ tsp cinnamon
- ½ tsp salt
- 1 tbsp granulated sugar
- 1/8 tsp salt
- Boiling water (enough to fill a large roasting pan about halfway)
- Mini chocolate chips (optional)
- Whipped cream (optional)
- Chopped pistachios (optional)
- Maraschino cherries (optional)
Instructions
- Pan Preparation: Meticulously coat springform pan with butter and wrap exterior completely in aluminum foil to prevent water infiltration during baking.
- Crust Creation: Pulverize waffle cone crumbs with sugar and salt, then integrate melted butter until achieving a cohesive mixture. Press firmly into pan’s base and lower sides, creating an compact, even foundation.
- Crust Roasting: Transfer crust to baking sheet and roast in preheated oven until edges transform into a golden-brown hue, approximately 10 minutes. Cool completely while reducing oven temperature.
- Cheese Blend: In a spacious mixing bowl, whip mascarpone and ricotta until achieving a luxuriously smooth consistency. Gradually incorporate sugar, flour, vanilla extract, orange zest, cinnamon, and salt, blending thoroughly.
- Egg Integration: Introduce eggs individually into the mixture, ensuring complete incorporation and scraping bowl’s sides between additions.
- Layering Technique: Divide cheesecake batter into two portions, strategically layering with scattered chocolate chips between each section.
- Water Bath Baking: Position springform pan within a larger roasting vessel, surrounding with boiling water reaching halfway up the pan’s exterior. Bake at precise temperature, monitoring for a subtle center jiggle, indicating perfect doneness after 70-85 minutes.
- Cooling Process: Remove from oven and allow gradual cooling with door slightly ajar, promoting even temperature reduction. Refrigerate for minimum 4 hours or overnight to achieve optimal texture and flavor melding.
- Presentation: Carefully release springform’s latch and transfer to decorative serving platter. Garnish with powdered sugar, additional chocolate chips, or fresh berries to enhance visual appeal and flavor complexity.
Notes
- Seal Pan Securely: Wrap springform pan entirely in aluminum foil to prevent water leakage during water bath baking, ensuring a perfect cheesecake texture.
- Master Crust Technique: Toast waffle cone crumbs until golden-brown for enhanced nutty flavor and crisp foundation, creating a delectable base that elevates the entire dessert.
- Blend Batter Smoothly: Incorporate eggs one at a time, mixing thoroughly and scraping bowl sides to guarantee uniform texture and prevent lumpy cheesecake mixture.
- Chill for Perfection: Refrigerate cheesecake for minimum 4 hours or overnight, allowing flavors to meld and achieving optimal creamy, dense consistency that melts in your mouth.
- Prep Time: 30 minutes
- Cook Time: 85 minutes
- Category: Desserts
- Method: Baking
- Cuisine: Italian
Nutrition
- Serving Size: 13
- Calories: 392
- Sugar: 25 g
- Sodium: 210 mg
- Fat: 27 g
- Saturated Fat: 17 g
- Unsaturated Fat: 10 g
- Trans Fat: 0 g
- Carbohydrates: 31 g
- Fiber: 1 g
- Protein: 6 g
- Cholesterol: 115 mg
Emily Roberts
Content Creator & Kitchen Tips Specialist
Expertise
Dietary Planning, Public Health Nutrition, Nutritional Education, Content Development
Education
University of Illinois at Urbana-Champaign
Registered Dietitian Nutritionist (RDN)
Emily Roberts is our content specialist and registered dietitian at HealthyChoices.org. With her Master’s degree in Nutritional Sciences from the University of Illinois and her Registered Dietitian Nutritionist certification, Emily uses her deep nutrition knowledge to write helpful, easy-to-understand guides about healthy eating.
Her warm, practical advice empowers readers to confidently make healthier choices, turning everyday meals into simple moments of wellness and joy.