DIY Candy Magic: Simple Homemade Crunch Bars Recipe
Chocolate lovers rejoice as this irresistible homemade crunch bars recipe promises a delightful twist on the classic candy bar.
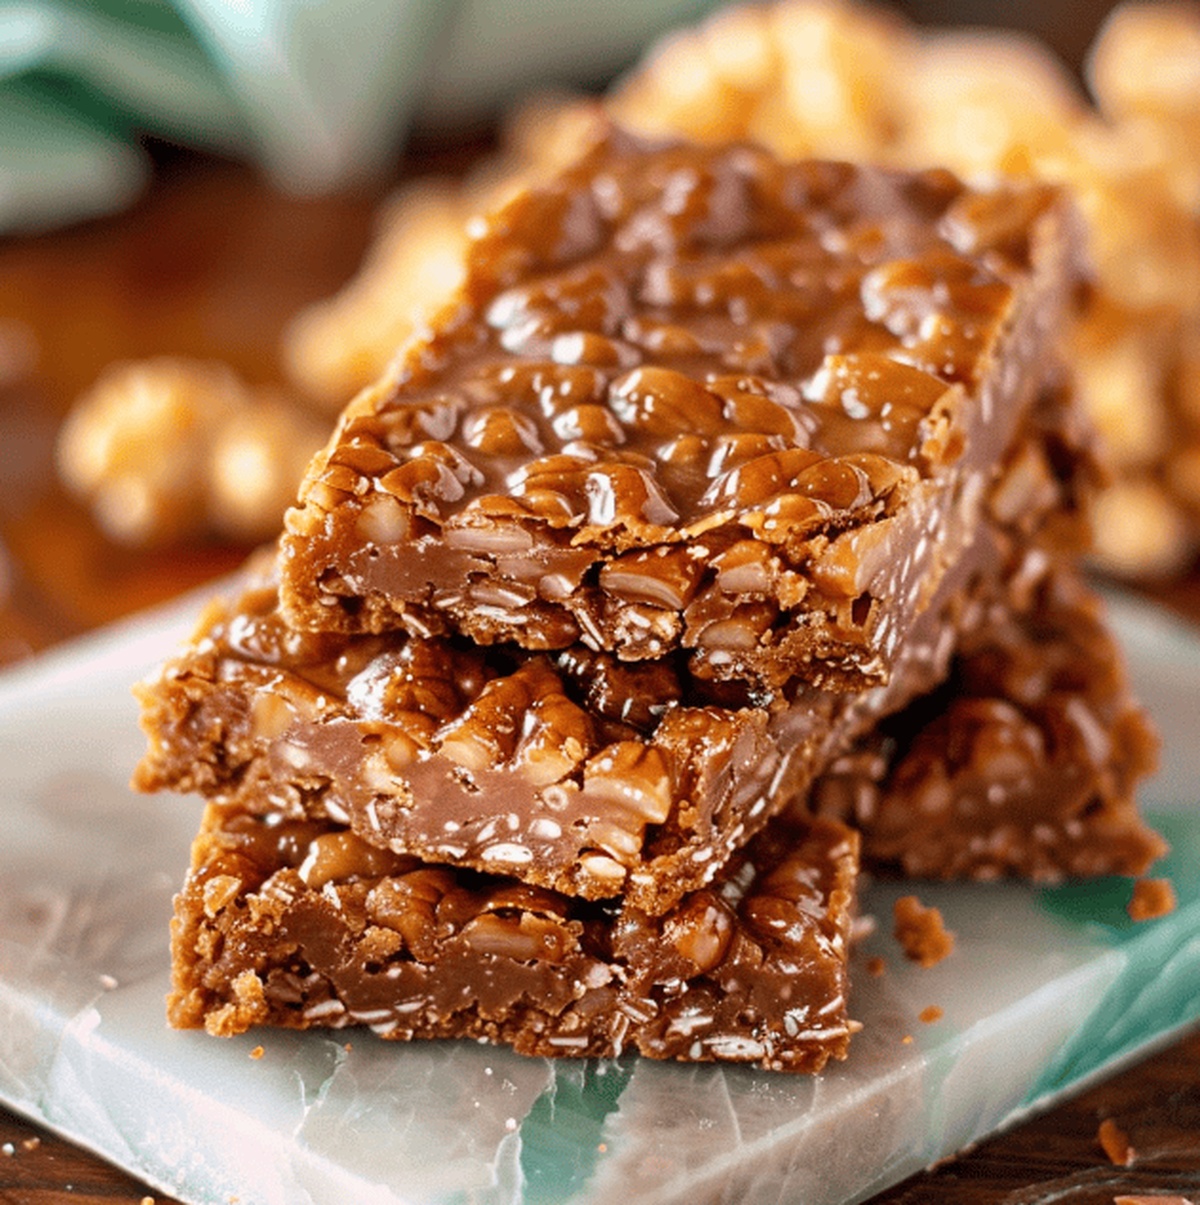
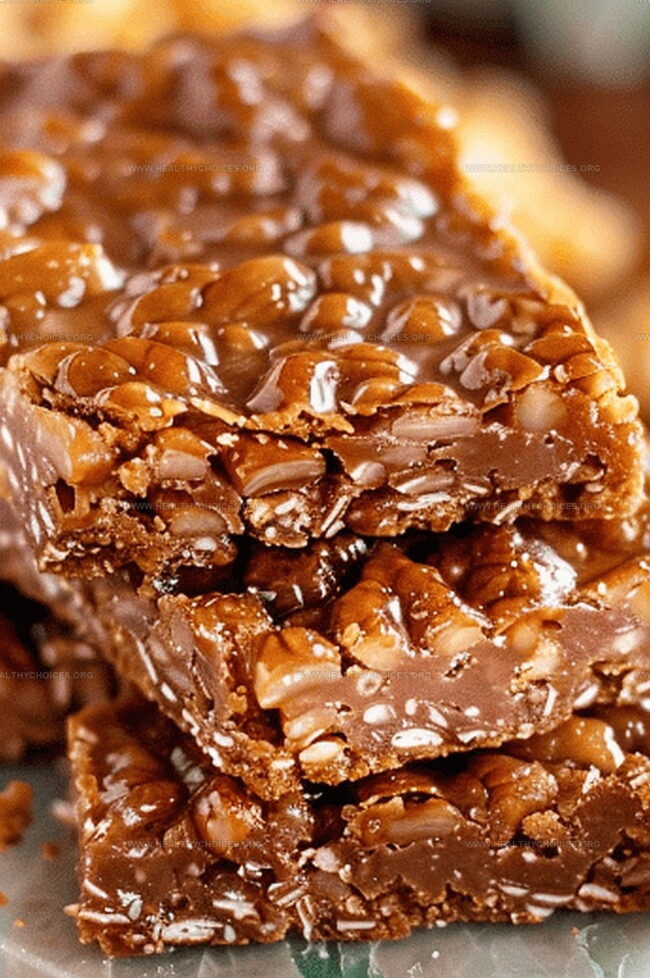
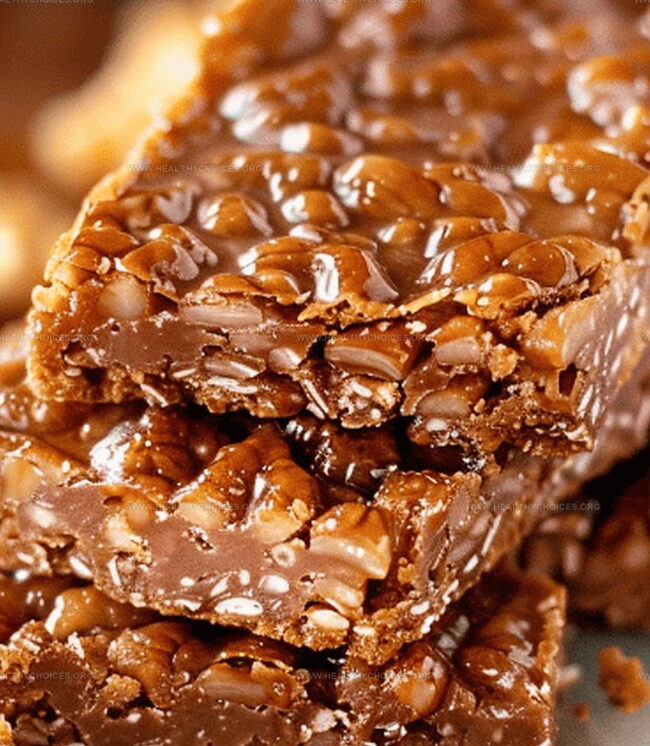
Every bite delivers a perfect balance of smooth chocolate and crispy rice cereal that melts in your mouth.
The magic happens when rich chocolate meets crunchy textures in a simple, no-bake treat that anyone can master.
Crafting these bars at home means skipping store-bought versions and enjoying a fresher, more satisfying snack.
The process is surprisingly straightforward, requiring just a few basic ingredients and minimal effort.
Small touches of sea salt optional can enhance the chocolate’s depth, creating a gourmet-style treat that tastes like it came from a fancy chocolate shop.
Dive into this recipe and transform your snack time with a homemade classic that beats any packaged alternative.
Quick Recipe Overview
Crunch Bar Classic Ingredient Round-Up
For Chocolate Base:For Crunch Factor:What Tools You Need for Crunch Bars
Equipment & Tools:No-Bake Crunch Bar Directions
Create a smooth parchment paper base inside an 8×8 inch baking dish, ensuring easy removal later.
Gently transform chocolate chips and coconut oil into a luxurious liquid by microwaving in short bursts, stirring between each interval until perfectly smooth.
Introduce a pinch of salt to the molten chocolate, then tenderly fold Rice Krispies cereal until each piece is elegantly coated in chocolatey goodness.
Pour the chocolatey mixture into the prepared dish, using a spatula to craft a perfectly level landscape of deliciousness.
Let the creation rest at room temperature for a brief moment, then tuck it into the refrigerator for about an hour until it becomes firm and stable.
Lift the chocolate slab using the parchment paper, place on a cutting board, and slice into your desired bar sizes – each piece a promise of crunchy, sweet satisfaction.
Tips for Perfect Homemade Crunch Treats
How to Serve Homemade Crunch Bars
Storage Suggestions for Leftovers
Print
Decadent Crunch Bars Recipe
- Total Time: 1 hour 10 minutes
- Yield: 13 1x
Description
Chocolate lovers discover a simple homemade crunch bars delight that blends rich cocoa with crispy rice. Effortless preparation meets nostalgic flavor, promising a sweet treat you can craft with minimal ingredients and maximum satisfaction.
Ingredients
- 2 cups/473 ml milk chocolate chips
- ¼ teaspoon/1.5 g salt
- 1 tablespoon/15 ml coconut oil
- 1 ½ cups/36 g Rice Krispies cereal
Instructions
- Preparation: Line an 8×8 inch baking dish with parchment paper, creating generous overhangs for effortless removal.
- Chocolate Foundation: Melt milk chocolate chips and coconut oil in a microwave-safe bowl, stirring at 30-second intervals until achieving a glossy, uniform liquidity. Incorporate a delicate salt sprinkle to elevate the chocolate’s depth.
- Crispy Integration: Fold Rice Krispies cereal into the molten chocolate, ensuring each morsel becomes completely enveloped in the rich, velvety coating. Meticulously spread the chocolate-cereal fusion into the prepared dish, using a spatula to create a level, tempting surface.
- Setting Process: Allow the confection to stabilize at ambient temperature for 20 minutes, then transfer to the refrigerator for 40-60 minutes until the chocolate transforms into a firm, lustrous state.
- Portioning: Extract the chocolate slab using parchment paper overhangs and position on a cutting board. Slice into 10 uniform bars or squares, customizing dimensions to personal preference.
- Enjoyment: Relish the harmonious blend of decadent chocolate and crisp cereal, celebrating your homemade crunch bar creation.
Notes
- Parchment Paper Placement: Line the baking dish completely with parchment paper, creating extra edges for effortless bar removal.
- Chocolate Melting Technique: Use short microwave intervals and stir frequently to prevent chocolate from burning or seizing.
- Cereal Coating Tip: Fold Rice Krispies gently into melted chocolate to ensure complete and even coverage without crushing the crisp texture.
- Chilling Strategy: Allow bars to set at room temperature first, then refrigerate to achieve perfect firm consistency without chocolate cracking.
- Prep Time: 10 minutes
- Cook Time: 0 minutes
- Category: Snacks, Desserts
- Method: Baking
- Cuisine: American
Nutrition
- Serving Size: 13
- Calories: 157
- Sugar: 14 g
- Sodium: 11 mg
- Fat: 8 g
- Saturated Fat: 5 g
- Unsaturated Fat: 3 g
- Trans Fat: 0 g
- Carbohydrates: 20 g
- Fiber: 0 g
- Protein: 1 g
- Cholesterol: 0 mg
Emily Roberts
Content Creator & Kitchen Tips Specialist
Expertise
Dietary Planning, Public Health Nutrition, Nutritional Education, Content Development
Education
University of Illinois at Urbana-Champaign
Registered Dietitian Nutritionist (RDN)
Emily Roberts is our content specialist and registered dietitian at HealthyChoices.org. With her Master’s degree in Nutritional Sciences from the University of Illinois and her Registered Dietitian Nutritionist certification, Emily uses her deep nutrition knowledge to write helpful, easy-to-understand guides about healthy eating.
Her warm, practical advice empowers readers to confidently make healthier choices, turning everyday meals into simple moments of wellness and joy.