Dreamy Espresso Chocolate Cheesecake Recipe for Sweet Lovers
Decadent layers of rich espresso dance through a velvety chocolate cheesecake that promises pure indulgence.
Coffee lovers will fall head over heels for this intensely smooth dessert.
The deep, robust notes of espresso perfectly complement the creamy chocolate base.
Each slice offers a luxurious blend of bold flavors that melt seamlessly on your tongue.
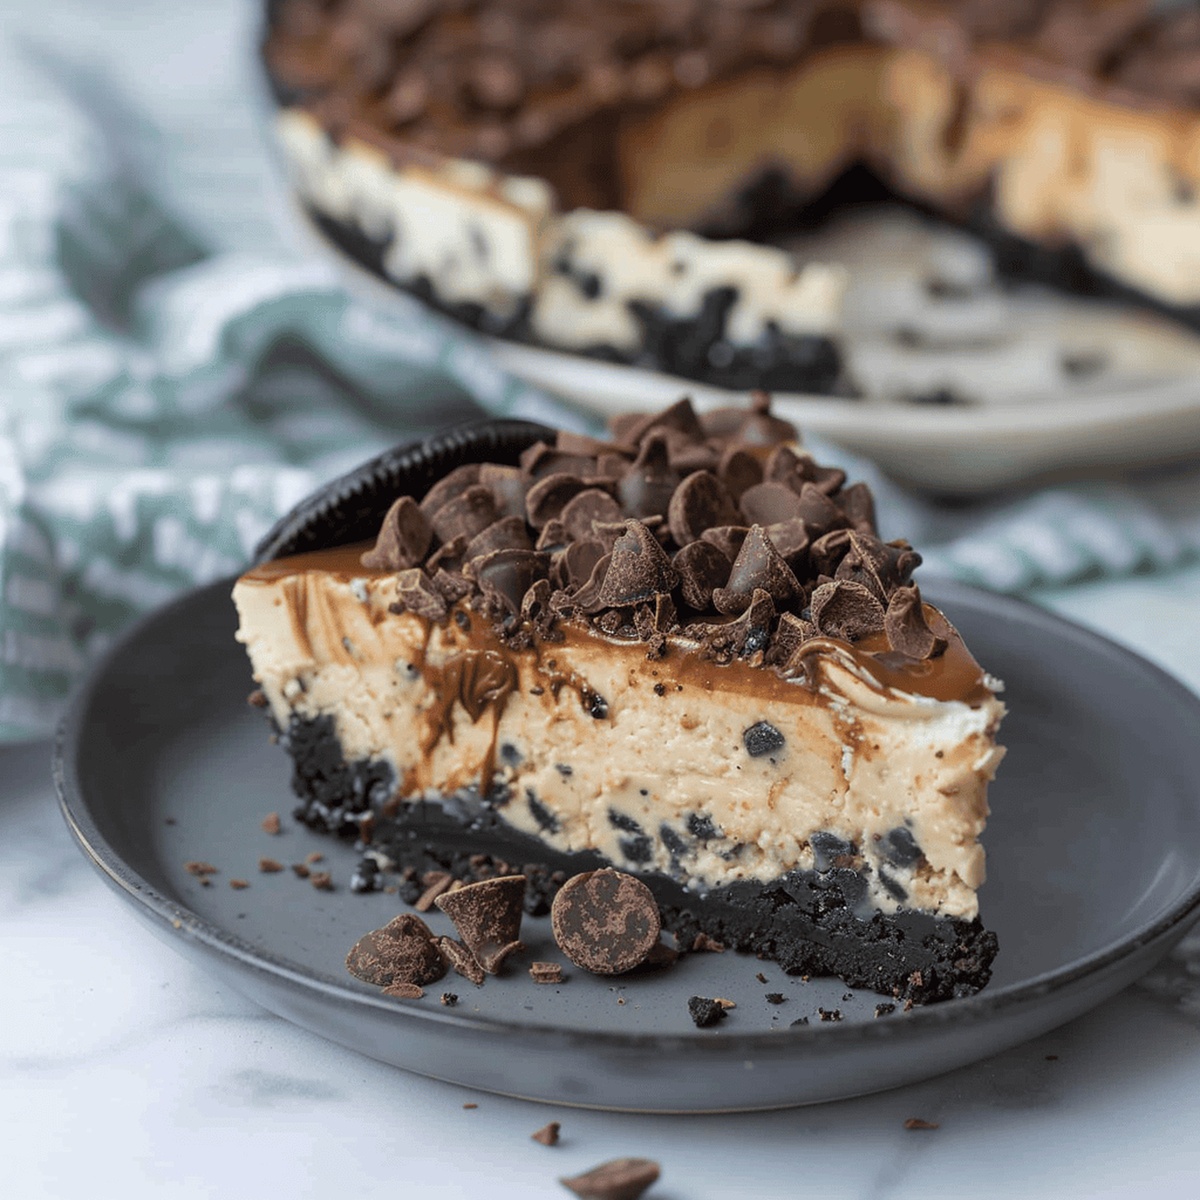
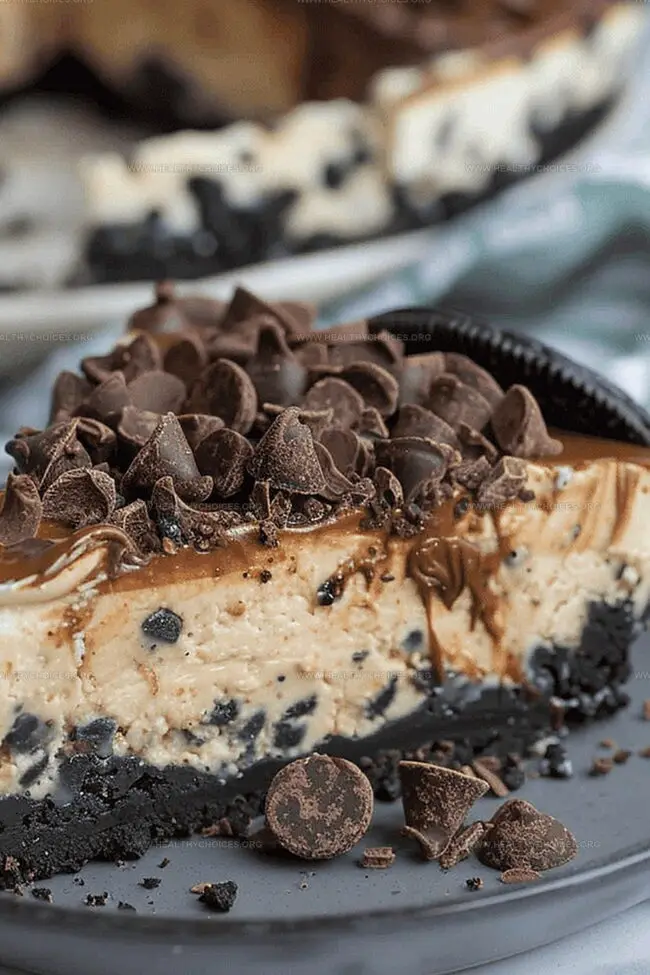
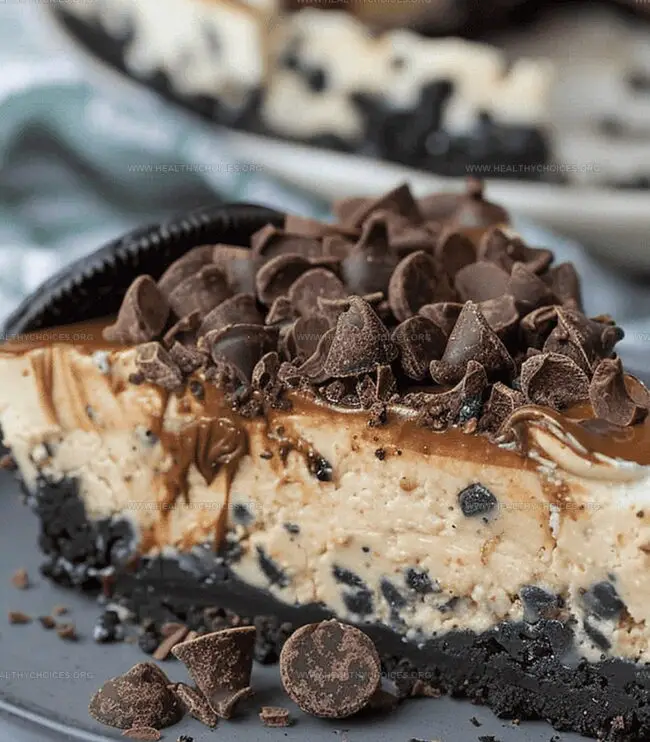
Silky cream cheese creates a dreamy foundation for the intense espresso-chocolate fusion.
Dark chocolate shavings add a delightful crunch to this sophisticated treat.
You’ll want to savor every single heavenly bite of this irresistible cheesecake that turns an ordinary moment into a gourmet experience.
Quick Recipe Overview
Presentation Tips for Espresso Chocolate Cheesecake
For Crust Base:For Cheesecake Filling:For Decadent Topping:Refrigeration and Storage Tips for Espresso Chocolate Cheesecake
Supplies for Peanut Butter Cup Gooey Cookie Bars
Crush Oreo cookies into fine crumbs, blending them until perfectly uniform. Mix with melted butter and press firmly into a springform pan, creating a solid base that will support the rich cheesecake layers.
Blend cream cheese until silky smooth, incorporating espresso and sugar to develop deep, complex flavors. Gently fold in eggs, ensuring a luxurious texture without overmixing.
Place cheesecake in a water bath to ensure even, gentle cooking. Bake until the center remains slightly soft but set, creating a velvety consistency that melts in your mouth.
Create a glossy chocolate ganache by pouring hot cream over rich chocolate chips. Stir until the mixture transforms into a smooth, elegant topping that will cascade beautifully over the cheesecake’s surface.
Refrigerate the cheesecake overnight, allowing flavors to meld and the texture to become perfectly dense and creamy. Before serving, drizzle with ganache and sprinkle delicate chocolate shavings for a stunning final touch.
Bake Peanut Butter Cup Gooey Cookie Bars Like a Pro
Make the Most of Peanut Butter Cup Gooey Cookie Bars
How to Serve Peanut Butter Cup Gooey Cookie Bars
Print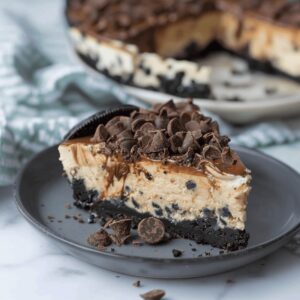
Decadent Espresso Chocolate Cheesecake Recipe
- Total Time: 24 hours
- Yield: 13 1x
Description
Rich and creamy espresso chocolate cheesecake delivers intense coffee and chocolate notes. Silky layers meld European baking traditions with bold flavor profiles, promising delightful indulgence for dessert enthusiasts.
Ingredients
- 3 packages (24 oz/680 g) full-fat cream cheese
- 1 cup (200 g) granulated sugar
- 3 large eggs
- 2 cups (240 g) oreo crumbs
- 1 cup (170 g) semi-sweet chocolate chips
- 4 tbsps (60 ml) unsalted butter, melted
- 1 tsp vanilla extract
- ⅓ cup (80 ml) brewed espresso
- ½ cup (120 ml) heavy cream
Instructions
- Crust Preparation: Pulverize Oreo cookies into fine, uniform crumbs using a food processor, then blend thoroughly with melted butter to create a cohesive mixture.
- Crust Setting: Press the crumb mixture firmly and evenly into a springform pan, pre-baking at 350°F for 10 minutes, then cool completely while reducing oven temperature to 325°F.
- Cheesecake Base: Whip cream cheese until ultra-smooth, gradually incorporating sugar to achieve a light, airy consistency, then blend in espresso and vanilla extract.
- Batter Integration: Gently fold eggs into the mixture one at a time, maintaining a silky texture and ensuring even incorporation of all ingredients.
- Baking Process: Pour the batter over the cooled crust, create a water bath by placing the springform pan in a larger dish filled with hot water, and bake for 70-80 minutes until the center shows a subtle wobble.
- Cooling Technique: Turn off the oven, crack the door open, and allow the cheesecake to cool gradually for one hour, then refrigerate overnight to set completely.
- Ganache Finale: Heat cream to a rolling boil, pour over chocolate chips, let sit briefly, then stir to create a glossy mixture, cooling slightly before spreading evenly over the chilled cheesecake.
- Presentation: Optional garnish of delicate chocolate shavings adds an elegant finishing touch to the decadent espresso cheesecake.
Notes
- Crush Cookies Perfectly: Use a food processor for uniform, fine crumbs without large chunks to ensure a smooth, professional-looking crust.
- Create Crust Stability: Press cookie mixture firmly and evenly into the pan, pre-baking helps set a sturdy foundation for your cheesecake.
- Achieve Silky Batter: Beat cream cheese until completely smooth, add ingredients gradually, and fold eggs gently to maintain a luxurious, lump-free texture.
- Master Water Bath Technique: Carefully place springform pan in a larger dish with hot water to ensure even baking and prevent cracking, creating a perfectly creamy cheesecake.
- Prep Time: 30 minutes
- Cook Time: 75-95 minutes
- Category: Desserts, Drinks
- Method: Baking
- Cuisine: Italian
Nutrition
- Serving Size: 13
- Calories: 355
- Sugar: 23 g
- Sodium: 235 mg
- Fat: 25 g
- Saturated Fat: 15 g
- Unsaturated Fat: 8 g
- Trans Fat: 0 g
- Carbohydrates: 27 g
- Fiber: 1 g
- Protein: 5 g
- Cholesterol: 100 mg
Emily Roberts
Content Creator & Kitchen Tips Specialist
Expertise
Dietary Planning, Public Health Nutrition, Nutritional Education, Content Development
Education
University of Illinois at Urbana-Champaign
Registered Dietitian Nutritionist (RDN)
Emily Roberts is our content specialist and registered dietitian at HealthyChoices.org. With her Master’s degree in Nutritional Sciences from the University of Illinois and her Registered Dietitian Nutritionist certification, Emily uses her deep nutrition knowledge to write helpful, easy-to-understand guides about healthy eating.
Her warm, practical advice empowers readers to confidently make healthier choices, turning everyday meals into simple moments of wellness and joy.