Cool summer days call for a delightful no-bake ice cream pie that promises pure indulgence with minimal effort.
This creamy dessert blends simplicity with decadent flavors in ways that will make your taste buds dance.
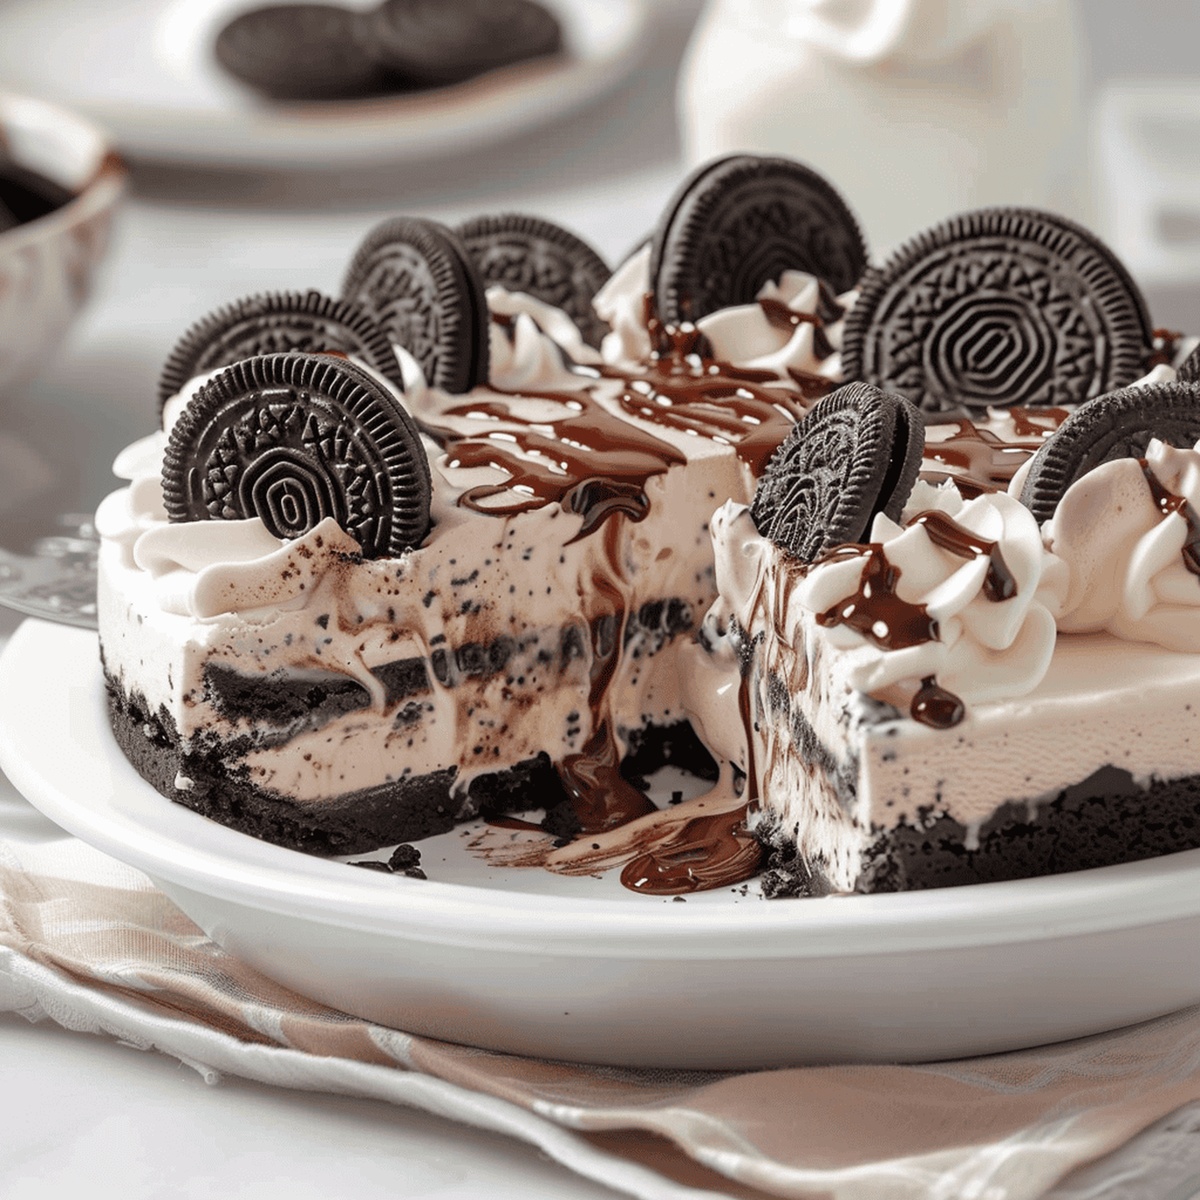
Rich vanilla ice cream nestled in a crunchy graham cracker crust creates a delectable treat that requires zero oven time.
Each silky slice delivers a refreshing burst of sweetness perfect for afternoon gatherings or late-night dessert cravings.
The magic happens with just a few simple ingredients and some creative mixing.
Chilling transforms ordinary ingredients into an extraordinary dessert that looks like you spent hours in the kitchen.
Dive into this easy, no-fuss recipe and let the cool, creamy goodness transport you to dessert paradise.
Quick Recipe Overview
Prep Time: 20 minutes
Cook Time: 0 minutes
Total Time: 4 hours 20 minutes
Calories: 480 kcal
Servings: 13
Ice Cream Pie Ingredient Breakdown
For Crust Base:
Oreo Cookies: Creamy, rich cookies that form the foundation of the pie’s crunchy base, select fresh cookies with intact filling for maximum texture.
Salted Butter: Binds the cookie crumbs together, ensuring a firm and delectable crust that holds its shape when sliced.
For Filling:
Cookies and Cream Ice Cream: Creates the luscious, creamy center of the pie, choose a high-quality brand with generous cookie chunks for extra indulgence.
Chocolate Sauce: Adds a decadent swirl of richness, opt for a smooth, glossy sauce that enhances the dessert’s overall flavor profile.
For Garnish:
Whipped Topping: Provides a light, airy finish that elevates the pie’s presentation and adds a delightful textural contrast.
Tools to Build a No-Bake Ice Cream Pie
Food Processor or Rolling Pin: Essential for crushing Oreo cookies into fine crumbs.
Zip-Top Bag: Optional but helpful for crushing cookies manually.
9-Inch Pie Plate: Critical for creating and shaping the pie crust.
Spatula: Perfect for spreading ice cream smoothly and evenly.
Knife: Useful for chopping additional cookies for topping.
Measuring Cups: Helpful for precise butter measurements.
Freezer-Safe Plastic Wrap: Necessary for covering and freezing the pie.
Instructions from Crust to Topping for Ice Cream Pie
Cozy Cookie Crunch Ice Cream Dessert
Crumb Foundation Texture carefully crush chocolate sandwich cookies into fine, sandy particles. Use a food processor or place cookies in a sealed bag and roll with a heavy rolling pin until perfectly crushed.
Crust Creation Press cookie crumb mixture firmly into a pie dish, creating an even layer that covers bottom and sides. Ensure the base is compact and smooth, then chill in freezer to set the foundation.
Sweet Layer Preparation Gently soften ice cream until spreadable. Break extra cookies into chunky pieces that will provide delightful crunch throughout the dessert.
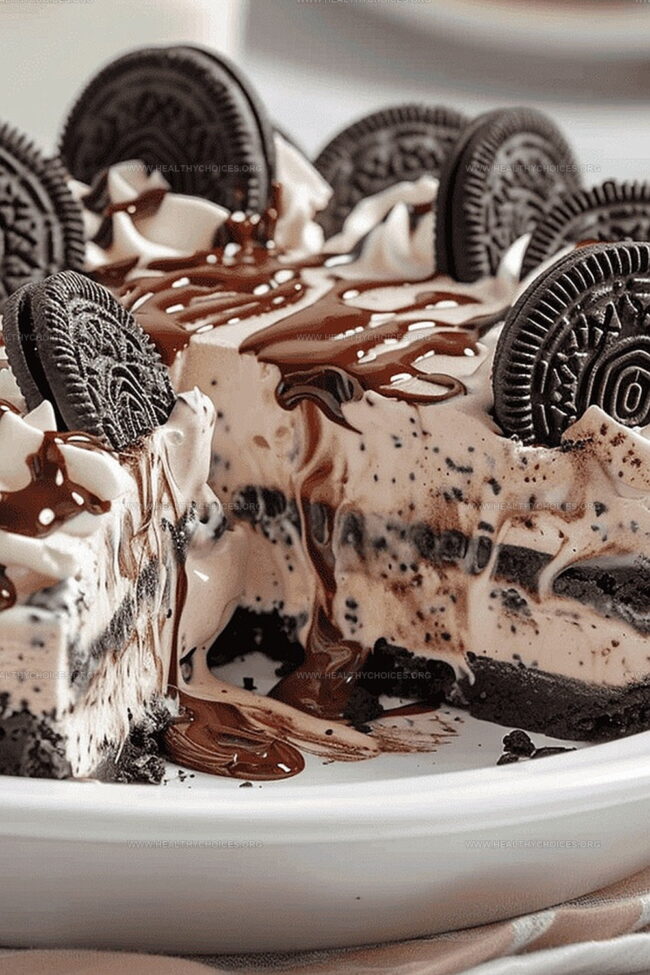
Flavor Building Spread half the softened ice cream across the chilled crust. Drizzle rich chocolate sauce generously, then scatter cookie chunks for surprising texture and depth of flavor.
Final Freeze Cover pie and place in freezer for several hours until completely solid. This crucial step transforms ingredients into a unified, creamy masterpiece.
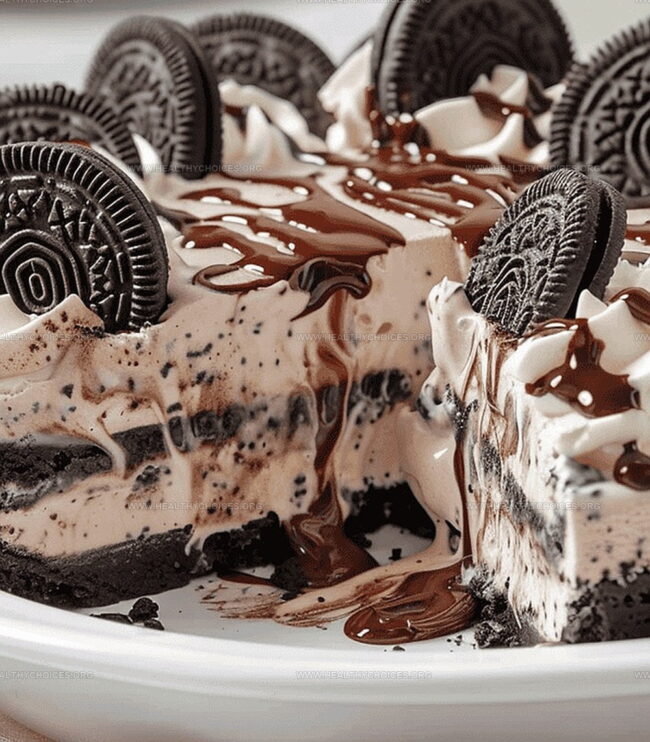
Serving Magic Remove dessert from freezer and let rest briefly. Top with swirls of whipped cream and an extra chocolate sauce drizzle to create a stunning presentation that will make everyone smile.
Swaps, Extras, and Flavor Variations
Cookie Crumble Crust Hack: Use a rolling pin inside a sealed bag for perfectly crushed Oreo crumbs without messy kitchen cleanup. This method gives you uniform texture and controls crumb size effortlessly.
Flavor Adventure Twist: Experiment with different ice cream varieties like mint chocolate chip, peanut butter, or caramel swirl instead of cookies and cream. Each flavor transforms the pie into a unique dessert experience.
Chocolate Sauce Drizzle Technique: Create professional-looking chocolate swirls by warming sauce slightly and using a squeeze bottle or spoon. Control the pattern and amount for a gourmet presentation that impresses guests.
Make-Ahead Magic: This pie can be prepared up to one week in advance and stored in the freezer. Wrap tightly with plastic wrap to prevent freezer burn and maintain maximum flavor intensity. Perfect for stress-free party planning or unexpected dessert cravings.
Topping Transformation: Replace standard whipped cream with crumbled cookies, chocolate shavings, or colorful sprinkles. Mix and match toppings to match special occasions or personal preferences, making each pie a personalized treat.
How to Serve No-Bake Ice Cream Pie
Chocolate Cookie Crunch Delight: Serve each slice with an extra sprinkle of crushed Oreo cookies on top for added crunch and visual appeal.
Cool Summer Party Centerpiece: Present the pie as a stunning dessert centerpiece at summer gatherings, cutting elegant slices that showcase the beautiful layers of cookies and cream.
Decadent Chocolate Drizzle Experience: Just before serving, create artful chocolate sauce swirls on each plate to enhance the presentation and provide an extra sweet touch that complements the creamy ice cream.
Whipped Cream Swirl Finale: Top individual slices with delicate swirls of whipped cream and a light dusting of cookie crumbs, transforming each serving into a restaurant-worthy dessert that looks professionally prepared.
Keeping Ice Cream Pie Frozen & Tidy
Fridge-Friendly Strategy: Store the pie in the freezer, tightly wrapped with plastic wrap or aluminum foil to prevent freezer burn and maintain its delicious flavor for up to 2 weeks.
Make-Ahead Magic: Prepare this dessert 1-2 days before your event, giving you stress-free entertainment options and allowing flavors to meld beautifully.
Slice and Serve Technique: Cut individual portions before fully freezing, then store pre-sliced pieces in sealed containers for quick grab-and-go dessert moments.
Temperature Wisdom: Always remove the pie from the freezer 5-7 minutes before serving to ensure smooth cutting and optimal creamy texture that melts perfectly on your tongue.
Homemade no-bake ice cream pie delivers cool summer comfort with minimal kitchen effort. Graham cracker crust and creamy filling create a delightful dessert you can quickly assemble and savor.
Ingredients
Scale
24 Oreo cookies (with filling)
48 oz (1.4 L) cookies and cream ice cream
10 Oreo cookies (with filling)
⅓ cup (80 mL) salted butter (melted and cooled)
½ cup (120 mL) chocolate sauce
Whipped topping
Instructions
Crust Preparation: Pulverize Oreo cookies into ultra-fine crumbs using a food processor, blending until achieving a uniform, powdery consistency.
Binding the Base: Combine cookie crumbs with melted butter, mixing thoroughly until the mixture resembles damp, compacted sand that holds together when pressed.
Crust Molding: Press the crumb mixture into a 9-inch pie plate, creating an even, compact layer that covers the entire surface, including sides and bottom, then freeze to solidify.
Flavor Enhancement: Roughly chop remaining Oreo cookies into irregular chunks to introduce textural contrast in the final dessert.
Ice Cream Layering: Soften cookies and cream ice cream at room temperature for 10 minutes, then spread half the ice cream evenly across the chilled crust, ensuring complete coverage.
Chocolate Embellishment: Drizzle chocolate sauce generously over the initial ice cream layer, creating an artistic swirl pattern, then scatter chopped cookie pieces across the surface for maximum flavor distribution.
Final Assembly: Top with remaining ice cream, smoothing the surface to create a perfectly flat finish, then wrap securely with plastic wrap and freeze for a minimum of 4 hours.
Serving Presentation: Remove pie from freezer, let rest at room temperature for 2-3 minutes to slightly soften, then garnish with whipped topping and an additional chocolate sauce drizzle before serving.
Notes
Crush Cookies Thoroughly: Pulverize Oreo cookies into ultra-fine, uniform crumbs using a food processor or rolling pin to ensure a perfect, compact crust texture.
Bind Crust Carefully: Mix cookie crumbs with melted butter until the mixture resembles wet sand, creating a cohesive and stable base for the pie.
Freeze for Firmness: Chill the crust in the freezer to solidify it quickly, preventing crumbling and ensuring a crisp, sturdy foundation for the ice cream layers.
Master Ice Cream Layering: Soften ice cream slightly at room temperature, spread evenly, and add chocolate sauce and cookie chunks between layers for maximum flavor and visual appeal.
Dietary Planning, Public Health Nutrition, Nutritional Education, Content Development
Education
University of Illinois at Urbana-Champaign
Degree: Master of Science in Nutritional Sciences
Focus: Research on dietary patterns and their impact on chronic diseases.
Registered Dietitian Nutritionist (RDN)
Credential: Expertise in translating nutrition science into practical advice.
Emily Roberts is our content specialist and registered dietitian at HealthyChoices.org. With her Master’s degree in Nutritional Sciences from the University of Illinois and her Registered Dietitian Nutritionist certification, Emily uses her deep nutrition knowledge to write helpful, easy-to-understand guides about healthy eating.
Her warm, practical advice empowers readers to confidently make healthier choices, turning everyday meals into simple moments of wellness and joy.

Emily Roberts
Content Creator & Kitchen Tips Specialist
Expertise
Dietary Planning, Public Health Nutrition, Nutritional Education, Content Development
Education
University of Illinois at Urbana-Champaign
Registered Dietitian Nutritionist (RDN)
Emily Roberts is our content specialist and registered dietitian at HealthyChoices.org. With her Master’s degree in Nutritional Sciences from the University of Illinois and her Registered Dietitian Nutritionist certification, Emily uses her deep nutrition knowledge to write helpful, easy-to-understand guides about healthy eating.
Her warm, practical advice empowers readers to confidently make healthier choices, turning everyday meals into simple moments of wellness and joy.