Irresistible Reeses Oreo Balls Recipe – No-Bake Sweet Bliss
Sweet and sinful, these indulgent reeses Oreo balls recipe bring together two beloved treats in one decadent bite.
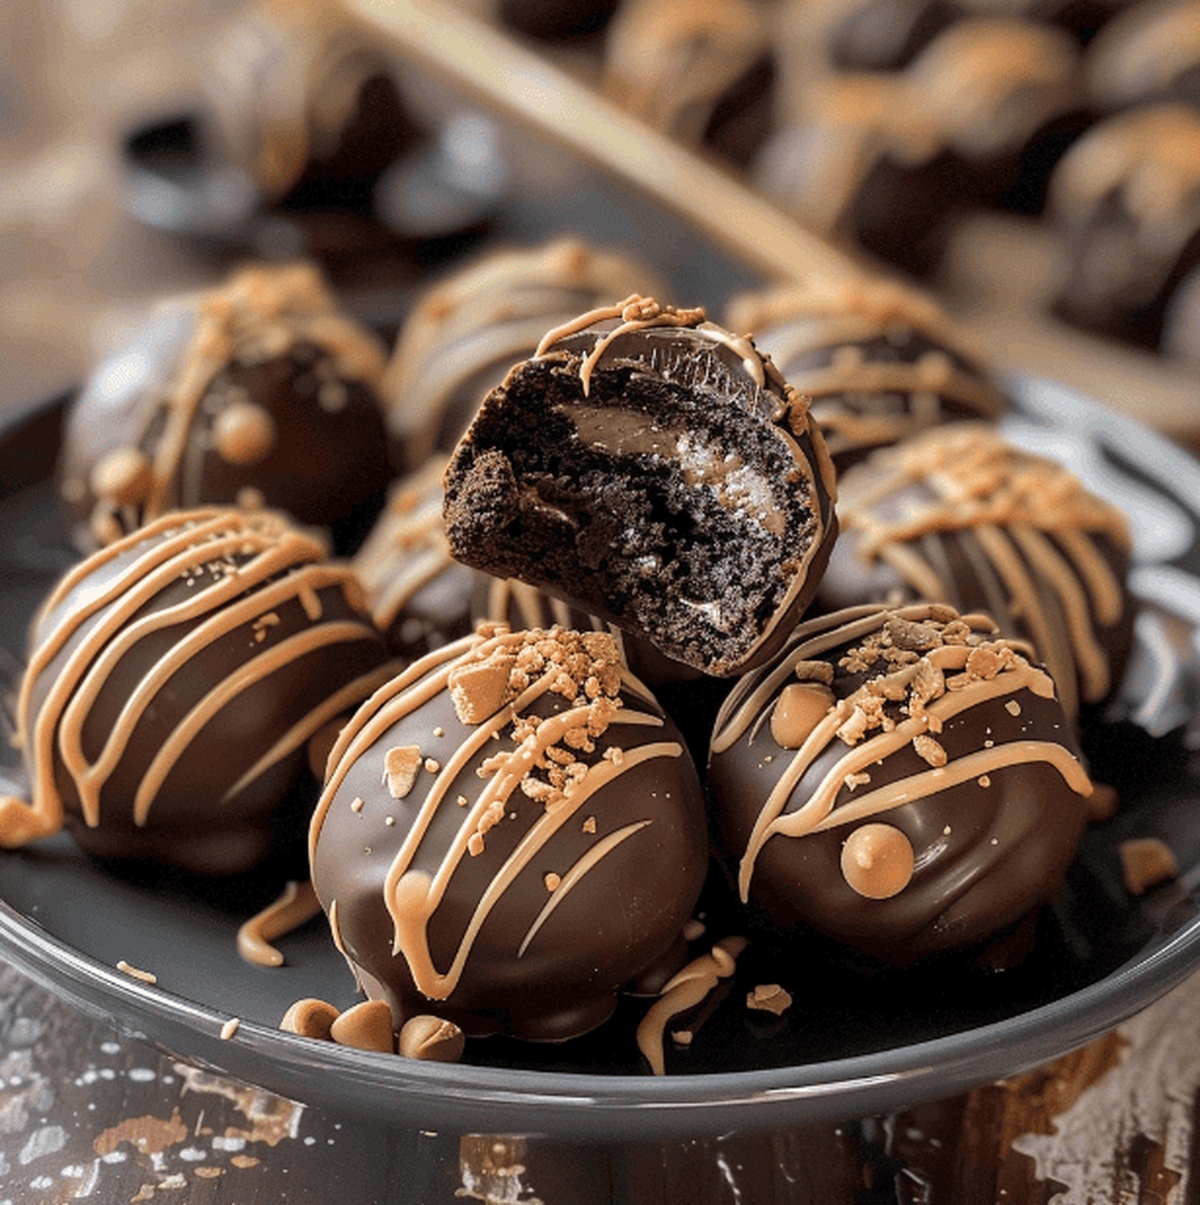
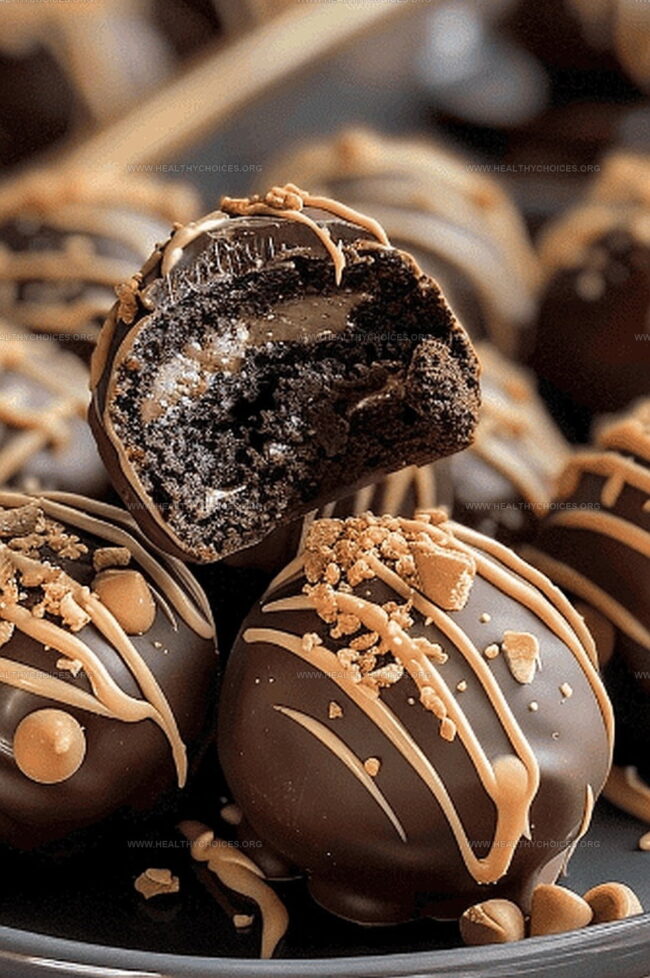
Chocolate lovers will swoon over this no-bake dessert that combines creamy peanut butter with crushed Oreo cookies.
the rich, velvety texture melts effortlessly on your tongue, creating an irresistible flavor explosion.
Packed with simple ingredients, this recipe requires minimal effort but delivers maximum satisfaction.
Each Oreo ball is a perfect blend of crunchy cookie and smooth chocolate coating.
the delightful treat comes together quickly, making it ideal for last-minute gatherings or spontaneous dessert cravings.
Dive into this delectable recipe and treat yourself to a moment of pure chocolate bliss.
Quick Recipe Overview
Ingredients That Make Reeses Oreo Balls Unforgettable
For Oreo Base:For Coating and Decoration:Essentials to Prepare Reeses Oreo Balls
Making Decadent Reeses Oreo Balls, Step by Step

Crush Oreos into fine, dusty crumbs using a food processor, creating a smooth texture that will form the base of these delightful treats.
Blend softened cream cheese with the Oreo crumbs until a rich, consistent dough emerges that holds together perfectly.
Scoop out small portions of the mixture, tucking a surprise peanut butter cup inside each ball before gently rolling into smooth spheres.
Chill the formed balls in the refrigerator, allowing them to firm up and develop a solid structure that will support the chocolate coating.
Melt chocolate until silky and glossy, then carefully coat each chilled ball, letting excess drip away for a clean, elegant finish.
Sprinkle chopped Reese’s Pieces or drizzle peanut butter candy melts over the chocolate-covered balls, adding a playful and colorful touch to these irresistible treats.
Tips and Extras for Reeses Oreo Balls
Serving Reeses Oreo Balls with Style
Storage and Meal Tips for Reeses Oreo Balls
Print
Delectable Reeses Oreo Balls Recipe
- Total Time: 50 minutes
- Yield: 25 1x
Description
Homemade Reeses Oreo balls combine chocolate, peanut butter, and crushed cookies into irresistible bite-sized treats. Guests will devour these no-bake desserts that blend classic American flavors in one delightful confection.
Ingredients
- 1 package oreos (14.3 oz / 405 g, peanut butter flavor preferred)
- 1 package cream cheese (8 oz / 226 g, softened)
- Chocolate candiquik or almond bark
- Peanut butter cups (1 per oreo ball)
- Chopped reese’s pieces
- Peanut butter candy melts
Instructions
- Crumb Preparation: Pulse Oreo cookies in a food processor, creating uniform, fine crumbs through two careful processing cycles.
- Mixture Integration: Combine cookie crumbs with softened cream cheese, using an electric mixer to blend into a seamless, homogeneous mixture.
- Ball Formation: Portion the Oreo mixture using a small scoop, strategically nestling a peanut butter cup at the center of each ball and shaping with precision.
- Initial Chilling: Refrigerate the formed balls for 20 minutes to firm their structure and optimize handling capabilities.
- Chocolate Coating: Melt chocolate candiquik or almond bark over low heat, maintaining a smooth consistency while stirring intermittently.
- Dipping Process: Submerge each chilled Oreo ball completely in melted chocolate, using a fork to ensure thorough coverage and allow excess chocolate to cascade off.
- Decorative Finishing: Embellish the chocolate-coated treats by sprinkling chopped Reese’s Pieces or drizzling melted peanut butter candy melts for enhanced visual and flavor complexity.
- Final Chilling: Return the decorated balls to the preparation surface and refrigerate until the chocolate coating solidifies completely, creating a professional-grade dessert with exquisite texture and taste.
Notes
- Prep with Care: Ensure cream cheese is at room temperature for smooth blending and easier mixing.
- Crush Cookies Strategically: Pulse Oreo cookies in two batches for consistent, fine crumbs that mix evenly.
- Chill for Success: Refrigerate formed balls for 20 minutes to firm up the mixture, making coating easier and preventing crumbling.
- Coating Technique: Use a fork when dipping in melted chocolate to achieve a clean, professional finish and allow excess chocolate to drip off smoothly.
- Prep Time: 30 minutes
- Cook Time: 0 minutes
- Category: Desserts, Snacks
- Method: Blending
- Cuisine: American
Nutrition
- Serving Size: 25
- Calories: 150
- Sugar: 12 g
- Sodium: 90 mg
- Fat: 8 g
- Saturated Fat: 4 g
- Unsaturated Fat: 2 g
- Trans Fat: 0 g
- Carbohydrates: 18 g
- Fiber: 1 g
- Protein: 3 g
- Cholesterol: 15 mg
Emily Roberts
Content Creator & Kitchen Tips Specialist
Expertise
Dietary Planning, Public Health Nutrition, Nutritional Education, Content Development
Education
University of Illinois at Urbana-Champaign
Registered Dietitian Nutritionist (RDN)
Emily Roberts is our content specialist and registered dietitian at HealthyChoices.org. With her Master’s degree in Nutritional Sciences from the University of Illinois and her Registered Dietitian Nutritionist certification, Emily uses her deep nutrition knowledge to write helpful, easy-to-understand guides about healthy eating.
Her warm, practical advice empowers readers to confidently make healthier choices, turning everyday meals into simple moments of wellness and joy.