
Fluffy Eggnog Magic Cake Recipe for a Holiday Dessert Surprise
Eggnog magic cake turns ordinary holiday desserts into extraordinary culinary adventures.
Sweet memories of festive gatherings dance through this remarkable confection’s layers.
Creamy and rich, this delightful treat converts simple ingredients into something truly spectacular.
Magical kitchen alchemy occurs when you combine traditional ingredients with unexpected techniques.
Each slice promises a delectable journey through smooth, distinct textures that surprise and enchant.
Soft custard-like foundations merge with lighter cake sections in a mesmerizing convertation.
Warm spices and luxurious eggnog essence weave through every delectable bite.
You’ll want to savor this enchanting dessert that celebrates seasonal comfort and joy.
Why Eggnog Magic Cake Is a Seasonal Favorite
What You Need to Make Eggnog Magic Cake
Cake Base Ingredients:Liquid Ingredients:Egg Components:Optional Garnish:Baking Instructions for Eggnog Magic Cake’s Signature Layers
Step 1: Prepare the Oven
Warm up the oven to 325°F (165°C). Grab an 8×8-inch baking pan and generously coat it with butter to prevent sticking.
Step 2: Warm the Eggnog
Gently heat the eggnog in the microwave. Zap it in short 15-second bursts, stirring between each interval, until it reaches a cozy lukewarm temperature.
Step 3: Whip Egg White Clouds
In a pristine mixing bowl, combine room temperature egg whites and a splash of vinegar. Grab your mixer and whip these whites on high speed until they transform into stiff, glossy peaks that stand tall and proud.
Step 4: Create the Sweet Base
In a separate bowl, dance the egg yolks and confectioners’ sugar together until they become a pale, creamy yellow. Slowly drizzle in the melted butter, mixing on low speed until everything becomes best friends.
Step 5: Introduce the Flour
Softly sprinkle the flour into the mixture:Step 6: Merge the Liquid Magic
Combine your flavor-boosters:Slowly pour this liquid goodness into the batter while mixing on low speed. Don’t worry about the super-liquidy consistency – that’s totally normal!
Step 7: Fold in Fluffy Clouds
Gently introduce the whipped egg whites to the batter. Fold them in carefully, one quarter at a time. The batter will look wonderfully messy with small egg white clouds floating throughout.
Step 8: Bake to Perfection
Pour the batter into your prepared pan. Slide it into the preheated oven and bake for 50-55 minutes. Look for a golden-brown top – the cake might still do a little wiggle dance when it’s done.
Step 9: Cooling Ceremony
Let the cake chill out completely on a wire rack. This takes about 3 hours, or you can speed things up by cooling for 30 minutes, covering with foil, and letting it rest in the refrigerator for at least an hour.
Step 10: Dress and Serve
Just before serving, sprinkle a magical dusting of confectioners’ sugar and freshly grated nutmeg on top. Slice, serve, and watch everyone’s eyes light up!
Tips to Master Eggnog Magic Cake’s Unique Texture
Keeping Eggnog Magic Cake Fresh for Days
Eggnog Magic Cake Drink and Dessert Pairings
Twists on Eggnog Magic Cake for New Flavor Profiles
Print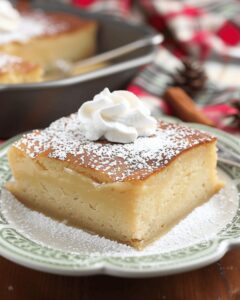
Eggnog Magic Cake Recipe
- Total Time: 1 hour 10 minutes
- Yield: 8 1x
Description
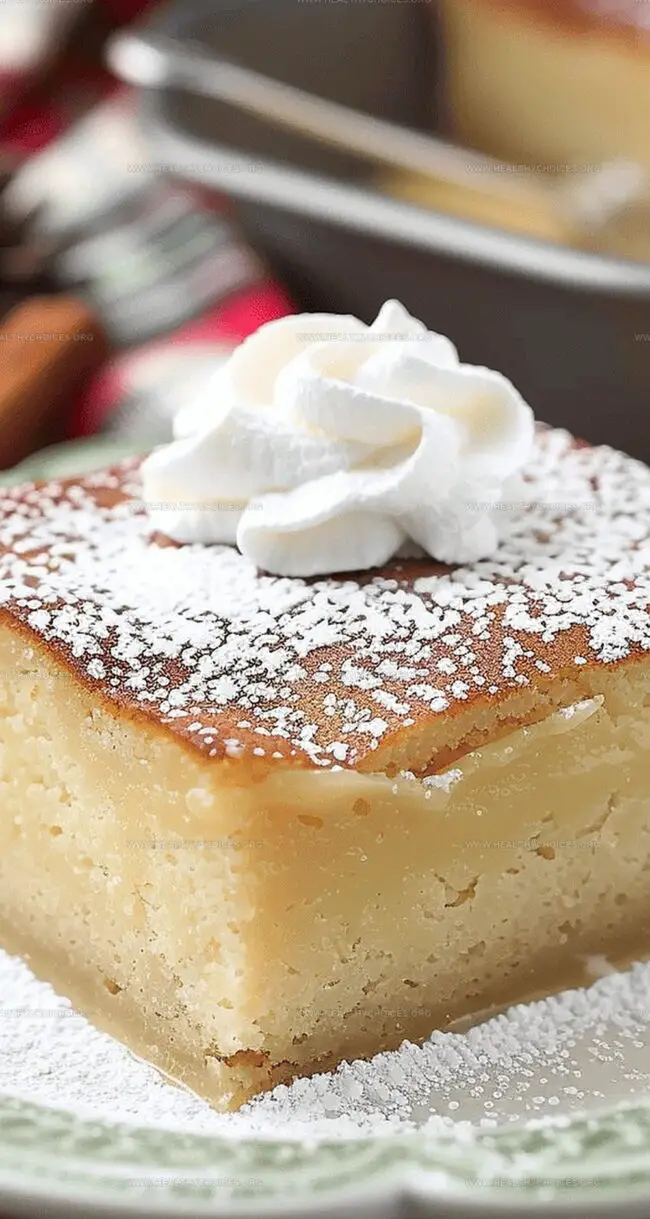
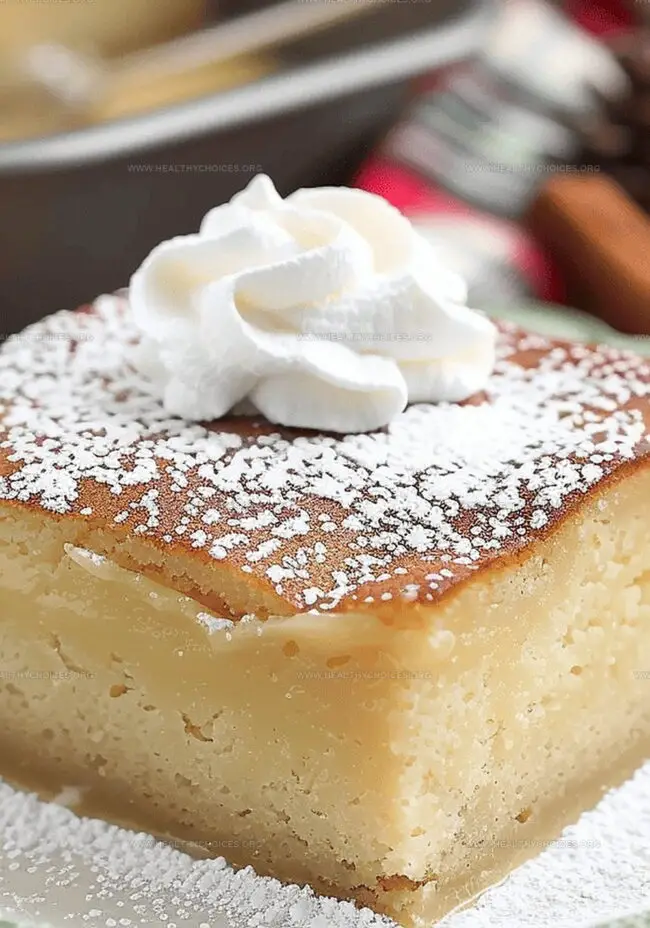
Eggnog magic cake brings holiday cheer with its delightful layers of creamy custard and light sponge. Magical separation during baking creates three distinct textures that’ll make your Christmas dessert table sparkle with festive elegance.
Ingredients
Main Ingredients:
- 2 cups eggnog, lukewarm
- 4 eggs, room temperature, separated
- ½ cup (1 stick) unsalted butter, melted and cooled
- 1 cup all-purpose flour (or gluten-free flour blend)
Sweeteners and Flavor Enhancers:
- 1 ½ cups confectioners’ sugar (plus more for dusting)
- 3 tablespoons dark rum (or additional eggnog)
- 1 teaspoon vanilla extract
Finishing and Seasoning:
- 1/8 teaspoon white distilled vinegar
- Whole nutmeg (for grating on top) or ground nutmeg for sprinkling
Instructions
- Prepare the baking workspace by preheating the oven to 325°F and coating an 8×8-inch pan with butter to prevent sticking.
- Gently warm the eggnog in short microwave intervals until it reaches a lukewarm temperature, ensuring even heating.
- Create a stable egg white mixture by combining room temperature egg whites with vinegar, then whipping at high speed until stiff, glossy peaks form that hold their shape.
- In a separate mixing bowl, transform egg yolks and confectioners’ sugar into a pale yellow cream by beating thoroughly, then gradually incorporate melted butter while mixing at low speed.
- Slowly introduce flour into the yolk mixture, blending carefully to maintain a smooth, lump-free consistency.
- Enhance the liquid base by combining rum (or additional eggnog) and vanilla with the warmed eggnog, then gradually streaming this mixture into the batter while mixing at low speed.
- Delicately fold egg whites into the liquid batter in quarter portions, maintaining a slightly lumpy texture that promises a magical cake structure.
- Transfer the gossamer-like batter into the prepared pan, then bake for 50-55 minutes until the surface turns a tempting golden hue with a subtle jiggle indicating perfect doneness.
- Allow the cake to cool completely on a wire rack for approximately 3 hours, or expedite cooling by refrigerating for an hour after initial resting.
- Finish the dessert by dusting the top with a delicate layer of confectioners’ sugar and a whisper of freshly grated nutmeg before serving.
Notes
- Ensure eggs are at room temperature for optimal whipping and smooth batter consistency.
- Use a clean, dry bowl when whipping egg whites to achieve perfect stiff peaks.
- The extremely liquid batter is intentional and creates a unique layered texture during baking.
- Gentle folding of egg whites preserves the delicate air bubbles that contribute to the cake’s magical texture.
- High-altitude bakers might need to adjust ingredients slightly to maintain the cake’s delicate structure.
- Patience during cooling is crucial; allowing the cake to rest helps develop its distinctive creamy layers.
- Prep Time: 15 minutes
- Cook Time: 55 minutes
- Category: Desserts, Drinks
- Method: Baking
- Cuisine: American
Nutrition
- Serving Size: 8
- Calories: 300
- Sugar: 25 g
- Sodium: 150 mg
- Fat: 12 g
- Saturated Fat: 7 g
- Unsaturated Fat: 4 g
- Trans Fat: 0 g
- Carbohydrates: 40 g
- Fiber: 0 g
- Protein: 5 g
- Cholesterol: 90 mg
David Bennett
Founder & Head Recipe Developer
Expertise
Culinary Nutrition, Recipe Development, Nutritional Counseling, Food Science
Education
Johnson & Wales University
Certified Nutrition Specialist® (CNS®)
David Bennett is the lead recipe creator and nutrition expert at HealthyChoices.org, your friendly space for tasty meals that nourish body and mind.
With a Culinary Nutrition degree from Johnson & Wales University and a Certified Nutrition Specialist® credential, David pairs practical nutrition with delicious cooking, creating recipes you’ll crave daily.
At Healthy Choices, David shares easy, nutritious dishes and smart cooking tips to make healthy eating something everyone can enjoy, with no complicated diets needed.