Quick & Fluffy Garlic Bread Rolls Recipe / A Homemade Delight
Irresistible garlic bread rolls change ordinary dinners into memorable feasts with their aromatic allure and golden-brown crispiness.
Soft, pillowy textures promise a delightful culinary experience that teases taste buds and sparks anticipation.
Warm, buttery notes dance alongside pungent garlic undertones, creating a sensory symphony that beckons hungry diners.
Each roll represents a perfect balance between comfort and indulgence, blending simple ingredients into something extraordinary.
Bakers of all skill levels can master this straightforward recipe that requires minimal technique but delivers maximum flavor.
These rolls elevate any meal from mundane to magnificent, offering a crowd-pleasing side that never disappoints.
Your kitchen will fill with an irresistible fragrance that draws everyone to the table.
Why Garlic Bread Rolls Are Always a Hit
Everything You’ll Need for Soft and Buttery Garlic Bread Rolls
Bread Ingredients:Liquid Ingredients:Flavor Enhancers:How to Make Garlic Bread Rolls That Are Pillowy and Golden
Step 1: Warm Up the Oven
Crank the oven to a toasty 350°F. Grab a 9×13-inch pan and give it a gentle butter massage, coating the bottom and sides completely.
Step 2: Create Magical Garlic Butter
In a small pot, melt the butter and welcome the minced garlic. Let them dance together for 1-2 minutes until the kitchen fills with an irresistible aroma. Set aside to cool slightly.
Step 3: Mix the Dough Magic
Grab your stand mixer and toss in:Pour in the warm milk, crack an egg, and add the cooled garlic butter. Attach the dough hook and knead on low speed for 10-12 minutes. The dough should look smooth and slightly sticky. If it’s too clingy, sprinkle in flour one tablespoon at a time.
Step 4: Shape the Dough Balls
Divide the dough into 12 equal champions (about 67 grams each). Roll each piece into a perfect ball, pinching the bottom to seal in the goodness.
Step 5: Let the Dough Rise
Arrange the dough balls in the buttered pan, giving them some breathing room. Cover with plastic wrap or a kitchen towel. Find a warm, cozy spot and let them rise for 1-2 hours until they’ve doubled in size.
Step 6: Prepare for Baking
Gently brush the tops of the rolls with egg wash, giving them a golden promise.
Step 7: Bake to Perfection
Slide the pan into the oven and bake for 20-30 minutes. Watch for a beautiful golden-brown color that screams “eat me!”
Step 8: Craft the Final Garlic Butter Topping
While the rolls are baking, create the final touch:Step 9: Finish with Flair
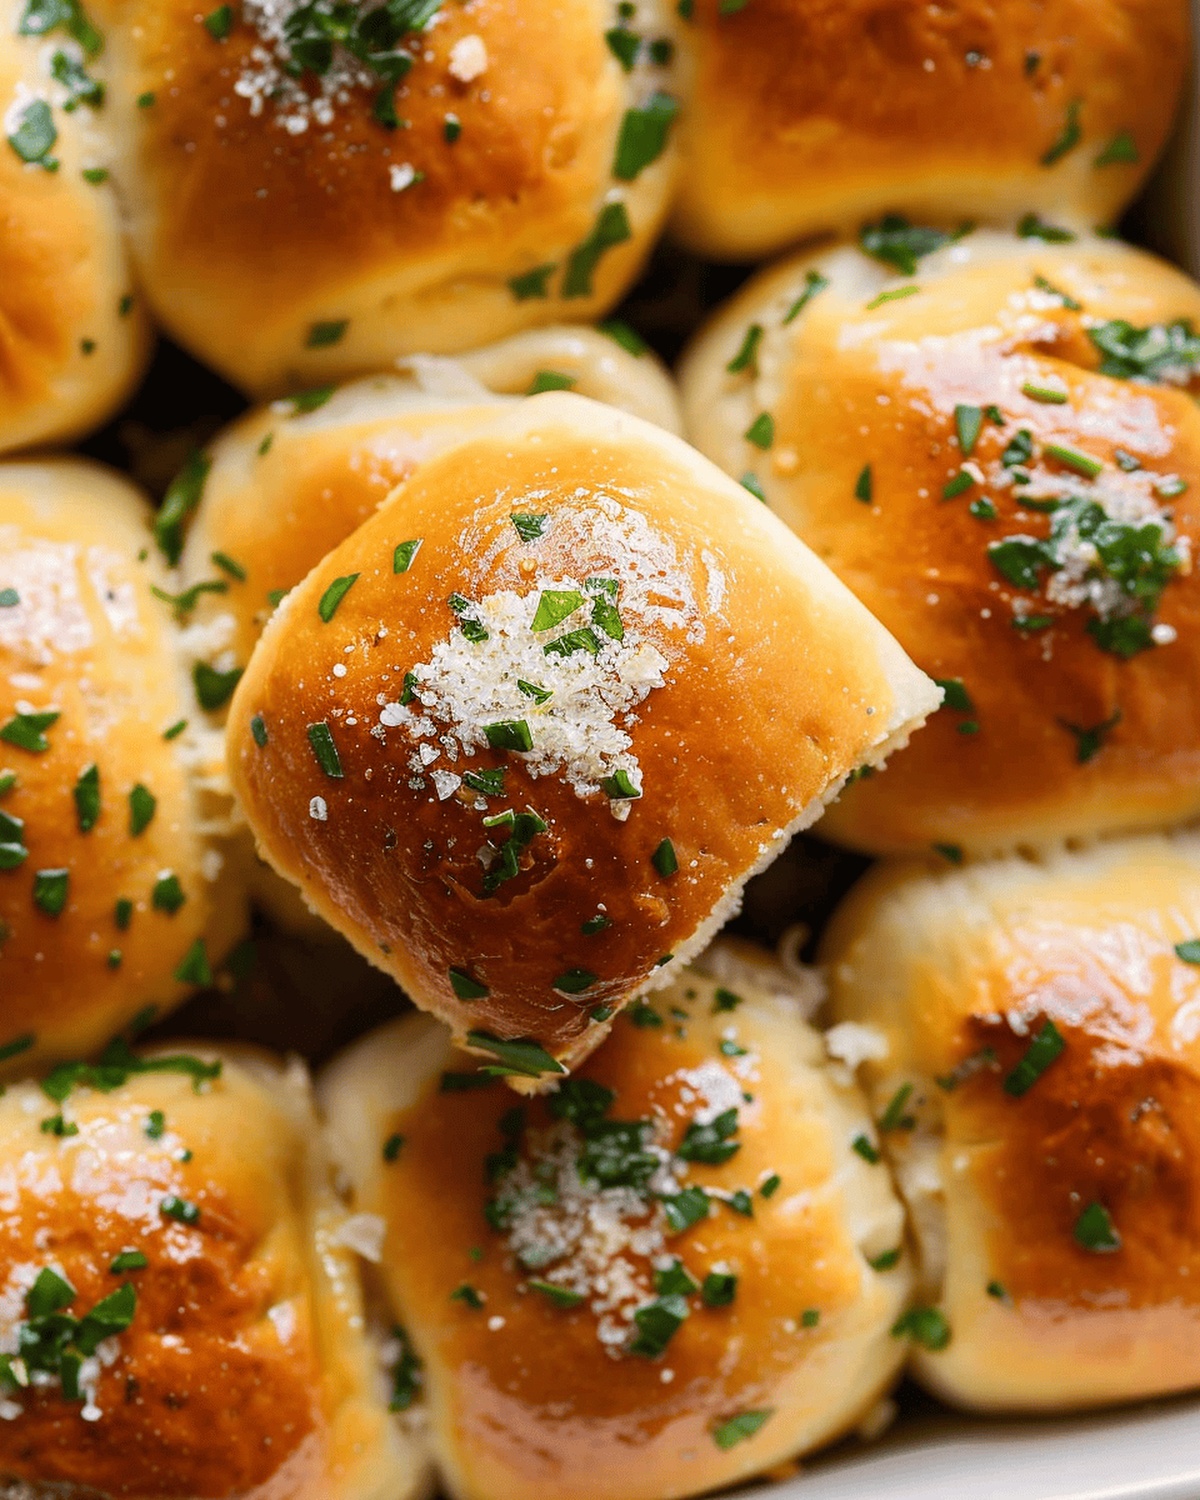
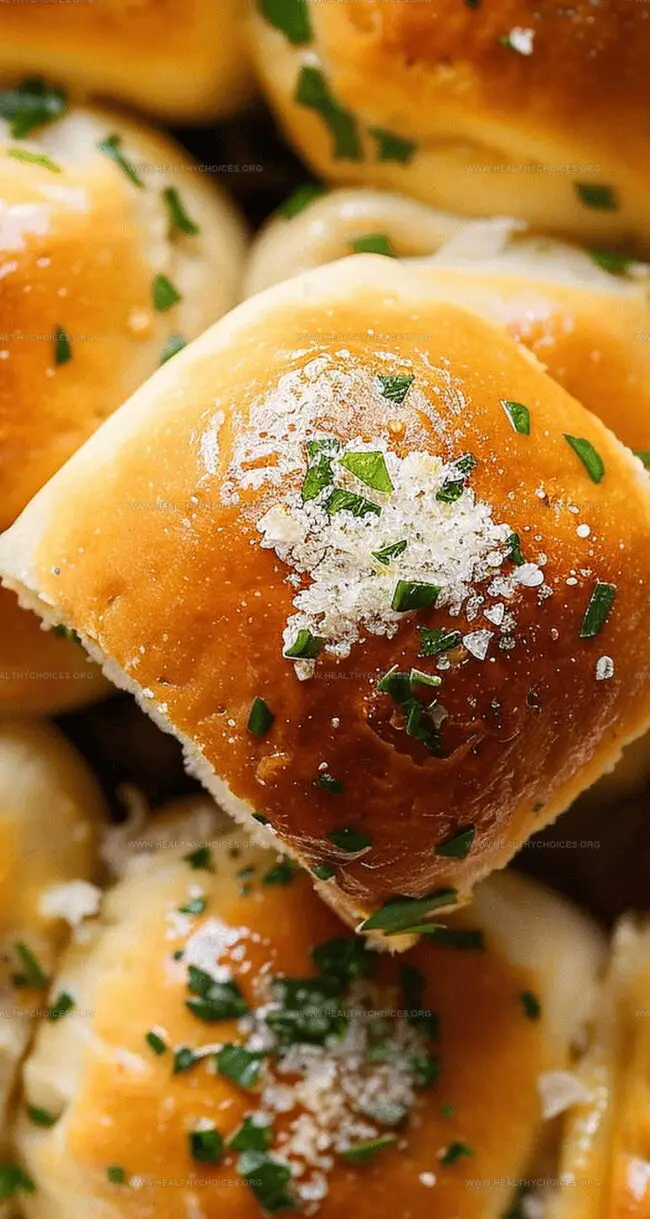
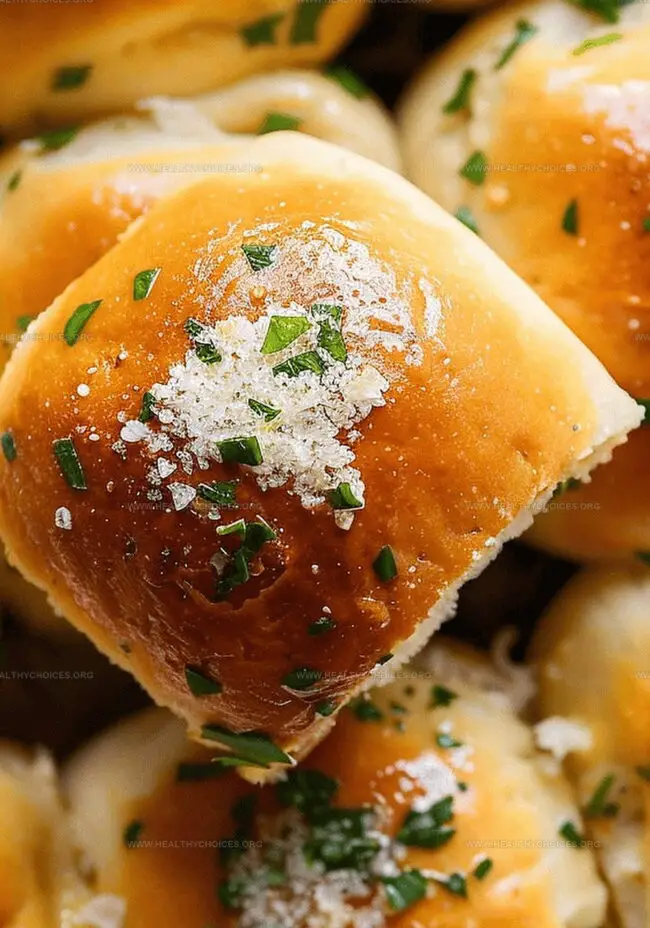
The moment the rolls emerge from the oven, paint them with the garlic butter mixture. If you’re feeling fancy, sprinkle some flaky sea salt on top. Serve immediately and watch everyone’s eyes light up!
Tips for Baking Garlic Bread Rolls Just Right
Best Way to Store and Reheat Garlic Bread Rolls
Dishes to Pair with Garlic Bread Rolls
Garlic Bread Roll Variations You’ll Want to Try
Print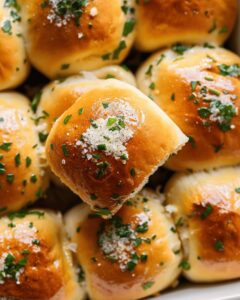
Garlic Bread Rolls Recipe
- Total Time: 40 minutes
- Yield: 12 1x
Description
Garlic bread rolls bring Italian comfort straight to your kitchen with their aromatic herbs and buttery goodness. Crispy edges and fluffy centers make these rolls irresistible companions to pasta dishes or perfect standalone snacks for hungry guests.
Ingredients
Main Ingredients:
- 3½ cups (438 grams) all-purpose flour
- 1 cup (240 milliliters) whole or 2% milk
- 1 large egg
- 2¼ teaspoons instant yeast
Dough Enhancers and Seasonings:
- 4½ tablespoons (64 grams) unsalted butter
- 2 tablespoons minced garlic
- 3 tablespoons chopped fresh parsley
- 1 tablespoon granulated sugar
- 1 teaspoon fine sea salt
Topping and Finishing:
- 2 tablespoons unsalted butter
- 1 tablespoon minced garlic
- 1 tablespoon chopped fresh parsley
- 1 beaten egg (for brushing)
- Flaky sea salt (for finishing)
Instructions
- Activate the oven to 350°F (180°C) and generously coat a 9×13-inch baking vessel with butter, ensuring complete coverage of bottom and sides.
- In a compact saucepan, transform butter into a liquid state, incorporating minced garlic. Sauté briefly until aromatic, then allow to cool marginally.
- Combine dry elements in a stand mixer’s bowl: flour, chopped parsley, sugar, yeast, and sea salt, creating a uniform mixture.
- Introduce warmed milk, egg, and the slightly cooled garlic-infused butter to the dry ingredients. Engage the dough hook, kneading at low velocity for 10-12 minutes until achieving a silky, slightly adhesive texture.
- Adjust dough consistency by incorporating additional flour sparingly if the mixture appears excessively moist.
- Partition the dough into 12 equivalent portions, meticulously forming each into a spherical shape and sealing the base to create smooth balls.
- Arrange dough spheres within the prepared pan, maintaining gentle separation between each. Drape with plastic wrap or a clean cloth, positioning in a warm environment to facilitate rising for 1-2 hours until volume doubles.
- Prior to baking, delicately brush roll surfaces with beaten egg wash for a glossy finish.
- Transfer to preheated oven, baking for 20-30 minutes until achieving a rich golden-brown complexion.
- Simultaneously, craft the garlic butter topping by melting butter and sautéing garlic until fragrant, then integrating chopped parsley.
- Immediately upon removing rolls from oven, lavish with the prepared garlic butter mixture, optionally sprinkling flaky sea salt for enhanced flavor profile.
- Serve warm, inviting guests to enjoy the aromatic, freshly baked creation.
Notes
- Precise kneading is crucial for developing gluten, ensuring soft and fluffy bread rolls with perfect texture.
- Warm environment helps dough rise effectively, so choose a draft-free spot like near a preheated oven or on top of a warm appliance.
- Uniform ball shaping prevents uneven baking and creates professional-looking rolls with consistent size and appearance.
- Egg wash provides golden-brown color and adds a beautiful shine to the bread surface, enhancing visual appeal.
- Fresh garlic and parsley create an aromatic, herbaceous flavor profile that elevates these rolls from ordinary to extraordinary.
- Allow rolls to cool slightly before serving to let the internal structure set and prevent burning your mouth.
- Prep Time: 20 minutes
- Cook Time: 20 minutes
- Category: Appetizer, Snacks
- Method: Baking
- Cuisine: Italian
Nutrition
- Serving Size: 12
- Calories: 185
- Sugar: 1 g
- Sodium: 200 mg
- Fat: 8 g
- Saturated Fat: 4 g
- Unsaturated Fat: 4 g
- Trans Fat: 0 g
- Carbohydrates: 25 g
- Fiber: 1 g
- Protein: 5 g
- Cholesterol: 30 mg
David Bennett
Founder & Head Recipe Developer
Expertise
Culinary Nutrition, Recipe Development, Nutritional Counseling, Food Science
Education
Johnson & Wales University
Certified Nutrition Specialist® (CNS®)
David Bennett is the lead recipe creator and nutrition expert at HealthyChoices.org, your friendly space for tasty meals that nourish body and mind.
With a Culinary Nutrition degree from Johnson & Wales University and a Certified Nutrition Specialist® credential, David pairs practical nutrition with delicious cooking, creating recipes you’ll crave daily.
At Healthy Choices, David shares easy, nutritious dishes and smart cooking tips to make healthy eating something everyone can enjoy, with no complicated diets needed.