Spooky No-Bake Peanut Butter Mummy Bars Recipe for Halloween
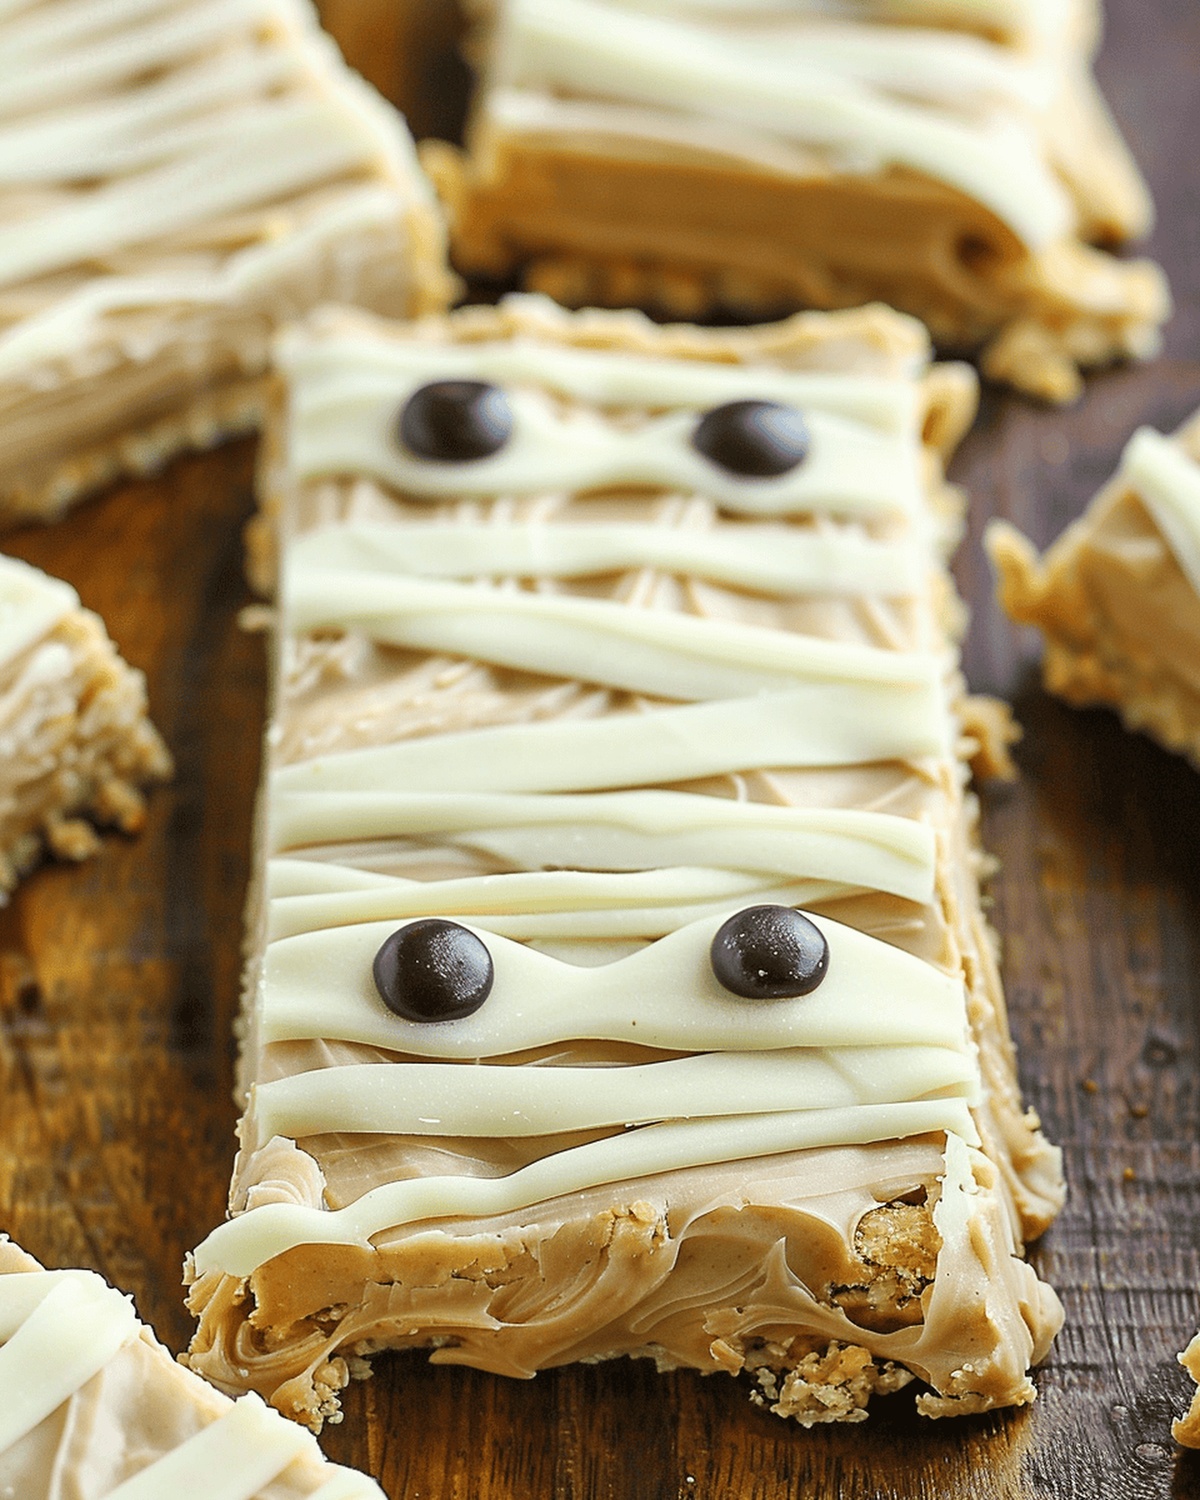
Halloween treats come alive with these spooky peanut butter mummy no bake bars that will send shivers down your spine.
Creamy, decadent layers of chocolate and peanut butter create a haunting dessert perfect for seasonal celebrations.
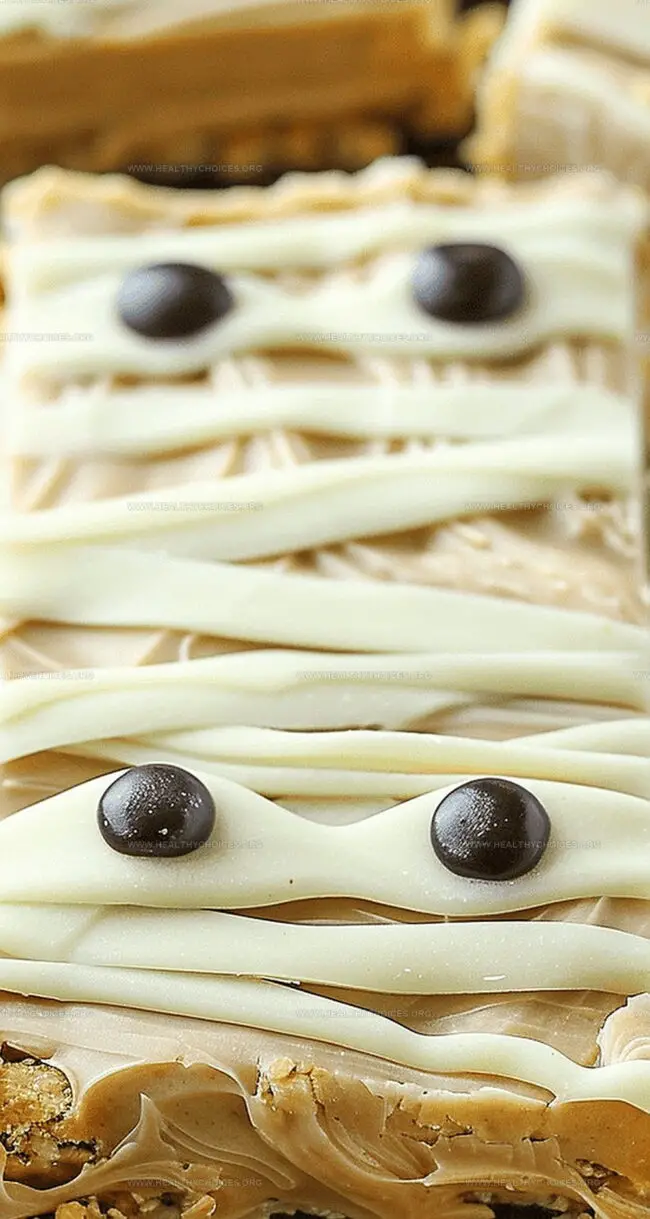
White chocolate drizzles mimic bandage wrappings across the surface, giving these bars their signature mummy look.
Kids and adults alike will devour these wickedly delicious squares in moments.
Each bite delivers a rich, smooth combination of sweet and salty flavors that dance on your palate.
The no-bake method means minimal effort with maximum Halloween excitement.
Whip up these ghoulishly good bars and watch them disappear faster than a ghost at midnight.
Quick Recipe Overview
What’s in Peanut Butter Mummy Bars
For Base Ingredients:For Coating Ingredients:Kitchen Equipment for No-Bake Bars
Steps for Assembling Mummy Bars

Line an 8×8 inch pan with parchment paper, creating easy lifting edges for smooth removal of bars.
Combine creamy peanut butter with melted chocolate in a mixing bowl, stirring until smooth and fully blended.
Gradually fold in powdered sugar, continuing to mix until the texture becomes thick and holds together easily.
Press the mixture firmly into the prepared pan, creating an even layer. Refrigerate for about 15-20 minutes until set.
Melt white chocolate in short intervals, carefully drizzling thin lines across the chilled bars to create bandage-like patterns. Use a piping bag or spoon for precise decoration.
Add tiny chocolate chips or candy eyes to create playful mummy faces. Return to refrigerator for final setting before slicing into rectangular bars.
Tips for Peanut Butter Decoration
How to Serve No-Bake Mummy Bars
Storage Notes for Mummy Bars
Print
Gooey Peanut Butter Mummy No Bake Bars
- Total Time: 15 minutes
- Yield: 13 1x
Description
Spooky Halloween peanut butter mummy no bake bars deliver creepy cookie magic for seasonal celebrations. Chocolate drizzles and marshmallow bandage decorations create playful monster-inspired dessert delights you’ll crave all October long.
Ingredients
- 1 cup (240 ml) creamy peanut butter
- 2 cups (240 g) powdered sugar
- ¼ cup (57 g) unsalted butter, melted
- 2 cups (340 g) white chocolate chips, separated
- ¼ cup (43 g) non-marking chocolate chips
- 2 teaspoons (10 ml) vanilla extract
- 1 pinch of salt
Instructions
- Preparation: Line an 8×8 inch dish with parchment paper, allowing edges to overhang for effortless removal.
- Mixing Base: Blend peanut butter, melted butter, vanilla extract, and salt until silky smooth, gradually folding in powdered sugar to form a dense, malleable mixture.
- Forming Layer: Evenly press the consolidated mixture into the lined pan, creating a uniform base, then chill in the freezer for 15-20 minutes to solidify.
- Shaping Bars: Extract the pan from the freezer and slice the chilled mixture into precise rectangular segments using a sharp knife.
- Decorative Coating: Carefully melt white chocolate in short microwave intervals, stirring between each to prevent scorching, then artfully drizzle over bars in intricate bandage-like patterns.
- Mummy Details: Embellish the bars with miniature chocolate chips or playful candy eyes to craft whimsical facial features.
- Final Setting: Return the decorated bars to the refrigerator for a brief 10-minute interval to ensure the chocolate sets completely, then extract using parchment paper edges and serve chilled.
Notes
- Chill for Perfection: Freezing the base helps create a firm, sturdy foundation that prevents crumbling and makes slicing easier.
- Chocolate Melting Mastery: Use short, 15-second microwave intervals and stir between each to avoid burning white chocolate, ensuring smooth drizzling.
- Customize Creatively: Swap chocolate chips for candy eyes or use different decorative elements to personalize the mummy theme and make each bar unique.
- Storage Smart: Keep bars refrigerated in an airtight container for up to 5 days, maintaining their texture and preventing chocolate from melting.
- Prep Time: 15 minutes
- Cook Time: 0 minutes
- Category: Snacks, Desserts
- Method: Freezing
- Cuisine: American
Nutrition
- Serving Size: 13
- Calories: 290
- Sugar: 22 g
- Sodium: 80 mg
- Fat: 16 g
- Saturated Fat: 6 g
- Unsaturated Fat: 10 g
- Trans Fat: 0 g
- Carbohydrates: 36 g
- Fiber: 1 g
- Protein: 5 g
- Cholesterol: 5 mg
Emily Roberts
Content Creator & Kitchen Tips Specialist
Expertise
Dietary Planning, Public Health Nutrition, Nutritional Education, Content Development
Education
University of Illinois at Urbana-Champaign
Registered Dietitian Nutritionist (RDN)
Emily Roberts is our content specialist and registered dietitian at HealthyChoices.org. With her Master’s degree in Nutritional Sciences from the University of Illinois and her Registered Dietitian Nutritionist certification, Emily uses her deep nutrition knowledge to write helpful, easy-to-understand guides about healthy eating.
Her warm, practical advice empowers readers to confidently make healthier choices, turning everyday meals into simple moments of wellness and joy.