
Homemade Asiago Cheese Bagels Recipe: Crispy & Flavorful Joy
Warm, golden bagels fresh from the oven can turn an ordinary morning into something extraordinary.
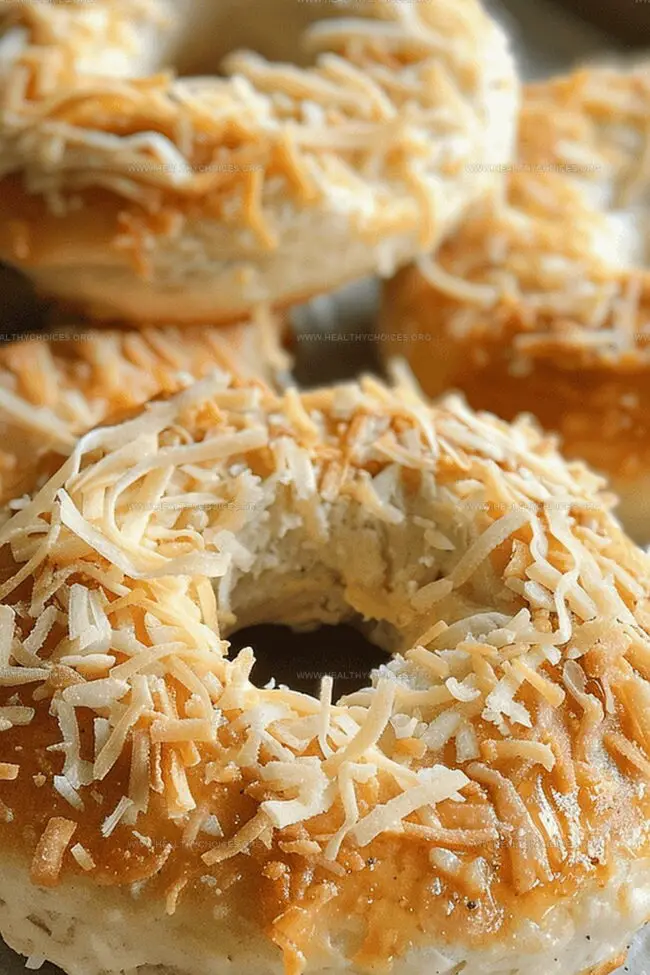
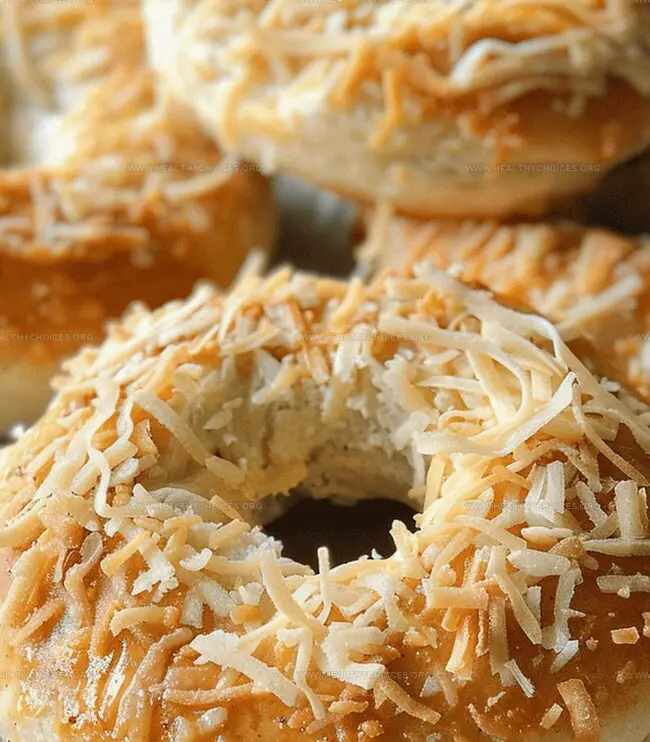
Soft, pillowy dough studded with savory asiago cheese creates a breakfast delight that awakens every taste bud.
The robust, nutty flavor of asiago cheese nestled within these homemade bagels promises a delectable start to your day.
Bakers and breakfast lovers alike will adore how these bagels blend rustic charm with gourmet flair.
Each bite delivers a perfect balance of crisp exterior and tender, cheesy interior.
These asiago cheese bagels bring restaurant-quality comfort right to your kitchen.
Get ready to savor a breakfast experience that will have everyone asking for seconds.
Quick Recipe Overview
Ingredients for Asiago Cheese Bagels
For Leavening and Sweetness:For Flavor and Texture:For Structure and Binding:Tools to Prepare Asiago Cheese Bagels
Equipment & Tools:How to Make Asiago Cheese Bagels from Scratch
Combine water, yeast, and honey in a stand mixer bowl. Let the mixture become frothy and bubbly, which signals the yeast is awakening and ready to create magic.
Add salt and flour to the activated yeast. Mix using a bread hook, gradually incorporating additional flour until the dough transforms into a smooth, soft texture that doesn’t stick to your fingers.
Shape the dough into a perfect round, place in an oiled bowl, and cover. Allow the dough to rest and expand, nearly doubling in size during this peaceful hour.
Gently divide the dough into portions, rolling each into a soft ball. Create a center hole in each piece, letting them rest and grow slightly puffy.
Briefly submerge each bagel in sweetened water, giving them a quick bath that will create their signature chewy exterior and glossy finish.
Sprinkle asiago cheese generously over each bagel, ensuring a rich, golden coating that will melt beautifully during baking.
Slide the bagels into a preheated oven, transforming them into golden, crispy delights with a soft, tender interior. Once cooled, slice and enjoy.
Tips for Baking Asiago Cheese Bagels
Presentation Tips for Asiago Cheese Bagels
How to Keep Asiago Cheese Bagels Fresh
Print
Heavenly Asiago Cheese Bagels Recipe
- Total Time: 2 hours 30 minutes
- Yield: 13 1x
Description
Homemade asiago cheese bagels deliver a luxurious blend of tangy cheese and chewy bread. Bakers can craft these gourmet bagels with simple ingredients and enjoy a satisfying culinary adventure that brings bakery-style comfort directly to home kitchens.
Ingredients
- 4.5 to 5.5 cups (540 to 660 grams) flour (high gluten or bread flour is best, but all-purpose flour will work)
- 2 cups (480 ml) very warm water (not boiling)
- 8 oz (226 g) freshly shredded asiago cheese
- 2 packets active dry yeast (quick rising)
- 2 tbsps honey
- 2 tbsps light brown sugar
- 2 tsps salt
- Olive oil for greasing
Instructions
- Yeast Activation: Combine warm water, honey, and yeast in a stand mixer bowl, allowing the mixture to become frothy and bubbly, signaling active yeast.
- Dough Formation: Integrate salt and flour into the yeast mixture using a bread hook, gradually adding flour until the dough transforms into a smooth, cohesive texture that cleanly separates from the bowl’s sides.
- Kneading and First Rise: Develop the dough’s elasticity through thorough kneading, then shape into a compact disc. Transfer to a lightly oiled bowl, cover with plastic wrap and a kitchen towel, and let rise in a warm environment until volume doubles.
- Shaping and Second Rise: Gently deflate the risen dough, divide into 15 uniform balls, and place on a parchment-lined baking sheet. Allow a second rise for 30 minutes while preheating the oven to 400°F.
- Water Bath Preparation: Create a large pot of water mixed with brown sugar. Carefully form a hole in the center of each dough ball to achieve the classic bagel shape.
- Boiling Process: Gently lower bagels into the water bath, boiling 3 at a time. Cook for 2 minutes on one side, then flip and boil for an additional 30 seconds to develop a characteristic texture.
- Final Baking: Return boiled bagels to the baking sheet, generously sprinkle with asiago cheese, and bake in the preheated oven for 25-30 minutes until achieving a rich, golden-brown color.
- Cooling and Serving: Remove from the oven and allow bagels to cool completely before slicing to preserve their structural integrity and optimal texture.
Notes
- Proof Yeast Carefully: Ensure water is warm (110-115°F) to activate yeast without killing it, creating a frothy mixture within 5-10 minutes.
- Knead for Texture: Develop gluten by kneading 8-10 minutes, creating a smooth, elastic dough that springs back when touched.
- Boil Before Baking: Water bath with brown sugar creates signature chewy exterior and glossy finish, critical for authentic bagel texture.
- Cool Completely: Allow bagels to rest at room temperature for optimal texture and prevent crushing delicate internal structure.
- Prep Time: 2 hours
- Cook Time: 30 minutes
- Category: Breakfast, Snacks
- Method: Boiling
- Cuisine: Italian
Nutrition
- Serving Size: 13
- Calories: 280
- Sugar: 3 g
- Sodium: 200 mg
- Fat: 5 g
- Saturated Fat: 2 g
- Unsaturated Fat: 3 g
- Trans Fat: 0 g
- Carbohydrates: 52 g
- Fiber: 2 g
- Protein: 9 g
- Cholesterol: 10 mg
Emily Roberts
Content Creator & Kitchen Tips Specialist
Expertise
Dietary Planning, Public Health Nutrition, Nutritional Education, Content Development
Education
University of Illinois at Urbana-Champaign
Registered Dietitian Nutritionist (RDN)
Emily Roberts is our content specialist and registered dietitian at HealthyChoices.org. With her Master’s degree in Nutritional Sciences from the University of Illinois and her Registered Dietitian Nutritionist certification, Emily uses her deep nutrition knowledge to write helpful, easy-to-understand guides about healthy eating.
Her warm, practical advice empowers readers to confidently make healthier choices, turning everyday meals into simple moments of wellness and joy.