
The Simplest Crème Brûlée Recipe for Sweet Success
Creamy, silky, and utterly decadent, this easy crème brûlée recipe promises pure dessert magic with minimal effort.
Pastry chefs might guard their secrets, but now you can master this classic French delicacy right in your own kitchen.
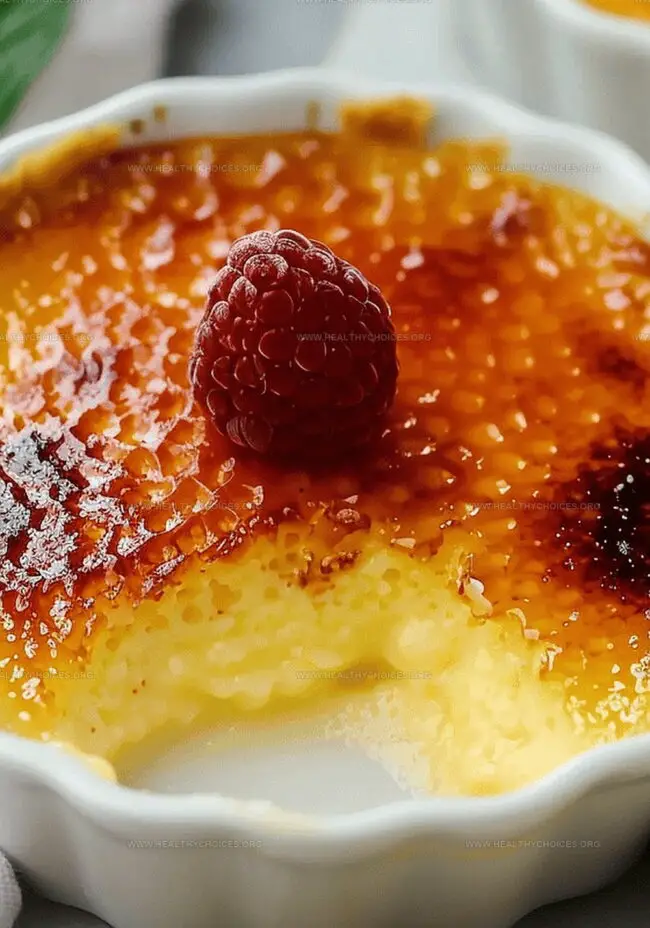
Every spoonful delivers a luxurious custard base topped with a perfectly caramelized sugar crust that shatters like delicate glass.
The rich vanilla-infused cream melts seamlessly on your tongue, creating an elegant dessert that looks far more complicated than it actually is.
Sophisticated yet surprisingly simple, this recipe requires just a few basic ingredients and some careful technique.
With a kitchen torch or broiler, you can transform humble ingredients into an impressive finale that will have everyone asking for seconds.
Dive into this classic dessert and unleash your inner pastry chef with confidence.
Quick Recipe Overview

What You Need to Make Crème Brûlée
For Creamy Base:For Sweetening and Binding:For Baking Setup:Tools to Torch and Bake Crème Brûlée Right
Crème Brûlée Made in a Few Steps
Start with selecting high-quality heavy cream and fresh egg yolks for a luxurious dessert experience. The quality of ingredients determines the final texture and flavor.
Gently warm cream with vanilla, allowing the aromatic essence to permeate slowly. This step creates a rich, deep flavor profile that elevates the entire dessert.
Whisk egg yolks and sugar until the combination transforms into a pale, velvety consistency. The technique ensures a smooth, luscious base for your crème brûlée.
Slowly incorporate warm cream into egg mixture, blending carefully to prevent curdling. This delicate process creates a perfectly smooth custard.
Nestle ramekins in a deep baking pan, surrounding them with hot water. The water bath technique guarantees even, gentle cooking that prevents cracking.
Bake until custards are just set with a delicate wobble in the center. Precise timing is crucial for achieving the ideal creamy texture.
Refrigerate custards to develop a rich, cool consistency. Patience allows flavors to meld and texture to set perfectly.
Sprinkle sugar and caramelize using a kitchen torch, creating a crisp, golden shell. The dramatic crack of the sugar top is the hallmark of a perfect crème brûlée.
Tips to Elevate Your Crème Brûlée Game
Serve Crème Brûlée Like a Restaurant Chef
Storing Leftover Crème Brûlée the Smart Way
Print
Heavenly Crème Brûlée Recipe
- Total Time: 3 hours 5 minutes
- Yield: 5 1x
Description
French pastry chefs’ beloved Crème Brûlée dessert offers silky custard topped with caramelized sugar. Crisp caramel cracks beautifully under a spoon, revealing creamy vanilla-infused delight you’ll savor with pure pleasure.
Ingredients
- 4 cups (946 ml) heavy cream
- 6 large egg yolks
- ¾ cup (150 g) granulated sugar
- 1 ½ tsps (7.5 ml) vanilla extract
- 1 vanilla bean (split and scraped)
- Hot water (for water bath)
Instructions
- Preheat Oven: Calibrate the oven to 325°F, establishing an optimal thermal environment for delicate custard development.
- Infuse Cream: Gently heat cream in a saucepan until it approaches a soft boil, then remove from heat and introduce vanilla essence, allowing flavors to harmonize and permeate.
- Prepare Egg Base: Whisk egg yolks and sugar until the mixture transforms into a lustrous, pale emulsion, creating a smooth custard foundation.
- Temper Mixture: Gradually incorporate warm cream into the egg mixture, using a careful streaming technique to prevent curdling and maintain a velvety consistency.
- Assemble Custards: Strain the infused mixture into ramekins positioned within a spacious baking dish, ensuring precise distribution and uniform depth.
- Create Water Bath: Pour scalding water around the ramekins, establishing a protective cooking environment that promotes consistent heat circulation and gentle cooking.
- Bake and Set: Position the baking pan in the preheated oven for 40 minutes, monitoring until custards develop a subtle, seductive tremor when gently nudged.
- Cool and Chill: Remove from oven, allow brief resting in the water bath, then transfer to a cooling rack before refrigerating for a minimum of three hours to achieve optimal set and texture.
- Caramelize and Serve: Sprinkle sugar surface, using a culinary torch to transform the top into a golden, crackling caramel layer that contrasts beautifully with the creamy interior.
Notes
- Maintain Low Heat: Use 325°F to gently cook custard, preventing curdling and ensuring smooth, silky texture.
- Infuse Flavor Carefully: Warm cream briefly with vanilla to develop rich, deep taste without scalding ingredients.
- Master Tempering Technique: Slowly add hot cream to egg mixture, stirring constantly to prevent scrambling and create luxurious consistency.
- Achieve Perfect Texture: Look for subtle wobble when moved, indicating custard is perfectly set but still delicately soft.
- Prep Time: 20 minutes
- Cook Time: 45 minutes
- Category: Desserts
- Method: Baking
- Cuisine: French
Nutrition
- Serving Size: 5
- Calories: 392
- Sugar: 28 g
- Sodium: 60 mg
- Fat: 34 g
- Saturated Fat: 21 g
- Unsaturated Fat: 13 g
- Trans Fat: 0 g
- Carbohydrates: 30 g
- Fiber: 0 g
- Protein: 6 g
- Cholesterol: 210 mg
Emily Roberts
Content Creator & Kitchen Tips Specialist
Expertise
Dietary Planning, Public Health Nutrition, Nutritional Education, Content Development
Education
University of Illinois at Urbana-Champaign
Registered Dietitian Nutritionist (RDN)
Emily Roberts is our content specialist and registered dietitian at HealthyChoices.org. With her Master’s degree in Nutritional Sciences from the University of Illinois and her Registered Dietitian Nutritionist certification, Emily uses her deep nutrition knowledge to write helpful, easy-to-understand guides about healthy eating.
Her warm, practical advice empowers readers to confidently make healthier choices, turning everyday meals into simple moments of wellness and joy.