
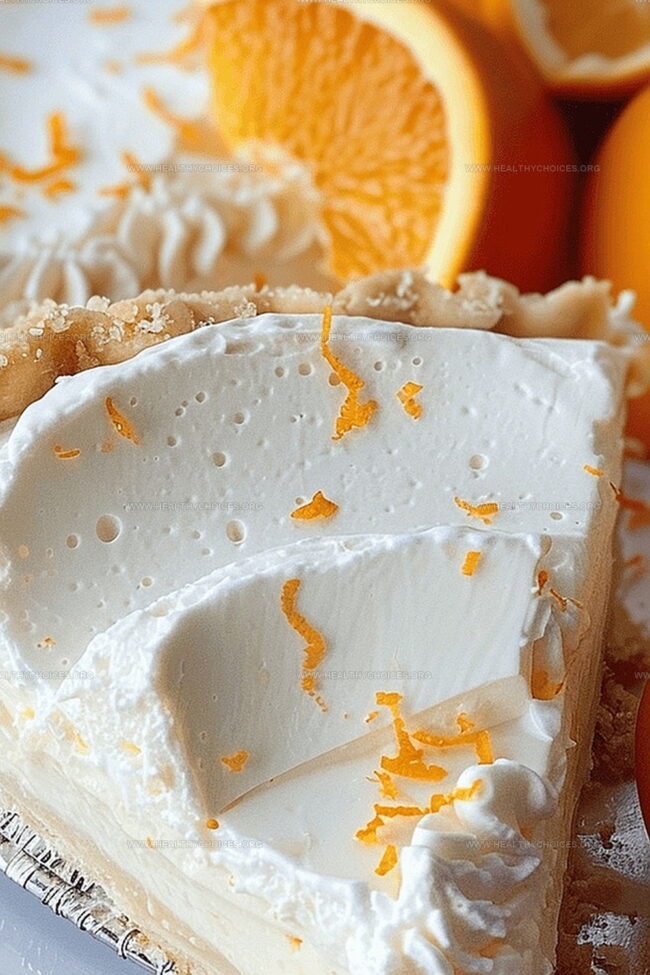
Dreamy No-Bake Orange Creamsicle Pie Recipe for Summer Fun
Summer’s sweet nostalgia comes alive with this no-bake orange creamsicle pie that captures childhood memories in every refreshing bite.
Tangy citrus notes dance through a silky smooth filling, creating a dessert that’s both elegant and playful.
The creamy texture melts effortlessly on your tongue, delivering an instant burst of orange-vanilla happiness.
Cool and light, this pie requires zero oven time, making it the perfect treat for lazy afternoons and spontaneous gatherings.
Simple ingredients blend together to craft a dessert that looks impressive but takes minimal effort to create.
Each forkful promises a delightful escape from ordinary desserts, transporting you to sun-drenched memories of summer.
Get ready to fall in love with this irresistible no-bake pie that’ll become your new warm-weather obsession.
Quick Recipe Overview
Flavor Essentials for No Bake Orange Creamsicle Pie
For Crust:For Filling Base:For Flavor Enhancers:Chill Tools for No Bake Orange Creamsicle Pie
No‑Heat Assembly for No Bake Orange Creamsicle Pie
Blend softened cream cheese with a portion of sweetened condensed milk until silky and smooth. Incorporate cool whip to create a luscious base that will anchor the pie’s first delectable layer.
Combine remaining sweetened condensed milk with vibrant orange zest, tangy juice, and vanilla pudding mix. Whip the ingredients into a bright, creamy filling that captures the essence of a classic orange creamsicle.
Spread the cream cheese mixture carefully across the graham cracker crust, creating a solid foundation. Gently layer the orange-infused cream on top, ensuring an even, luxurious surface that promises a burst of citrusy flavor.
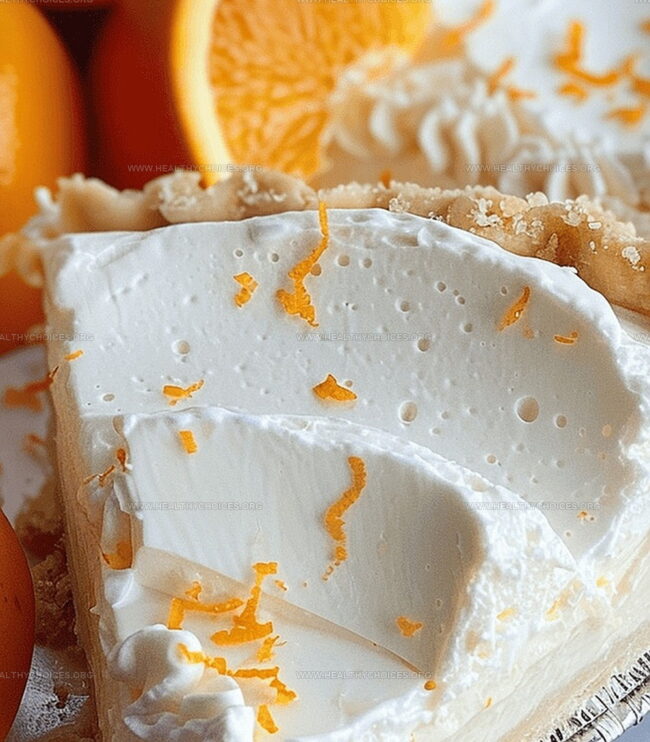
Refrigerate the pie for several hours, allowing the layers to set and flavors to meld. When ready to serve, garnish with a delicate swirl of whipped cream and a sprinkle of orange zest to elevate this refreshing dessert.
Cut into generous slices and share this nostalgic treat with loved ones. Each bite promises a cool, creamy journey that captures the playful spirit of a summer day.
Sunshine Variations for No Bake Orange Creamsicle Pie
Poolside Serving Tips for No Bake Orange Creamsicle Pie
Freezer Storage Plan for No Bake Orange Creamsicle Pie
Print
Heavenly Orange Creamsicle Pie
- Total Time: 8 hours 20 minutes
- Yield: 9 1x
Description
Homemade no bake orange creamsicle pie delivers nostalgic summer dessert memories with creamy tangy goodness. Cool citrus layers meld perfectly for an irresistible treat you’ll want to share with friends and family.
Ingredients
- 1 (6 oz / 170 g) tub cool whip, thawed
- 1 (8 oz / 226 g) package cream cheese, softened
- 1 (14 oz / 397 g) can sweetened condensed milk
- 1 (3.4 oz / 96 g) box vanilla instant pudding
- 1 zest of orange
- ⅓ cup pulp-free orange juice
- 1 (6 oz / 170 g) ready-to-use graham cracker crust
Instructions
- Cheese Base Preparation: Blend softened cream cheese and sweetened condensed milk using an electric mixer until achieving a silky, uniform consistency.
- Layer Foundation: Integrate cool whip into the cream cheese mixture, creating a smooth, creamy base, and spread evenly across the graham cracker crust.
- Orange Cream Composition: Combine remaining sweetened condensed milk, orange zest, fresh orange juice, and vanilla instant pudding mix in a cleansed mixing bowl, whipping vigorously for two minutes to develop a harmonious flavor profile.
- Texture Enhancement: Fold remaining cool whip into the orange mixture, maintaining a light, airy texture while preserving the creamy consistency.
- Layering Technique: Carefully spread the orange cream layer over the initial cream cheese foundation, ensuring a smooth, level surface.
- Chilling and Setting: Refrigerate the pie for a minimum of eight hours or overnight, allowing flavors to meld and fully develop.
- Finishing Touches: Before serving, optionally garnish with a delicate whipped cream swirl and a sprinkle of orange zest for an elegant presentation, then slice into eight equal portions.
Notes
- Chill Thoroughly: Refrigerate for at least 8 hours or overnight to ensure proper texture and flavor melding.
- Zest Matters: Use fresh orange zest for the most vibrant, authentic citrus flavor that elevates the entire dessert.
- Smooth Technique: Use a clean spatula and gentle strokes when layering to create clean, professional-looking pie edges.
- Serving Pro Tip: Let the pie sit at room temperature for 10-15 minutes before slicing to achieve perfect, clean cuts.
- Prep Time: 20 minutes
- Cook Time: 0 minutes
- Category: Desserts, Snacks
- Method: Blending
- Cuisine: American
Nutrition
- Serving Size: 9
- Calories: 320
- Sugar: 25 g
- Sodium: 240 mg
- Fat: 18 g
- Saturated Fat: 10 g
- Unsaturated Fat: 7 g
- Trans Fat: 0 g
- Carbohydrates: 36 g
- Fiber: 0 g
- Protein: 4 g
- Cholesterol: 40 mg
Emily Roberts
Content Creator & Kitchen Tips Specialist
Expertise
Dietary Planning, Public Health Nutrition, Nutritional Education, Content Development
Education
University of Illinois at Urbana-Champaign
Registered Dietitian Nutritionist (RDN)
Emily Roberts is our content specialist and registered dietitian at HealthyChoices.org. With her Master’s degree in Nutritional Sciences from the University of Illinois and her Registered Dietitian Nutritionist certification, Emily uses her deep nutrition knowledge to write helpful, easy-to-understand guides about healthy eating.
Her warm, practical advice empowers readers to confidently make healthier choices, turning everyday meals into simple moments of wellness and joy.