Irresistible Crispy Coconut Chicken Tenders Recipe
Crispy golden tenders meet their match with coconut tropical crunch in this mouthwatering coconut chicken tenders recipe that delivers serious flavor.
Forget bland chicken that disappoints at every bite.
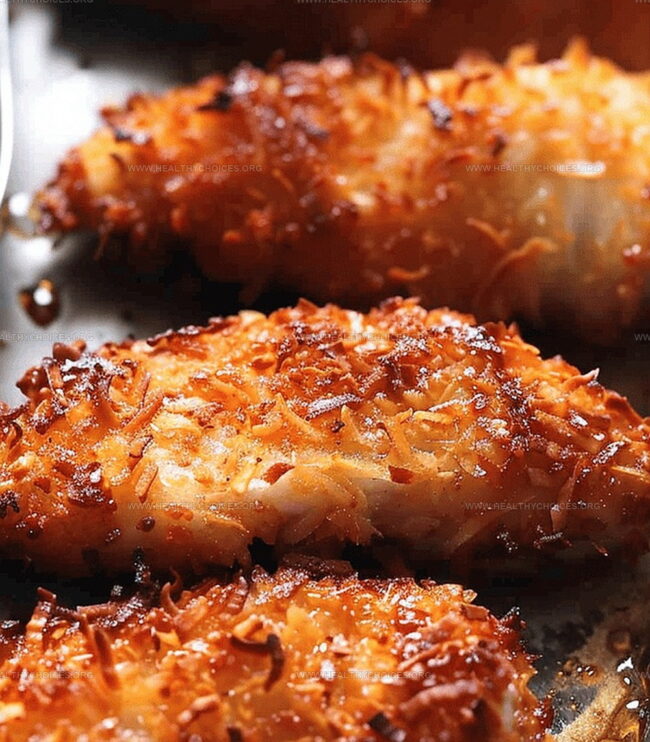
These juicy strips get coated in a perfectly seasoned coconut breading that transforms simple poultry into a restaurant-worthy dish.
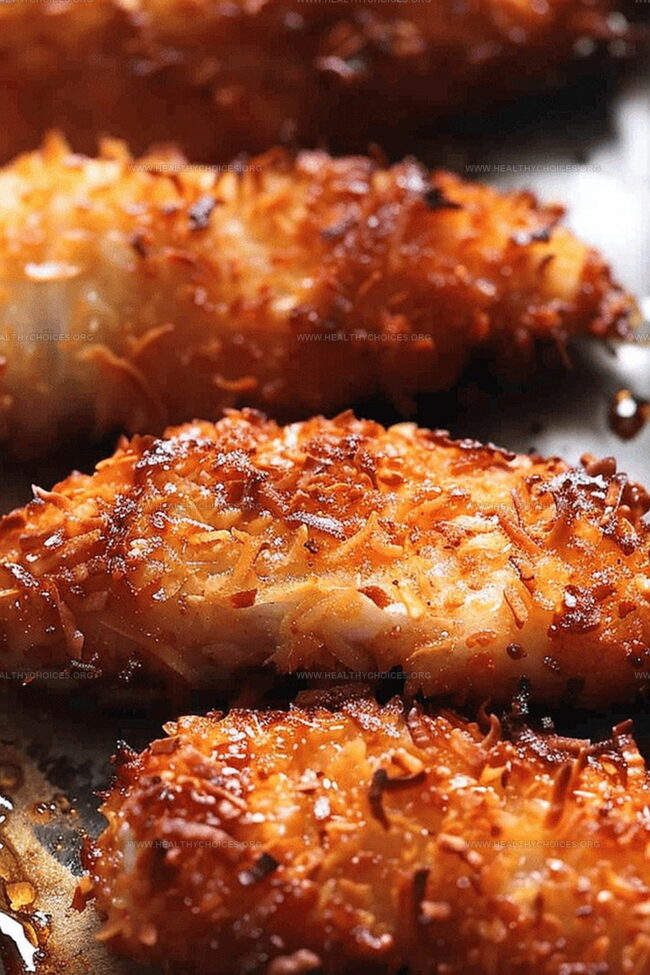
The exterior shatters with delightful crispness while keeping the inside tender and succulent.
coconut brings a subtle sweetness and irresistible texture that makes these chicken tenders stand out from standard breaded versions.
Each bite promises a delectable blend of crunchy coating and delicate meat that will have everyone at the table asking for seconds.
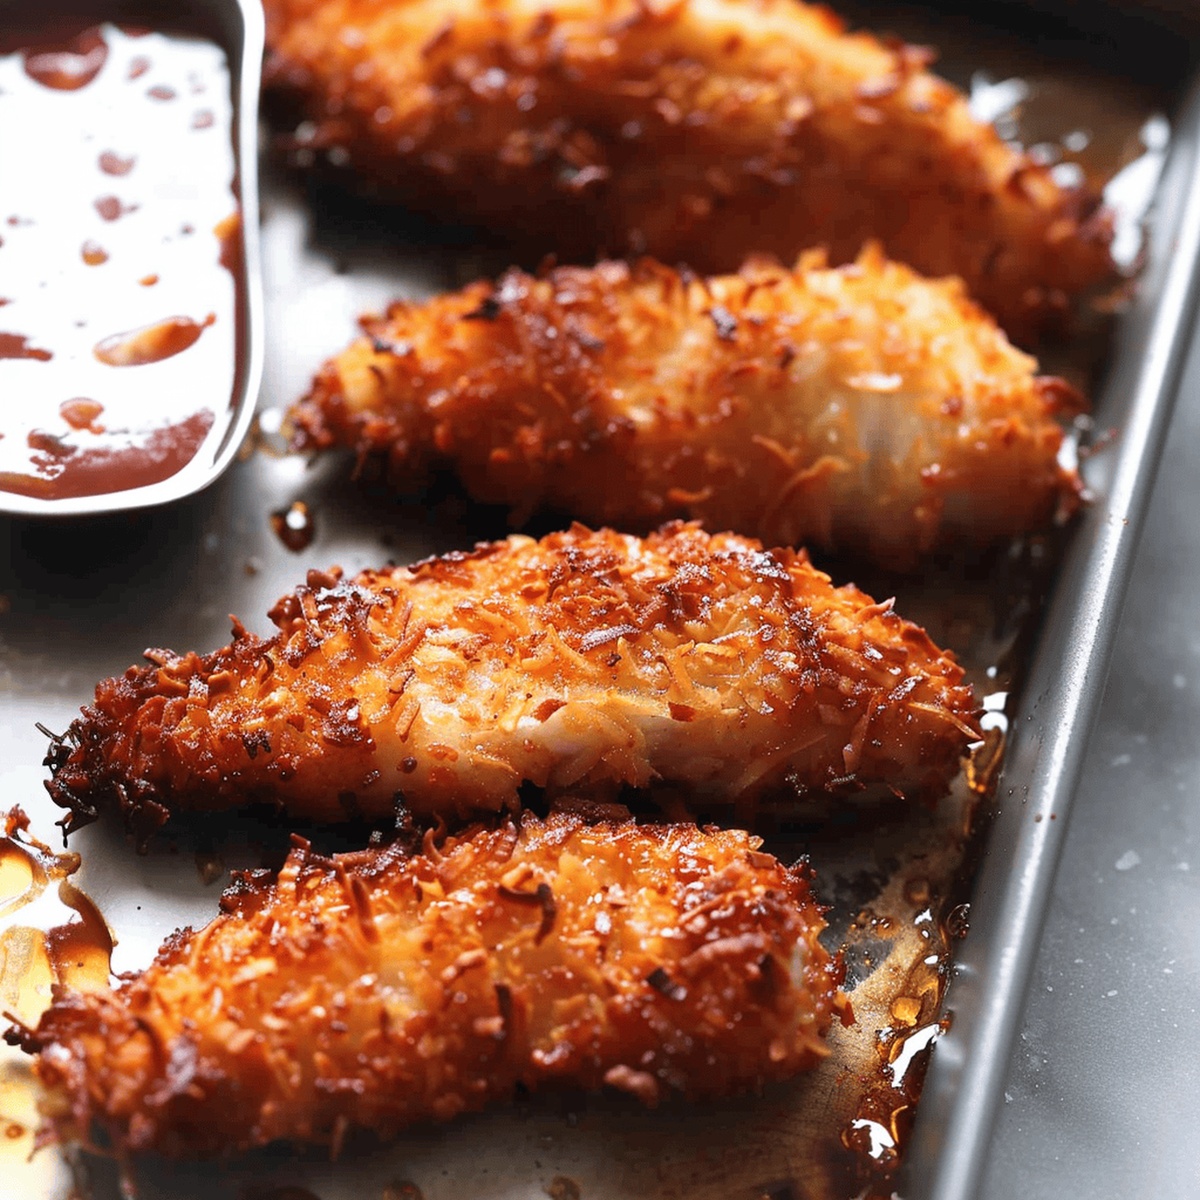
Serve these alongside a zesty dipping sauce for an unforgettable meal that proves homemade can be extraordinary.
Quick Recipe Overview
Coconut Chicken Ingredients That Crunch Just Right
For Breading and Coating:For Binding:For Cooking and Serving:Tools for Frying Coconut Chicken Tenders
Easy Steps to Golden Chicken Tenders
Tropical Coconut Chicken Crunch
Create four separate shallow dishes ready for coating adventure. Mix flour with zesty spices in the first bowl to build intense flavor foundations.
Whisk eggs into a silky smooth liquid that will help coconut and breadcrumbs stick perfectly to chicken.
Layer shredded coconut and crunchy panko breadcrumbs in separate bowls for maximum textural excitement.
Gently roll each tender through seasoned flour, then dive into egg mixture, generously coat with coconut flakes, and press into panko for an armor of deliciousness.
Heat oil in a spacious skillet until shimmering. Carefully lower chicken pieces into golden liquid, cooking in batches to maintain perfect temperature.
Fry tenders until they turn a gorgeous amber color, flipping once to ensure even crispiness. Watch for that beautiful golden-brown exterior signaling ultimate deliciousness.
Rest crispy tenders on a wire rack to keep maximum crunch. Sprinkle with sea salt and serve alongside sweet chili sauce for an irresistible tropical feast.
Spice Combos for More Exciting Chicken Tenders
Serving Tips for a Crispy Chicken Platter
Store Your Tenders So They Stay Crunchy
Print
Irresistible Coconut Chicken Tenders
- Total Time: 25-27 minutes
- Yield: 5 1x
Description
Succulent crispy coconut chicken tenders bring Caribbean flavors to home kitchens with minimal effort. Crunchy panko and sweet coconut create irresistible coating that will leave diners craving more.
Ingredients
- 1 lb (454 g) chicken tenderloins, or chicken breasts cut into strips
- 2 eggs
- 2 tbsps (30 mL) water or milk
- ½ cup (60 g) flour
- ⅔ cup (50 g) shredded sweetened coconut flakes
- ⅔ cup (60 g) panko bread crumbs
- ½ tsp chili powder
- ½ tsp salt
- ¼ tsp pepper
- Oil for frying
- Sea salt flakes (optional)
- Sweet chili sauce (for serving)
Instructions
- Breading Preparation: Arrange four spacious containers for a strategic coating process, dedicating each vessel to flour, egg wash, coconut, and panko breadcrumbs.
- Flour Seasoning: Integrate chili powder, salt, and pepper into flour, creating a vibrant and zesty foundation for the chicken’s first layer.
- Egg Mixture: Thoroughly whisk eggs with water, developing a smooth binding agent that will help subsequent coatings adhere perfectly.
- Coating Sequence: Methodically transform each chicken tender by first rolling through seasoned flour, ensuring complete and uniform coverage.
- Moisture Layer: Dip floured tender into egg wash, allowing excess to drip off, creating an ideal adhesive surface for subsequent layers.
- Coconut Application: Generously enrobe the tender with shredded coconut flakes, pressing gently to maximize flavor and textural integrity.
- Crispy Finish: Press coconut-covered tender into panko breadcrumbs, guaranteeing a robust and crunchy exterior that will provide delightful crispness.
- Frying Technique: Heat oil in a large skillet to medium temperature, carefully lowering breaded tenders using tongs and maintaining appropriate spacing to ensure even, golden-brown cooking.
- Cooking Precision: Fry tenders for 5-6 minutes total, flipping midway, until chicken reaches perfect golden color and internal temperature indicates complete cooking.
- Serving Presentation: Transfer fried tenders to a wire rack over paper towels, allowing excess oil to drain, then optionally garnish with sea salt flakes and serve alongside sweet chili dipping sauce.
Notes
- Breading Station Setup: Organize four spacious containers to create a systematic coating process, ensuring each container has a unique role for maximum flavor and texture.
- Flour Power Blend: Mix chili powder, salt, and pepper into flour to create a zesty base layer that adds depth and excitement to the chicken’s first coating.
- Egg Wash Technique: Whisk eggs with water thoroughly to develop a smooth binding agent that helps coconut and breadcrumbs adhere perfectly to the chicken.
- Crispy Coating Mastery: Press each coating layer gently but firmly to guarantee maximum coverage, creating a robust and textural exterior that delivers crunch in every bite.
- Prep Time: 15 minutes
- Cook Time: 10-12 minutes
- Category: Lunch, Dinner, Snacks
- Method: Frying
- Cuisine: Asian
Nutrition
- Serving Size: 5
- Calories: 350
- Sugar: 3 g
- Sodium: 400 mg
- Fat: 16 g
- Saturated Fat: 9 g
- Unsaturated Fat: 7 g
- Trans Fat: 0 g
- Carbohydrates: 36 g
- Fiber: 2 g
- Protein: 24 g
- Cholesterol: 150 mg
Emily Roberts
Content Creator & Kitchen Tips Specialist
Expertise
Dietary Planning, Public Health Nutrition, Nutritional Education, Content Development
Education
University of Illinois at Urbana-Champaign
Registered Dietitian Nutritionist (RDN)
Emily Roberts is our content specialist and registered dietitian at HealthyChoices.org. With her Master’s degree in Nutritional Sciences from the University of Illinois and her Registered Dietitian Nutritionist certification, Emily uses her deep nutrition knowledge to write helpful, easy-to-understand guides about healthy eating.
Her warm, practical advice empowers readers to confidently make healthier choices, turning everyday meals into simple moments of wellness and joy.