
Irresistible Mini Chicken Tacos Recipe that You Shouldn;t Miss
Weeknight dinners just got a flavor-packed upgrade with these sizzling mini chicken tacos that bring serious crunch to your plate.
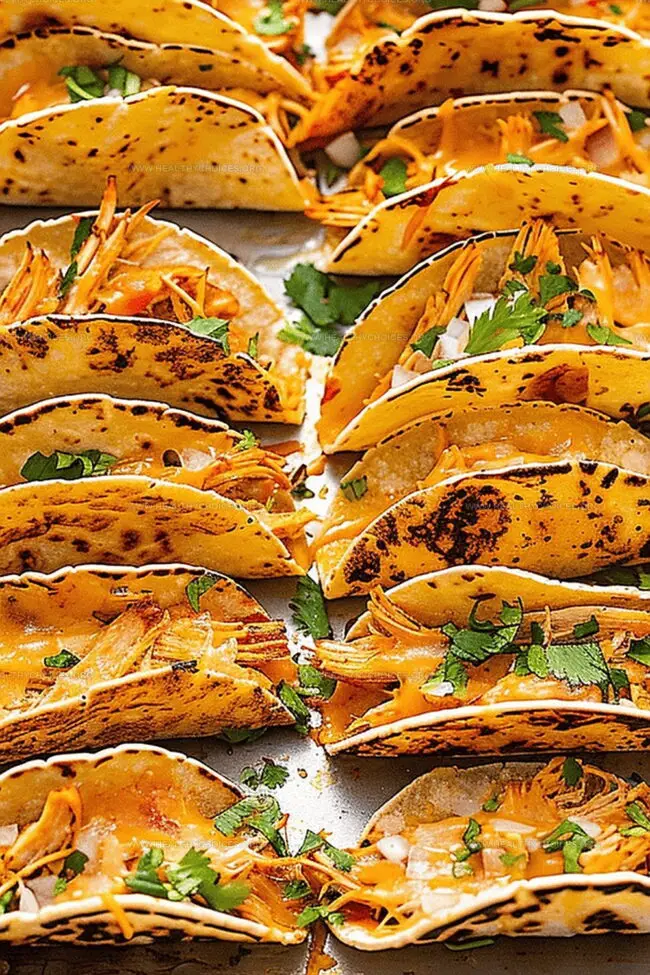
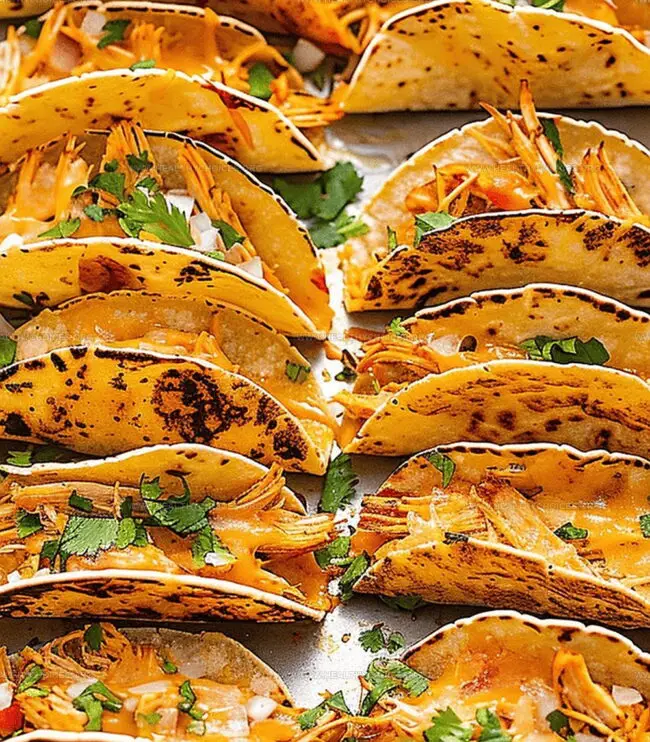
Bursting with zesty seasoned chicken, these crispy mini chicken tacos promise a delightful culinary adventure in every single bite.
Small in size but massive in taste, these bite-sized treats will have everyone around the table reaching for seconds.
The golden, crisp shells cradle tender, spiced chicken that melts in your mouth with each mouthwatering morsel.
Quick to assemble and even faster to devour, these tacos blend traditional Mexican-inspired flavors with irresistible texture.
Serve them as an appetizer, snack, or main course, and watch how quickly they disappear from the serving platter.
Get ready to become the household hero with this simple yet spectacular recipe that transforms ordinary ingredients into an extraordinary meal.
Quick Recipe Overview
What You Need for Crispy Mini Chicken Tacos
For Protein Base:For Melting Magic:For Taco Wrap:For Cooking Enhancement:Tools to Make Crispy Mini Chicken Tacos
Instructions for Crispy Mini Chicken Tacos Preparation
Crank up the oven to a toasty 425 degrees, creating the perfect heat zone for transforming simple ingredients into crunchy delights.
Spread corn tortillas across a baking sheet, giving each a light drizzle of olive oil to kickstart their journey to crispiness.
Scatter seasoned chicken and melty colby jack cheese across the tortillas, creating a mouthwatering foundation for your mini tacos.
Slide the baking sheet into the hot oven for a quick 2-minute melt, softening the cheese and prepping the tortillas for their transformation.
Gently fold each tortilla into a classic taco shape, tucking the savory filling inside with a tender press.
Bake the shaped tacos for 12-15 minutes until the edges turn a beautiful golden brown, promising a satisfying crunch with every bite.
Serve these mini tacos piping hot, accompanied by cool sour cream, zesty salsa, and a sprinkle of fresh cilantro to elevate the flavor experience.
Pro Tips for Crispy Mini Chicken Tacos Perfection
Serving Crispy Mini Chicken Tacos the Right Way
Storing and Reheating Crispy Mini Chicken Tacos
Print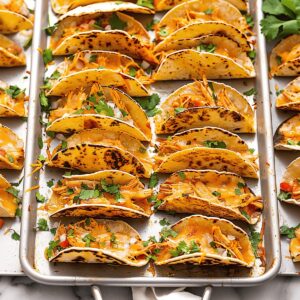
Irresistible Mini Chicken Tacos Recipe
- Total Time: 24-27 minutes
- Yield: 11 1x
Description
Miniature chicken tacos deliver a crispy, flavor-packed Mexican-inspired delight that combines zesty seasoned meat with crunchy tortilla shells. Guests will savor these bite-sized appetizers that bring bold southwestern charm to any gathering.
Ingredients
- 1 lb (454 g) seasoned shredded chicken breast
- 8 oz (226 g) shredded colby jack cheese
- 20–24 street taco corn tortillas
- olive oil or cooking spray
Instructions
- Preheating: Activate the oven to 425 degrees Fahrenheit, ensuring a high-temperature environment for optimal cooking.
- Tortilla Preparation: Layer corn tortillas on a baking sheet, lightly misting with olive oil or cooking spray to guarantee a crisp texture and prevent sticking.
- Filling Assembly: Center seasoned chicken on each tortilla, generously sprinkling colby jack cheese to create a melty foundation that binds the ingredients together.
- Initial Baking: Place the baking sheet in the oven for 2 minutes, allowing the cheese to soften and create a pliable base for folding.
- Taco Forming: Remove the sheet and carefully fold each tortilla into a half-moon shape, firmly pressing the edges to seal the flavorful contents within.
- Final Baking: Return the formed tacos to the oven, continuing to bake for 12-15 minutes until the edges transform into a crispy, golden-brown landscape.
- Serving: Transfer the mini tacos to a serving platter, garnishing with a vibrant array of sour cream, salsa, and freshly chopped cilantro to enhance the culinary experience.
Notes
- Optimize Crispiness: Use a light olive oil spray or brush for even coating to ensure maximum crunchiness without oversaturating tortillas.
- Cheese Melting Trick: Spread cheese evenly to create a perfect seal that helps hold taco edges together and enhances overall flavor profile.
- Prevent Burning: Watch tacos closely during final 12-15 minute baking period, as oven temperatures can vary and edges brown quickly.
- Serving Suggestion: Let tacos rest for 2-3 minutes after baking to stabilize structure and allow filling to cool slightly for optimal eating experience.
- Prep Time: 10 minutes
- Cook Time: 14-17 minutes
- Category: Lunch, Dinner, Appetizer, Snacks
- Method: Baking
- Cuisine: Mexican
Nutrition
- Serving Size: 11
- Calories: 220
- Sugar: 1 g
- Sodium: 360 mg
- Fat: 10 g
- Saturated Fat: 4 g
- Unsaturated Fat: 6 g
- Trans Fat: 0 g
- Carbohydrates: 20 g
- Fiber: 2 g
- Protein: 16 g
- Cholesterol: 60 mg
Emily Roberts
Content Creator & Kitchen Tips Specialist
Expertise
Dietary Planning, Public Health Nutrition, Nutritional Education, Content Development
Education
University of Illinois at Urbana-Champaign
Registered Dietitian Nutritionist (RDN)
Emily Roberts is our content specialist and registered dietitian at HealthyChoices.org. With her Master’s degree in Nutritional Sciences from the University of Illinois and her Registered Dietitian Nutritionist certification, Emily uses her deep nutrition knowledge to write helpful, easy-to-understand guides about healthy eating.
Her warm, practical advice empowers readers to confidently make healthier choices, turning everyday meals into simple moments of wellness and joy.