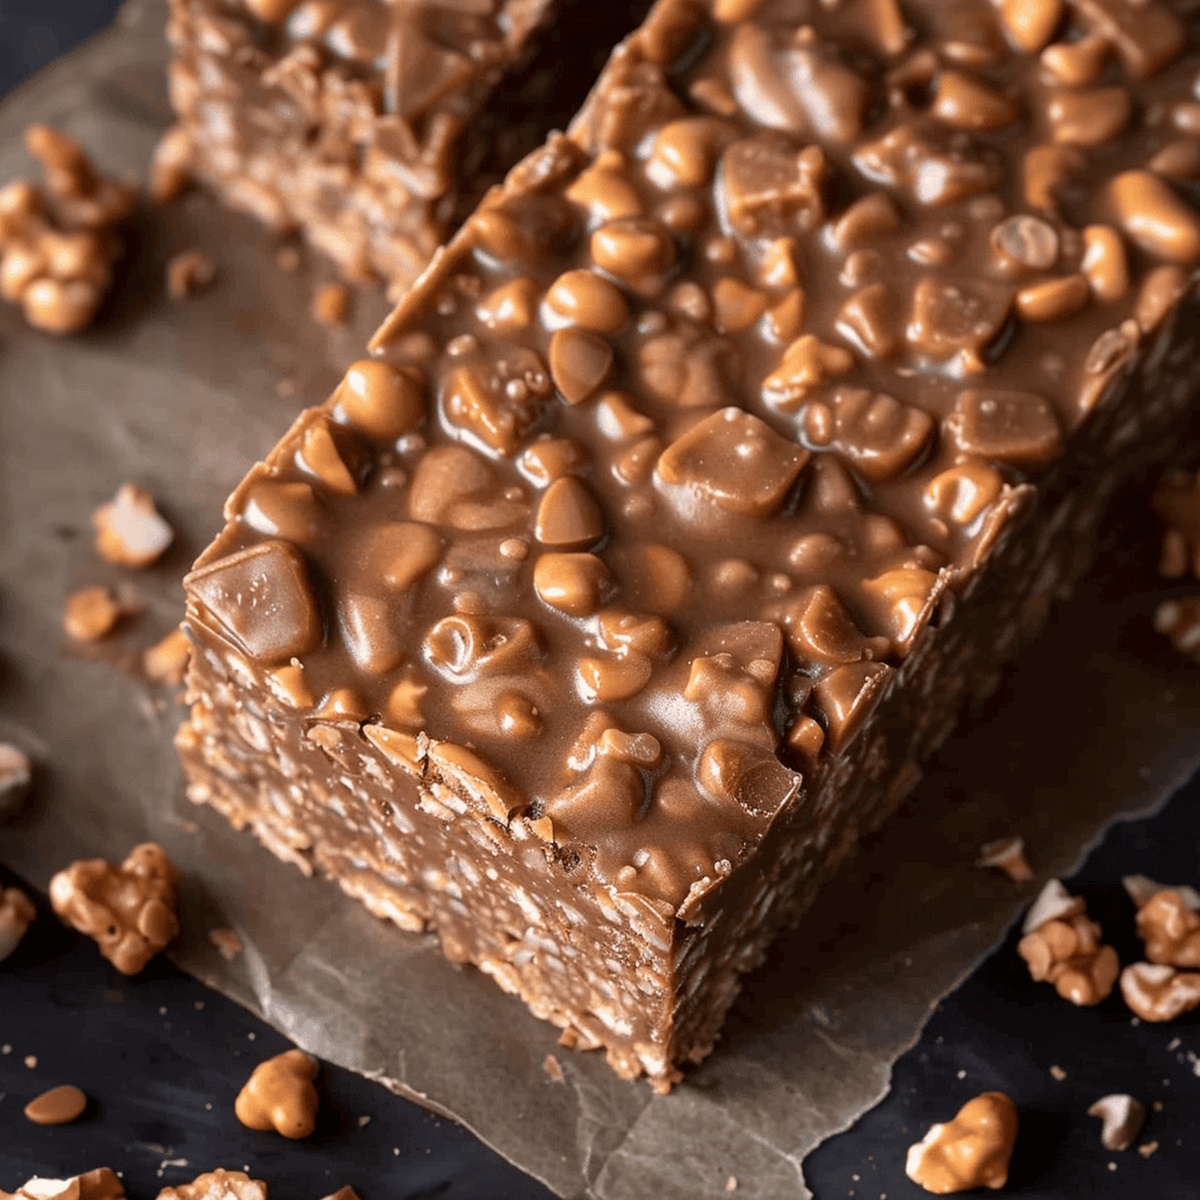
Irresistible No-Bake Chocolate Peanut Butter Crunch Bars Recipe
Chocolate and peanut butter create a magical dance of flavors in these no-bake chocolate peanut butter crunch bars that will make your taste buds sing with joy.
Sweet meets salty in a delightful symphony of textures and richness.
The crispy layers meld together effortlessly, promising a decadent treat without ever touching an oven.
Each bite delivers a perfect balance of smooth chocolate and nutty peanut butter goodness.
The minimal effort required makes these bars a go-to dessert for anyone seeking instant satisfaction.
Simple ingredients combine to produce an irresistible snack that disappears faster than you can mix them together.
Dive into this easy recipe and experience a dessert that proves sometimes the best treats require no cooking at all.
Quick Recipe Overview
Pantry Items for No-Bake Chocolate Peanut Butter Crunch Bars
For Base and Crunch:For Sweet Binding:For Decadent Coating:Tools to Prep No-Bake Chocolate Peanut Butter Crunch Bars
Instructions for No-Bake Chocolate Peanut Butter Crunch Bars
Create a cozy home for your chocolate adventure by lining an 8×8-inch dish with parchment paper, ensuring easy bar removal later.
Gather crispy rice cereal in a spacious mixing bowl, ready to become a crunchy masterpiece.
Melt chocolate chips, peanut butter, maple syrup, and coconut oil into a silky, luxurious blend using a microwave or stovetop.
Drench the crispy cereal with the molten chocolate mixture, stirring until every single piece is gloriously coated.
Spread the decadent mixture evenly in the prepared dish and let it relax in the refrigerator, allowing flavors to mingle and texture to set perfectly.
After an hour of chilling, slice into irresistible bars and indulge in your no-bake chocolate peanut butter creation.
No-Bake Chocolate Peanut Butter Crunch Bar Adjustments
How to Serve No-Bake Chocolate Peanut Butter Crunch Bars
Storing No-Bake Chocolate Peanut Butter Crunch Bars Properly
Print
Irresistible No-Bake Chocolate Peanut Butter Crunch Bars
- Total Time: 1 hour 15 minutes
- Yield: 13 1x
Description
Homemade no-bake chocolate peanut butter crunch bars offer a quick, indulgent dessert with minimal kitchen effort. Crisp layers of chocolate and creamy peanut butter blend seamlessly, inviting you to savor each irresistible bite.
Ingredients
- 1 ½ cups (375 ml) chocolate chips
- 1 cup (250 ml) peanut butter
- 3 cups (750 ml) crispy rice cereal
- ½ cup (125 ml) maple syrup
- ¼ cup (60 ml) coconut oil
Instructions
- Preparation: Line an 8 x 8-inch baking dish with parchment paper, creating a smooth surface for easy bar removal.
- Chocolate Fusion: In a microwave-safe bowl, meld chocolate chips, peanut butter, maple syrup, and coconut oil until transformed into a glossy, homogeneous liquid.
- Cereal Coating: Pour the molten chocolate mixture over crispy rice cereal, stirring meticulously to ensure each piece receives a complete, even chocolate embrace.
- Setting Process: Transfer the glistening mixture into the prepared baking dish, using a spatula to distribute evenly and create a smooth, level surface.
- Chilling Stage: Refrigerate the dish for 60-90 minutes, allowing the bars to solidify into a firm, slice-ready consistency.
- Serving Finale: Remove the set bars from the refrigerator, lift out using parchment paper, and slice into precise rectangular portions ready for indulgence.
Notes
- Prep Parchment Precisely: Line the baking dish carefully to prevent sticking and ensure easy removal of the bars after setting.
- Melt Ingredients Mindfully: Use a microwave-safe container and heat chocolate mixture slowly, stirring frequently to achieve a smooth, glossy consistency without burning.
- Coat Cereal Completely: Stir the chocolate mixture thoroughly to guarantee each crispy rice piece is evenly and generously covered for maximum flavor.
- Chill Confidently: Refrigerate bars for exactly 60-90 minutes, checking firmness to create the perfect texture – not too soft, not too hard.
- Prep Time: 15 minutes
- Cook Time: 0 minutes
- Category: Snacks, Desserts
- Method: None
- Cuisine: American
Nutrition
- Serving Size: 13
- Calories: 250
- Sugar: 12 g
- Sodium: 80 mg
- Fat: 14 g
- Saturated Fat: 6 g
- Unsaturated Fat: 8 g
- Trans Fat: 0 g
- Carbohydrates: 30 g
- Fiber: 1 g
- Protein: 5 g
- Cholesterol: 0 mg
Emily Roberts
Content Creator & Kitchen Tips Specialist
Expertise
Dietary Planning, Public Health Nutrition, Nutritional Education, Content Development
Education
University of Illinois at Urbana-Champaign
Registered Dietitian Nutritionist (RDN)
Emily Roberts is our content specialist and registered dietitian at HealthyChoices.org. With her Master’s degree in Nutritional Sciences from the University of Illinois and her Registered Dietitian Nutritionist certification, Emily uses her deep nutrition knowledge to write helpful, easy-to-understand guides about healthy eating.
Her warm, practical advice empowers readers to confidently make healthier choices, turning everyday meals into simple moments of wellness and joy.