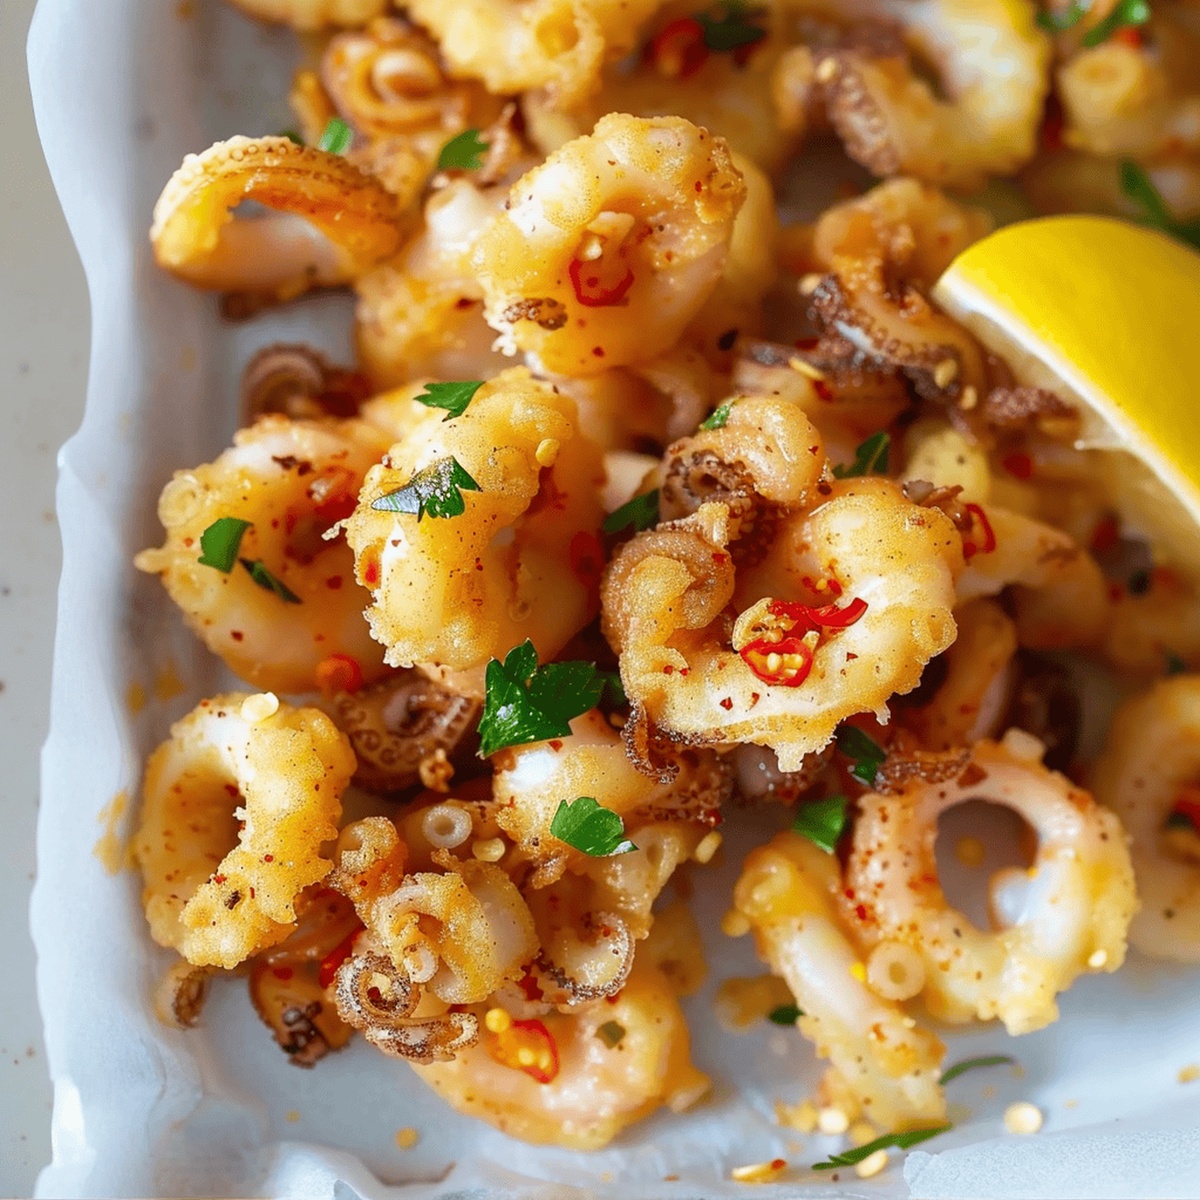
Seafood lovers have a treat waiting with this crispy salt and pepper squid recipe that delivers restaurant-quality flavor right in your kitchen.
Delicate tentacles and tender rings get coated in a light, airy batter that creates an irresistible crunch.
The secret lies in the perfectly balanced seasoning that makes each bite pop with zesty, savory notes.
Quick and simple to prepare, this dish brings a touch of culinary magic to your dining table.
Fresh squid transforms into a crispy delicacy that will impress even the most discerning palates.
You won’t believe how easy it is to create such a mouthwatering seafood appetizer that looks and tastes like it came from a high-end restaurant.
Get ready to become the star chef in your home with this crowd-pleasing recipe.
Quick Recipe Overview
Prep Time: 15 minutes
Cook Time: 10 minutes
Total Time: 25 minutes
Calories: 325 kcal
Servings: 5
Ingredients for Crispy Salt and Pepper Squid
For Protein Base:
Squid Tubes: Fresh, tender squid that delivers a delightful oceanic flavor and provides the star protein of this crispy dish, choose squid with a clean, bright appearance and firm texture.
For Frying Mixture:
All-Purpose Flour, Corn Starch, Baking Soda: These powdery ingredients create a light, airy, and incredibly crisp coating that ensures a golden, crunchy exterior when fried, select fresh and clump-free dry ingredients.
Egg White: Acts as a binding agent that helps the batter stick to the squid and contributes to a lighter, more delicate texture.
Water: Helps achieve the perfect batter consistency, ensuring smooth and even coating.
Salt: Enhances overall seasoning and balances the flavors in the batter.
For Aromatic and Seasoning Elements:
Scallions: Adds a fresh, mild oniony brightness and vibrant green color to the dish, choose crisp and green-topped scallions.
Red Chilies: Introduces a spicy kick and exciting heat that complements the squid’s delicate flavor, select bright, firm chilies.
Salt: Enhances and highlights the natural sweetness of the squid.
Ground White Pepper: Provides a subtle, warming heat and depth of flavor, choose freshly ground for maximum aroma.
Oil: Essential for deep frying and stir-frying, ensuring a perfectly crisp and golden result.
What You’ll Need to Fry the Squid
Large Wok or Frying Pan: Essential for deep-frying and stir-frying the squid with perfect heat control.
Spatula: Helps separate squid pieces during frying and stirring ingredients smoothly.
Strainer or Slotted Spoon: Perfect for removing crispy squid from hot oil and draining excess oil.
Paper Towels: Vital for patting squid dry and absorbing extra oil after frying.
Mixing Bowl: Used for preparing the frying batter and coating squid evenly.
Small Skillet: Ideal for final stir-frying and seasoning the squid.
Sharp Knife: Needed for chopping scallions and red chilies precisely.
Cutting Board: Provides a clean surface for chopping ingredients.
Thermometer (optional): Helps monitor oil temperature for perfectly crispy results.
Directions for Crispy Salt & Pepper Squid
Seafood Preparation
Fresh squid cleaned and dried, ready for a crispy adventure that will tantalize taste buds and transform an ordinary meal into something extraordinary.
Magical Coating
Create a light, airy batter that will give the squid a golden crunch, ensuring each piece is perfectly embraced by a delicate layer of flavor.
Sizzling Transformation
Hot oil waiting to work its magic, carefully lowering squid pieces to achieve a beautiful golden color without overcooking, capturing the essence of perfectly prepared seafood.
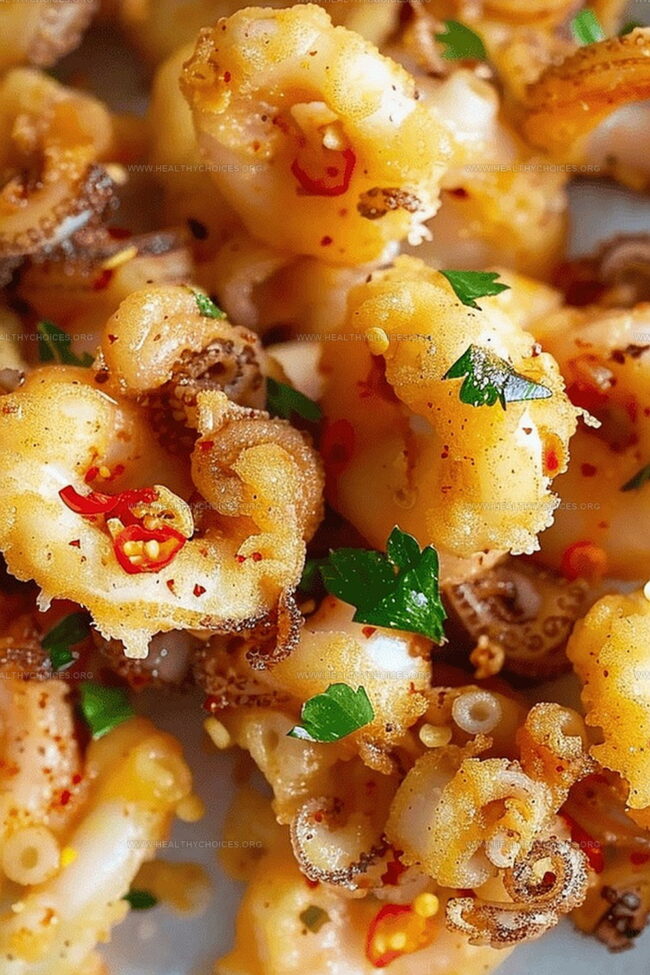
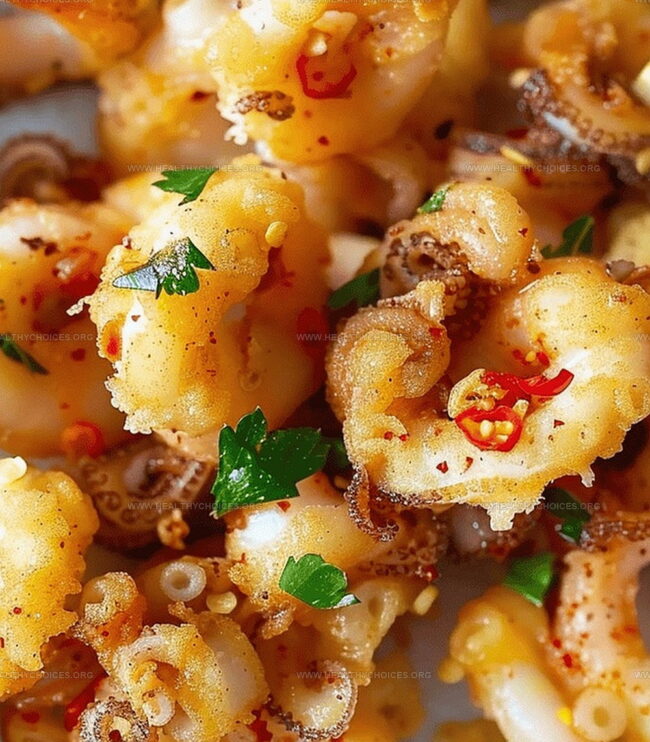
Final Flavor Burst
Quick dance of scallions and red chilies in a hot skillet, reuniting with the crispy squid to add a final burst of zesty excitement, creating a dish that’s both crunchy and vibrant.
Crunch Tips & Seasoning Ideas
Seafood Freshness Matters: Choose fresh, high-quality squid from a trusted fishmonger. Fresher squid guarantees better texture and taste, making your dish more delicious.
Perfect Batter Consistency: Aim for a light, airy batter by not overmixing. Lumps are okay – they create extra crispy bits when fried, adding delightful texture to your squid.
Oil Temperature Control: Use a cooking thermometer to maintain precise oil temperature. Consistent heat prevents soggy or burnt squid, ensuring golden-brown perfection every time.
Spice Level Flexibility: Adjust red chili quantity to match your heat preference. Remove seeds for milder flavor or add extra chilies for a fiery kick that’ll wake up your taste buds.
Storage and Reheating Hack: Enjoy crispy squid immediately for best results. If needed, reheat in an air fryer or hot oven to restore crunchiness, avoiding microwave which makes it soggy.
Best Ways to Serve Fried Squid
Seafood Platter Paradise: Create a stunning appetizer spread by arranging the crispy squid alongside other seafood favorites like grilled shrimp, calamari rings, and zesty lemon wedges for a Mediterranean-inspired feast.
Dipping Delight: Whip up a quick garlic aioli or spicy sriracha mayo to complement the salt and pepper squid, adding an extra layer of flavor that guests will absolutely love.
Asian-Inspired Accompaniment: Serve the squid over steamed jasmine rice with a sprinkle of fresh cilantro and a side of quick-pickled vegetables for a complete and satisfying meal that balances crispy textures with light, refreshing flavors.
Party Finger Food: Transform this dish into crowd-pleasing appetizers by cutting the squid into smaller pieces and serving on skewers or mini plates during gatherings, making it easy for guests to enjoy this crispy treat.
Storing Crispy Squid After Cooking
Quick Refrigeration: Store leftover crispy squid in an airtight container inside the refrigerator for up to 2 days. Cool the squid completely before sealing to maintain its crispiness and prevent moisture buildup.
Reheating Technique: Revive the crispy texture by warming the squid in a preheated oven at 375°F for 5-7 minutes. Avoid using a microwave, which can make the squid soggy and rubbery.
Batch Preparation: Make larger quantities and separate portions before refrigerating. This approach helps maintain individual serving quality and reduces repeated reheating that might compromise the squid’s delicate texture.
Freezing Caution: Fresh squid dishes are best enjoyed immediately. Freezing is not recommended as it can significantly alter the texture and crispiness of the salt and pepper squid, potentially making it tough and less appetizing.
Crispy salt and pepper squid showcases delicate seafood with a crunchy Asian-inspired coating. Zesty spices and quick frying create an irresistible appetizer you’ll crave again and again.
Ingredients
Scale
10 oz (300 g) cleaned squid tubes, cut into rings
½ cup all-purpose flour
½ cup corn starch
1 egg white
½ cup water
½ tbsp oil for stir-frying
2 tbsps chopped scallions
1 tsp chopped red chilies
½ tsp salt
½ tsp ground white pepper
½ tsp baking soda
Oil for deep frying
Instructions
Preparation: Rinse squid under cool water, pat dry completely with kitchen towels to eliminate excess moisture.
Batter Creation: Whisk dry and liquid ingredients until achieving a silky, uniform mixture. Immerse squid pieces, ensuring thorough and even coating.
Frying Technique: Heat vegetable oil in a deep pan to 350°F, creating a shimmering surface. Gently introduce battered squid, using a wire mesh spider to separate pieces and prevent sticking. Fry until achieving a vibrant golden-brown exterior, approximately 2-3 minutes.
Flavor Enhancement: Transfer crispy squid to paper towels for oil drainage. In a scorching skillet, quickly sauté scallions and red chilies to unlock their intense aromatics. Return squid to pan, seasoning with sea salt and white pepper, tossing rapidly to distribute flavors comprehensively.
Serving: Present immediately while piping hot, offering a dynamic combination of crispy texture and delicate seafood essence. Ideal as an appetizer or zesty main course that tantalizes the palate with its complex flavor profile.
Notes
Squid Prep Tip: Pat squid completely dry to ensure crispy, non-soggy coating during frying.
Temperature Control: Maintain oil at exactly 350°F for perfect golden-brown crispiness without burning.
Quick Cooking Rule: Fry squid for only 2-3 minutes to prevent rubbery texture and preserve tender meat.
Flavor Boost: Toss hot squid immediately with fresh herbs and spices to maximize taste absorption and aromatic intensity.
Dietary Planning, Public Health Nutrition, Nutritional Education, Content Development
Education
University of Illinois at Urbana-Champaign
Degree: Master of Science in Nutritional Sciences
Focus: Research on dietary patterns and their impact on chronic diseases.
Registered Dietitian Nutritionist (RDN)
Credential: Expertise in translating nutrition science into practical advice.
Emily Roberts is our content specialist and registered dietitian at HealthyChoices.org. With her Master’s degree in Nutritional Sciences from the University of Illinois and her Registered Dietitian Nutritionist certification, Emily uses her deep nutrition knowledge to write helpful, easy-to-understand guides about healthy eating.
Her warm, practical advice empowers readers to confidently make healthier choices, turning everyday meals into simple moments of wellness and joy.

Emily Roberts
Content Creator & Kitchen Tips Specialist
Expertise
Dietary Planning, Public Health Nutrition, Nutritional Education, Content Development
Education
University of Illinois at Urbana-Champaign
Registered Dietitian Nutritionist (RDN)
Emily Roberts is our content specialist and registered dietitian at HealthyChoices.org. With her Master’s degree in Nutritional Sciences from the University of Illinois and her Registered Dietitian Nutritionist certification, Emily uses her deep nutrition knowledge to write helpful, easy-to-understand guides about healthy eating.
Her warm, practical advice empowers readers to confidently make healthier choices, turning everyday meals into simple moments of wellness and joy.