The Coziest Korean Rice Balls Recipe: Fluffy Handheld Delights
Crafting Korean rice balls enhances ordinary ingredients into a delightful culinary adventure that sparks joy in every bite.
These compact, flavorful morsels blend traditional techniques with modern creativity, offering a perfect handheld meal packed with cultural significance.
rice balls represent more than just sustenance—they embody comfort, nostalgia, and skillful preparation that connects generations.
Versatile and adaptable, these little treasures can incorporate various fillings and seasonings that reflect personal taste and regional influences.
Simple ingredients come together through careful technique, creating something truly magical on your plate.
Compact yet satisfying, each rice ball tells a story of craftsmanship and culinary heritage.
Master this technique, and you’ll unlock a world of delicious possibilities.
Korean Rice Balls That Pack a Tasty Punch
Sticky, Savory Fillings Inside Korean Rice Balls
Main Ingredients:
Rice and Filling Group:Vegetable Group:Seasoning and Coating Group:Additional Ingredients:Steps to Shape and Fill Korean Rice Balls with Ease
Step 1: Prepare Tuna Mayo Filling
Step 2: Cook Seasoned Vegetables
Step 3: Create Rice Ball Base
Step 4: Fill Rice Balls
Step 5: Add Seaweed Coating
Step 6: Serve And Enjoy
Tips for Neat and Flavorful Korean Rice Balls
Best Storage for Ready-to-Eat Korean Rice Balls
Dishes and Soups That Pair with Korean Rice Balls
Tasty Variations of Korean Rice Balls to Try Soon
Print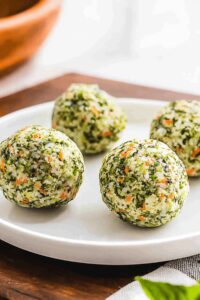
Korean Rice Balls Recipe
- Total Time: 20 minutes
- Yield: 4 1x
Description
Kimbap rice balls bring Korean street snack magic to home kitchens with simple ingredients and bold flavors. Rolled with care and filled with delicious combinations, you can enjoy these portable delights as a quick lunch or tasty party appetizer.
Ingredients
Main Ingredients:
- 3 cups cooked rice (short or medium-grain rice; warmed)
- 1 cup ground beef bulgogi
- 5 ounces (140 grams) canned tuna, drained
Filling Ingredients:
- 1½ tablespoons Japanese mayonnaise
- Salt, to taste
- Pepper, to taste
Seasoning and Optional Ingredients:
- ⅓ cup seaweed seasoning
- 1½ teaspoons toasted sesame oil
- ½ small carrot, finely diced (optional)
Instructions
- Prepare the tuna mixture by combining drained canned tuna with Japanese mayonnaise in a small mixing bowl, blending thoroughly and adjusting seasoning with salt and pepper to create a rich, creamy filling.
- Heat a small amount of oil in a pan and sauté finely diced carrots until they become tender and slightly translucent, releasing their natural sweetness.
- Incorporate the sautéed carrots and a drizzle of toasted sesame oil into warm rice, gently folding to distribute flavors and create a fragrant base for the rice balls.
- Place a portion of seasoned rice in your palm and delicately flatten it into a thin disc, creating a gentle cradle for the filling.
- Carefully spoon the prepared tuna mixture or bulgogi into the center of the rice disc, ensuring an even distribution of filling.
- Delicately fold the rice around the filling, using gentle yet firm pressure to shape a compact, smooth spherical form. Pro tip: Lightly coat food-safe gloves with vegetable oil to prevent sticking and ease shaping.
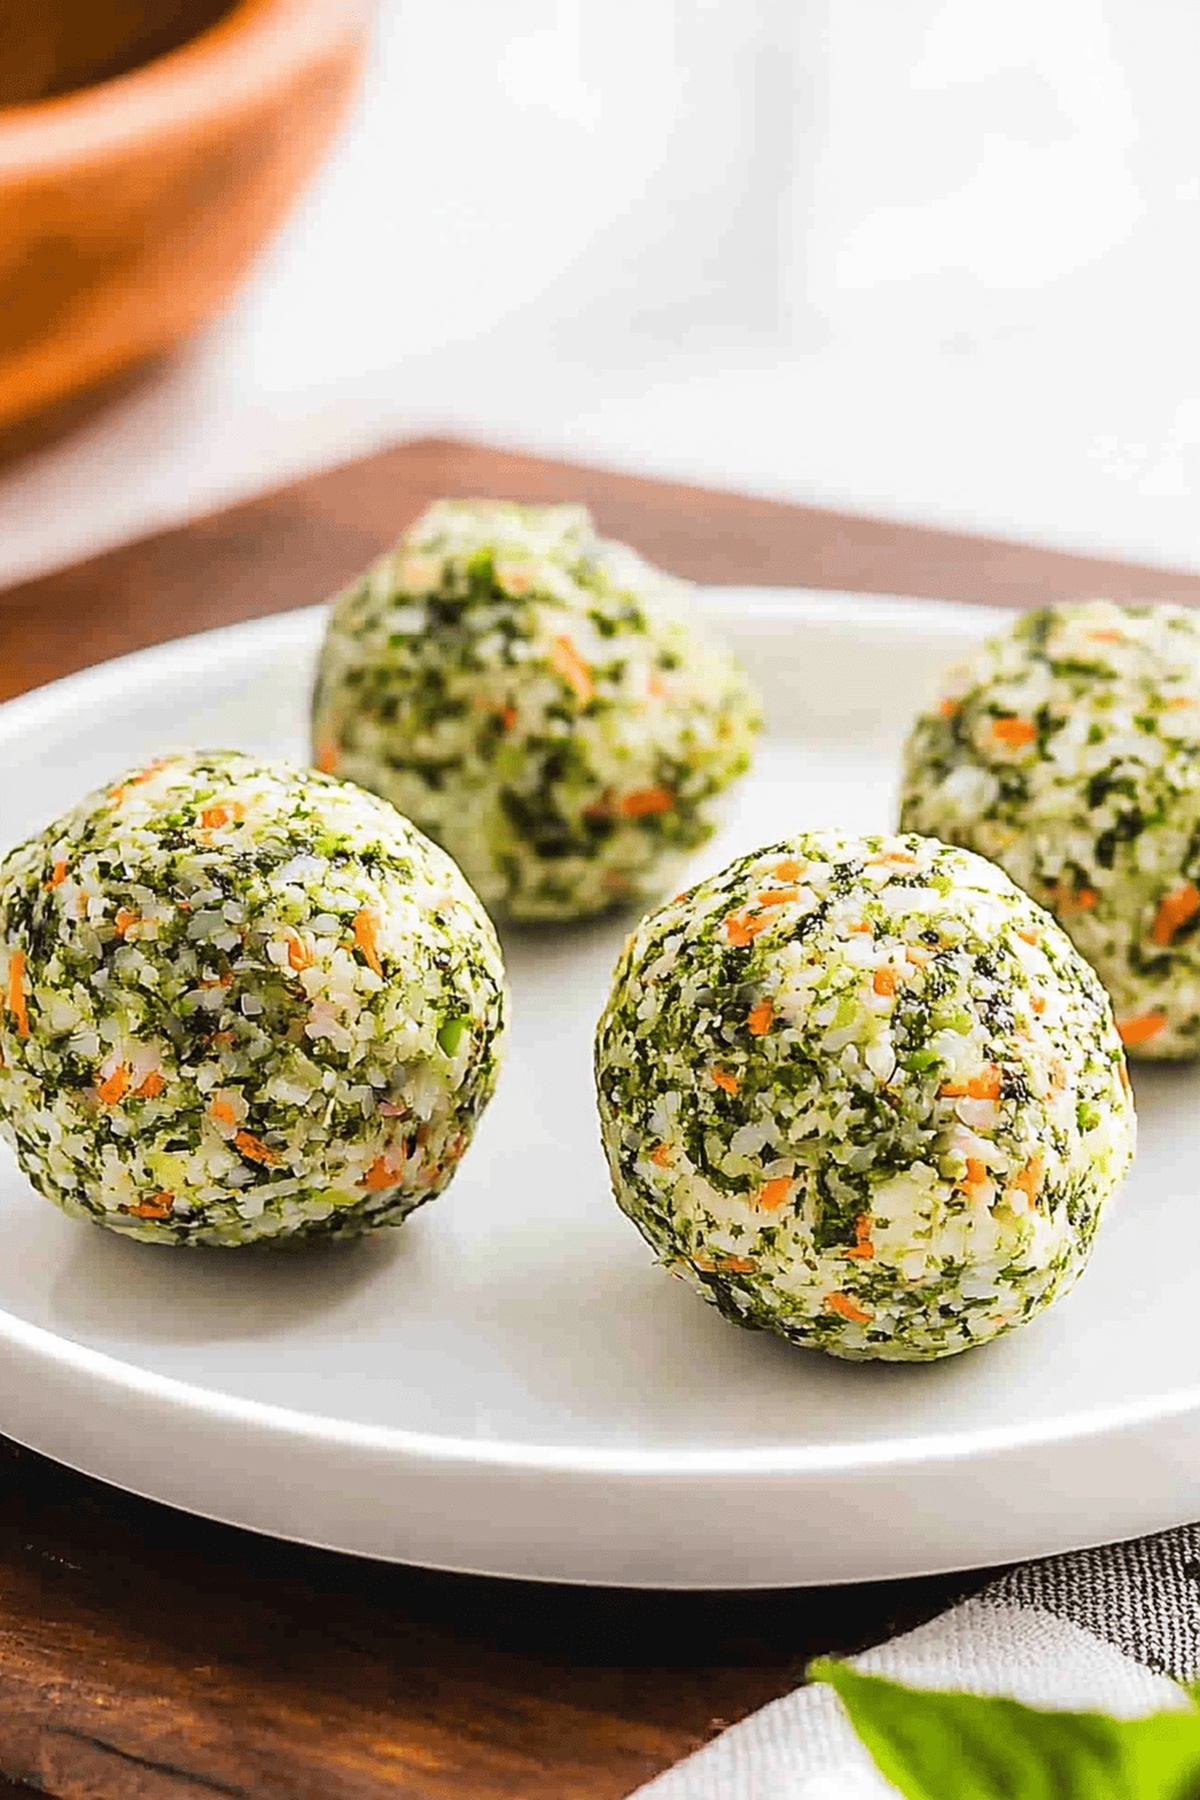
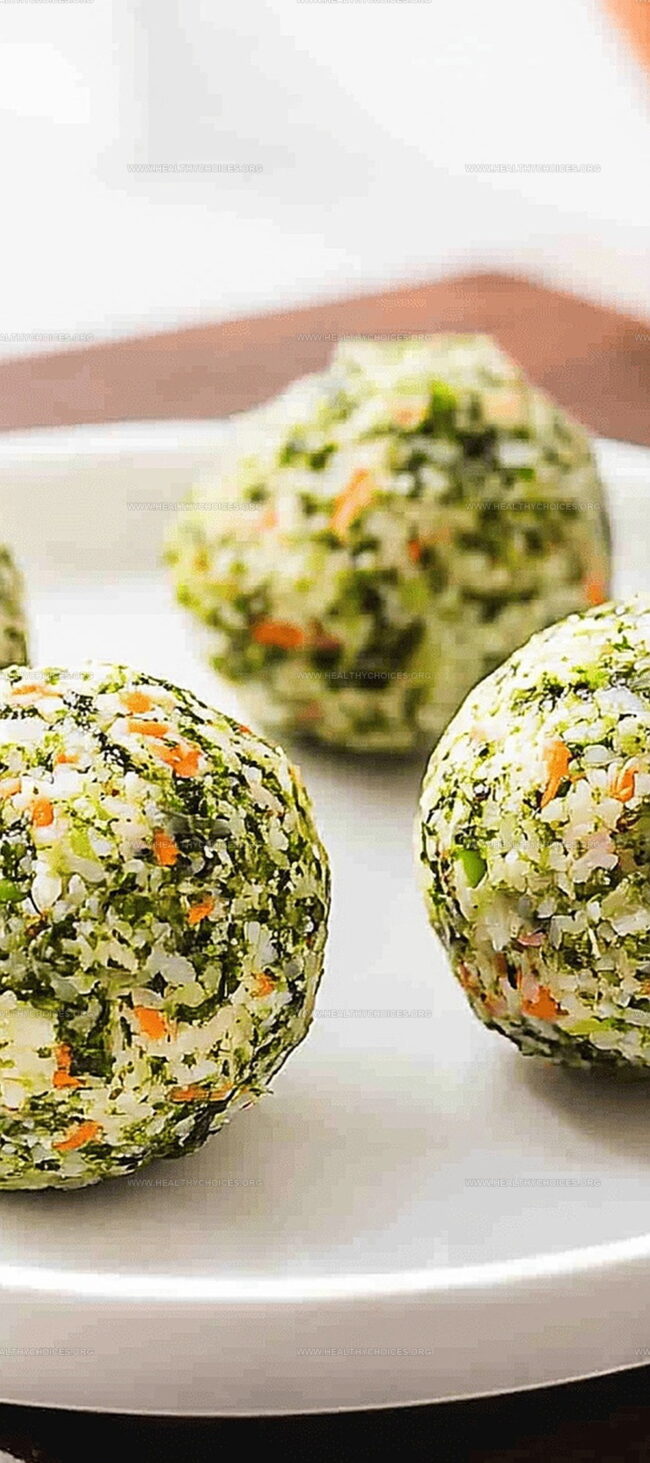
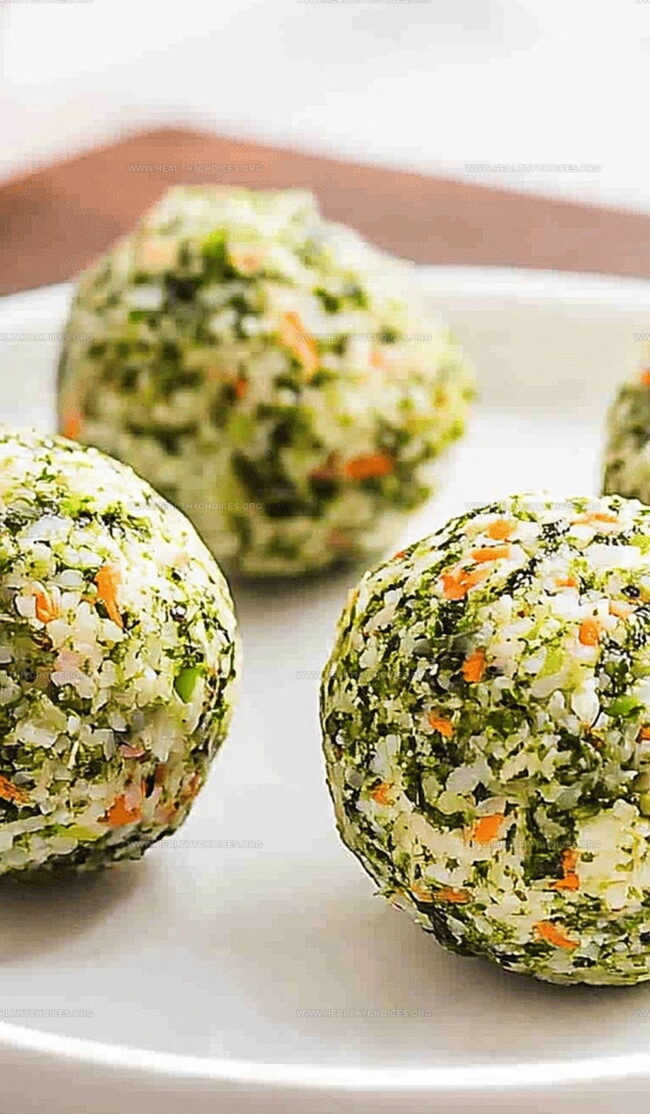
- Roll each completed rice ball in seaweed seasoning, ensuring a complete and even coating that adds a crisp, umami-rich exterior.
- Arrange the finished Korean rice balls on a serving plate, ready to be enjoyed as a delightful and portable snack.
Notes
- Master quick-prep technique by using food-safe gloves lightly coated with vegetable oil to prevent sticky rice from clinging to your hands.
- Create versatile fillings like tuna mayo or bulgogi to customize flavor profiles and keep meals exciting.
- Toast sesame oil with sautéed carrots to enhance rice’s depth and introduce subtle nutty undertones.
- Ensure rice balls are compact and uniform by gently pressing filling between rice layers for perfect texture.
- Elevate presentation and taste by generously coating rice balls with seaweed seasoning for authentic Korean street food experience.
- Experiment with different protein or vegetarian fillings to suit dietary preferences and keep meals interesting.
- Prep Time: 15 minutes
- Cook Time: 5 minutes
- Category: Snacks, Lunch
- Method: Sautéing
- Cuisine: Korean
Nutrition
- Serving Size: 4
- Calories: 370
- Sugar: 1 g
- Sodium: 550 mg
- Fat: 20 g
- Saturated Fat: 4 g
- Unsaturated Fat: 14 g
- Trans Fat: 0 g
- Carbohydrates: 33 g
- Fiber: 2 g
- Protein: 19 g
- Cholesterol: 40 mg
David Bennett
Founder & Head Recipe Developer
Expertise
Culinary Nutrition, Recipe Development, Nutritional Counseling, Food Science
Education
Johnson & Wales University
Certified Nutrition Specialist® (CNS®)
David Bennett is the lead recipe creator and nutrition expert at HealthyChoices.org, your friendly space for tasty meals that nourish body and mind.
With a Culinary Nutrition degree from Johnson & Wales University and a Certified Nutrition Specialist® credential, David pairs practical nutrition with delicious cooking, creating recipes you’ll crave daily.
At Healthy Choices, David shares easy, nutritious dishes and smart cooking tips to make healthy eating something everyone can enjoy, with no complicated diets needed.