The Perfect Loaf Pan Basque Cheesecake Recipe: Rustic & Dreamy
Rich and velvety Basque cheesecake changes traditional dessert expectations with its rustic, free-form aesthetic.
Professional bakers and home cooks alike celebrate this distinctive culinary creation for its elegant simplicity.
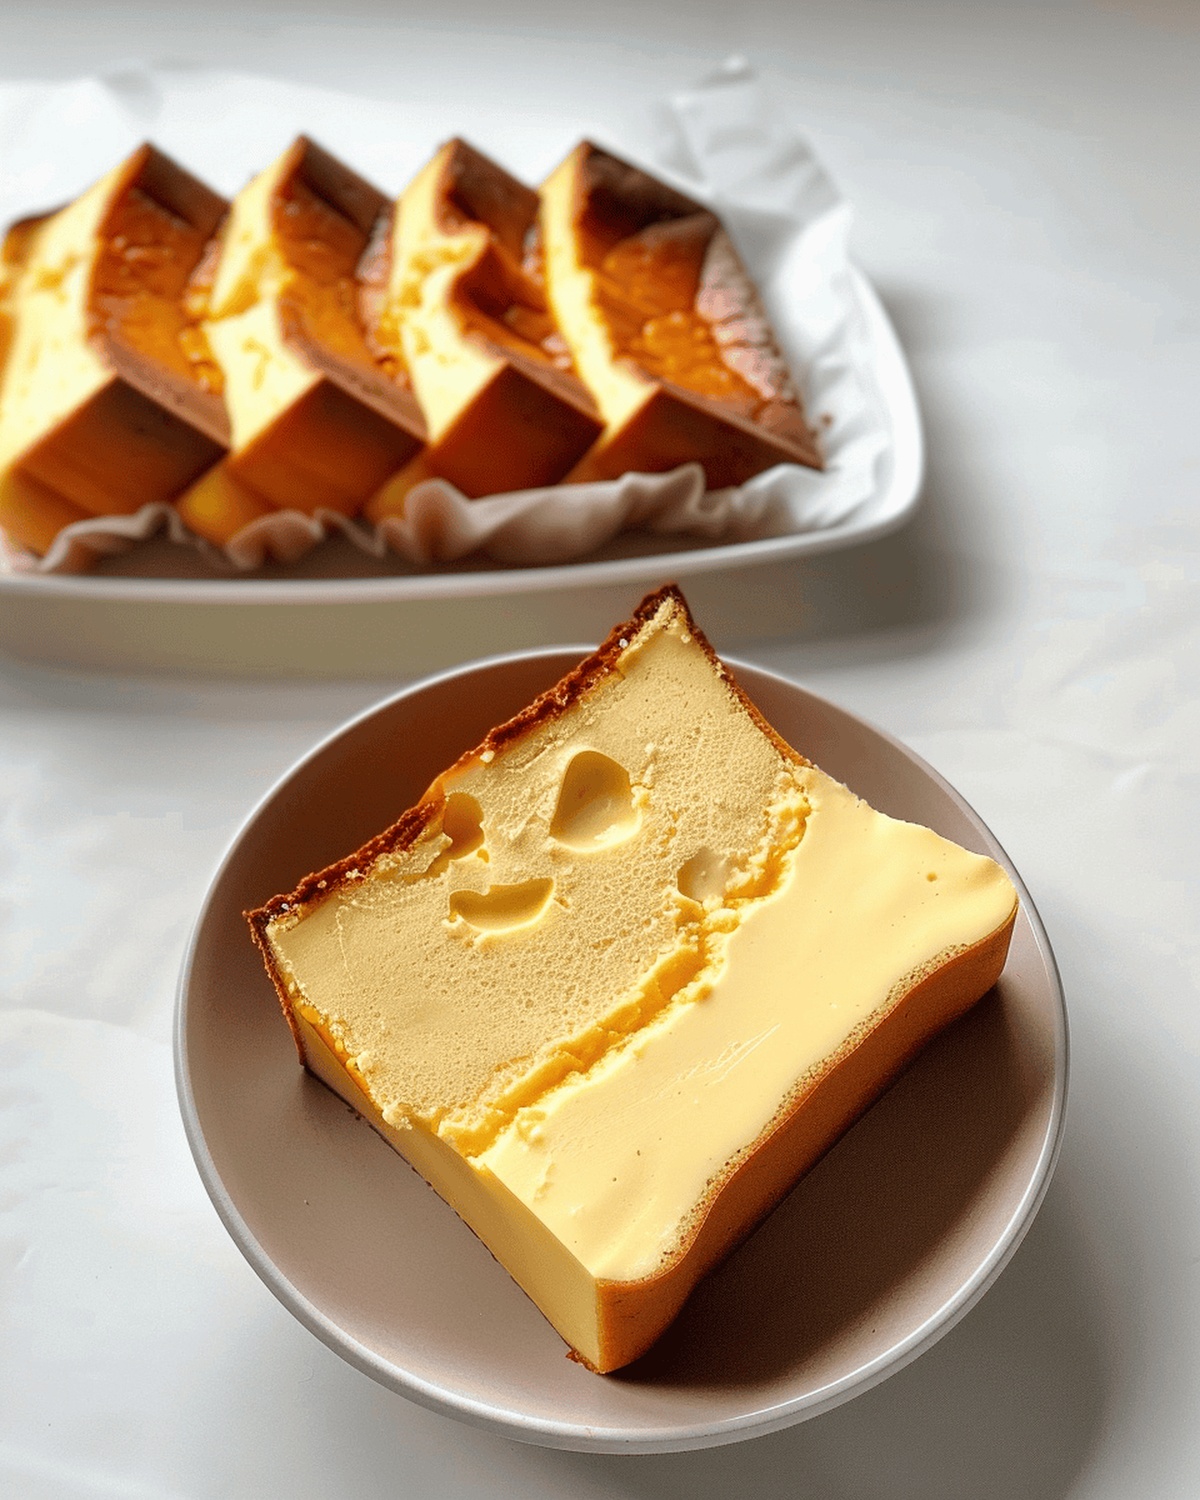
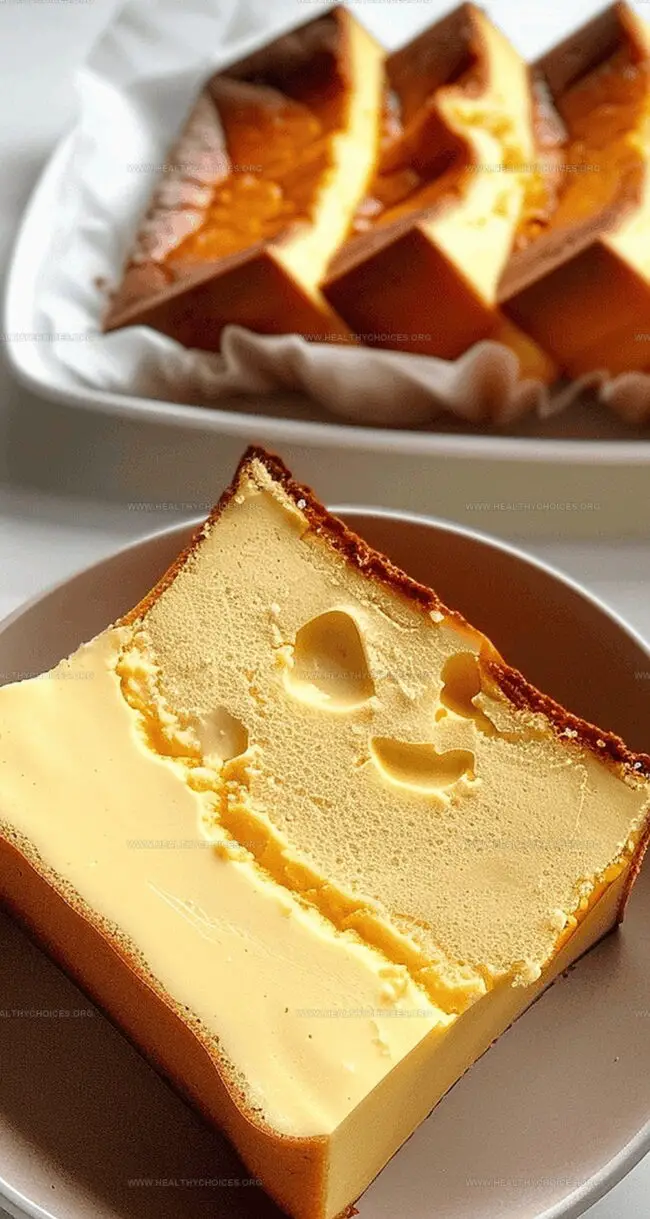
Cracked surfaces and caramelized edges reveal a delightfully unexpected approach to classic cheesecake preparation.
Soft, creamy interiors contrast beautifully against beautifully burnt exterior boundaries, creating a sensory experience that delights sophisticated palates.
Minimal ingredients combine to produce maximum flavor, showcasing how sophisticated techniques can elevate humble components.
Professional kitchens and home environments both welcome this approachable yet impressive dessert technique.
The recipe offers an opportunity to master a technique that appears effortless yet requires precise understanding.
Loaf Pan Basque Cheesecake That’s Burnt, Creamy, and Bold
Ingredients to Make Loaf Pan Basque Cheesecake
Dairy Base:Sweeteners:Binding Agents:How to Bake and Cool a Perfect Basque Cheesecake
Step 1: Craft the Silky Batter
Grab cream cheese and let it warm to room temperature for smooth blending.
In a spacious mixing bowl, combine:Whip until ultra-creamy and lump-free.
Sprinkle in cornstarch and blend thoroughly.
Gently incorporate eggs and egg yolk, one by one, ensuring each is fully mixed.
Stream in heavy cream, whisking until the batter looks luxuriously velvety.
Step 2: Warm Up the Oven
Crank the oven to a toasty 428°F (220°C).
Drape parchment paper inside the loaf pan, allowing generous overhang for easy lifting.
Step 3: Transform Batter into Magic
Pour the silky mixture into the prepared pan.
Smooth the surface with a gentle touch.
Slide into the hot oven.
Bake for about 28 minutes until the top turns golden and edges develop a beautiful caramel-like crust.
Step 4: Patience Brings Perfection
Rescue the cheesecake from the oven.
Let it rest and cool completely at room temperature.
Refrigerate overnight to allow flavors to dance and texture to settle.
Step 5: Slice and Celebrate
Carefully lift the cheesecake using parchment paper.
Slice into elegant wedges.
Serve chilled and relish the creamy, rustic delight.
Tips for Getting the Signature Burnt Top and Soft Center
Storing and Reheating Basque Cheesecake for Best Results
Pair This Cheesecake with Coffee, Cream, or Berries
Creative Flavors to Try in Your Next Basque Loaf
Print
Loaf Pan Basque Cheesecake Recipe
- Total Time: 38 minutes
- Yield: 8 1x
Description
Basque cheesecake brings silky elegance from Spanish culinary traditions with its rustic, cracked exterior and luxurious inner cream. Creamy layers melt in your mouth, promising a delightful escape into rich, caramelized perfection that lingers long after the last heavenly bite.
Ingredients
Main Ingredients:
- 360 grams (12.7 ounces) cream cheese
- 3 whole eggs
- 1 egg yolk
- 100 grams (3.5 ounces) heavy cream
Sweeteners:
- 70 grams (2.5 ounces) confectioners’ sugar
Thickeners:
- 10 grams (0.35 ounces) cornstarch
Instructions
- Unwrap cream cheese and allow it to soften completely at ambient temperature to ensure seamless blending and eliminate potential lumps.
- Using an electric mixer, whip cream cheese and confectioners’ sugar in a spacious mixing vessel until achieving a silky, uniform consistency without any visible granules.
- Sift cornstarch directly into the cream cheese mixture, incorporating thoroughly to prevent potential clumping and create a smooth base.
- Introduce eggs and egg yolk individually, gently folding after each addition to maintain the batter’s delicate structure and prevent overmixing.
- Stream heavy cream into the mixture, stirring with a gentle motion until the batter transforms into a luxuriously velvety texture with a consistent pale color.
- Position oven rack to center position and preheat to 428°F, allowing adequate time for complete temperature stabilization.
- Carefully drape parchment paper inside the loaf pan, pressing against sides and corners to create protective walls that extend slightly above pan edges.
- Transfer the luscious batter into the prepared pan, using a spatula to distribute evenly and eliminate potential air pockets.
- Slide the pan into the preheated oven, baking until the surface develops a rich golden-brown caramelization and the edges exhibit a slightly darker, crisp appearance.
- Extract the cheesecake from the oven, placing it on a cooling rack to normalize temperature gradually without rapid temperature shifts.
- Once reaching room temperature, relocate the cheesecake to the refrigerator and allow it to set overnight, enabling flavors to harmonize and texture to firm.
- When ready to serve, delicately slice the cheesecake using a heated knife, presenting the contrasting caramelized exterior and creamy interior.
Notes
- Soften cream cheese completely to room temperature for smooth, lump-free mixing ensuring perfect texture.
- Use precise mixing technique by adding ingredients gradually and beating thoroughly between each addition to create a velvety, consistent batter.
- Parchment paper lining is crucial for easy removal and maintaining the cake’s delicate rustic appearance with perfectly caramelized edges.
- Baking temperature is critical – high heat creates the signature burnished exterior while keeping the interior creamy and soft.
- Overnight chilling allows complex flavors to develop and helps the cheesecake set to the ideal consistency for slicing and serving.
- Serve chilled for best taste experience, highlighting the contrast between the golden caramelized top and silky smooth interior.
- Prep Time: 10 minutes
- Cook Time: 28 minutes
- Category: Desserts, Snacks
- Method: Baking
- Cuisine: Basque
Nutrition
- Serving Size: 8
- Calories: 370
- Sugar: 25g
- Sodium: 220mg
- Fat: 30g
- Saturated Fat: 18g
- Unsaturated Fat: 12g
- Trans Fat: 0g
- Carbohydrates: 24g
- Fiber: 0g
- Protein: 6g
- Cholesterol: 130mg
David Bennett
Founder & Head Recipe Developer
Expertise
Culinary Nutrition, Recipe Development, Nutritional Counseling, Food Science
Education
Johnson & Wales University
Certified Nutrition Specialist® (CNS®)
David Bennett is the lead recipe creator and nutrition expert at HealthyChoices.org, your friendly space for tasty meals that nourish body and mind.
With a Culinary Nutrition degree from Johnson & Wales University and a Certified Nutrition Specialist® credential, David pairs practical nutrition with delicious cooking, creating recipes you’ll crave daily.
At Healthy Choices, David shares easy, nutritious dishes and smart cooking tips to make healthy eating something everyone can enjoy, with no complicated diets needed.