Quick & Gooey Maple Balls Recipe: Sweet Treats in Minutes
Sweet maple balls tantalize taste buds with their irresistible blend of rich, comforting flavors.
Craving something delightfully nostalgic and indulgent?
These delectable treats capture the essence of warm, syrupy goodness in every single bite.
Culinary magic happens when simple ingredients reinvent into something extraordinary, creating a dessert that feels both rustic and elegant.
Soft, pillowy textures melt on your tongue, releasing waves of deep, caramel-like maple notes that dance across your palate.
Homemade confections like these connect us to cherished memories and traditions passed down through generations.
Small batches promise maximum satisfaction, ensuring each maple ball is crafted with love and precision.
Maple Balls That Are Sweet, Soft, and Easy to Make
What’s in Maple Balls and How to Mix Them
Main Ingredients:
Dough Base:Flavor Enhancers:Coating and Garnish:Instructions for Rolling and Setting Maple Balls

Step 1: Whip Up the Creamy Base
Combine ingredients using an electric mixer until smooth and well-incorporated.
Step 2: Create the Perfect Dough
Gradually introduce powdered sugar into the mixture, stirring consistently. Add chopped walnuts and mix thoroughly. If the dough feels sticky, place in refrigerator for 15-20 minutes to firm up.
Step 3: Shape Delightful Spheres
Roll mixture into bite-sized rounds using clean hands. Place each ball carefully on parchment-lined baking sheet. Chill in refrigerator or freezer until solid.
Step 4: Prepare Chocolate Coating
Melt chocolate chips using microwave or double boiler method. Stir gently every 30-40 seconds to ensure smooth consistency.
Step 5: Dunk and Decorate
Use a fork to dip each chilled ball into melted chocolate. Allow excess chocolate to drip off. Gently place back on parchment paper. Sprinkle remaining chopped walnuts on top for extra crunch.
Step 6: Let Treats Solidify
Allow maple balls to set at room temperature or in refrigerator until chocolate coating hardens completely.
Tips for Texture and Maple Flavor in Every Bite
How to Store and Enjoy Maple Balls Later
Serve Maple Balls with These Sips or Snacks
Flavor Upgrades for Maple Balls to Try
Print
Maple Balls Recipe
- Total Time: 30 minutes
- Yield: 12 1x
Description
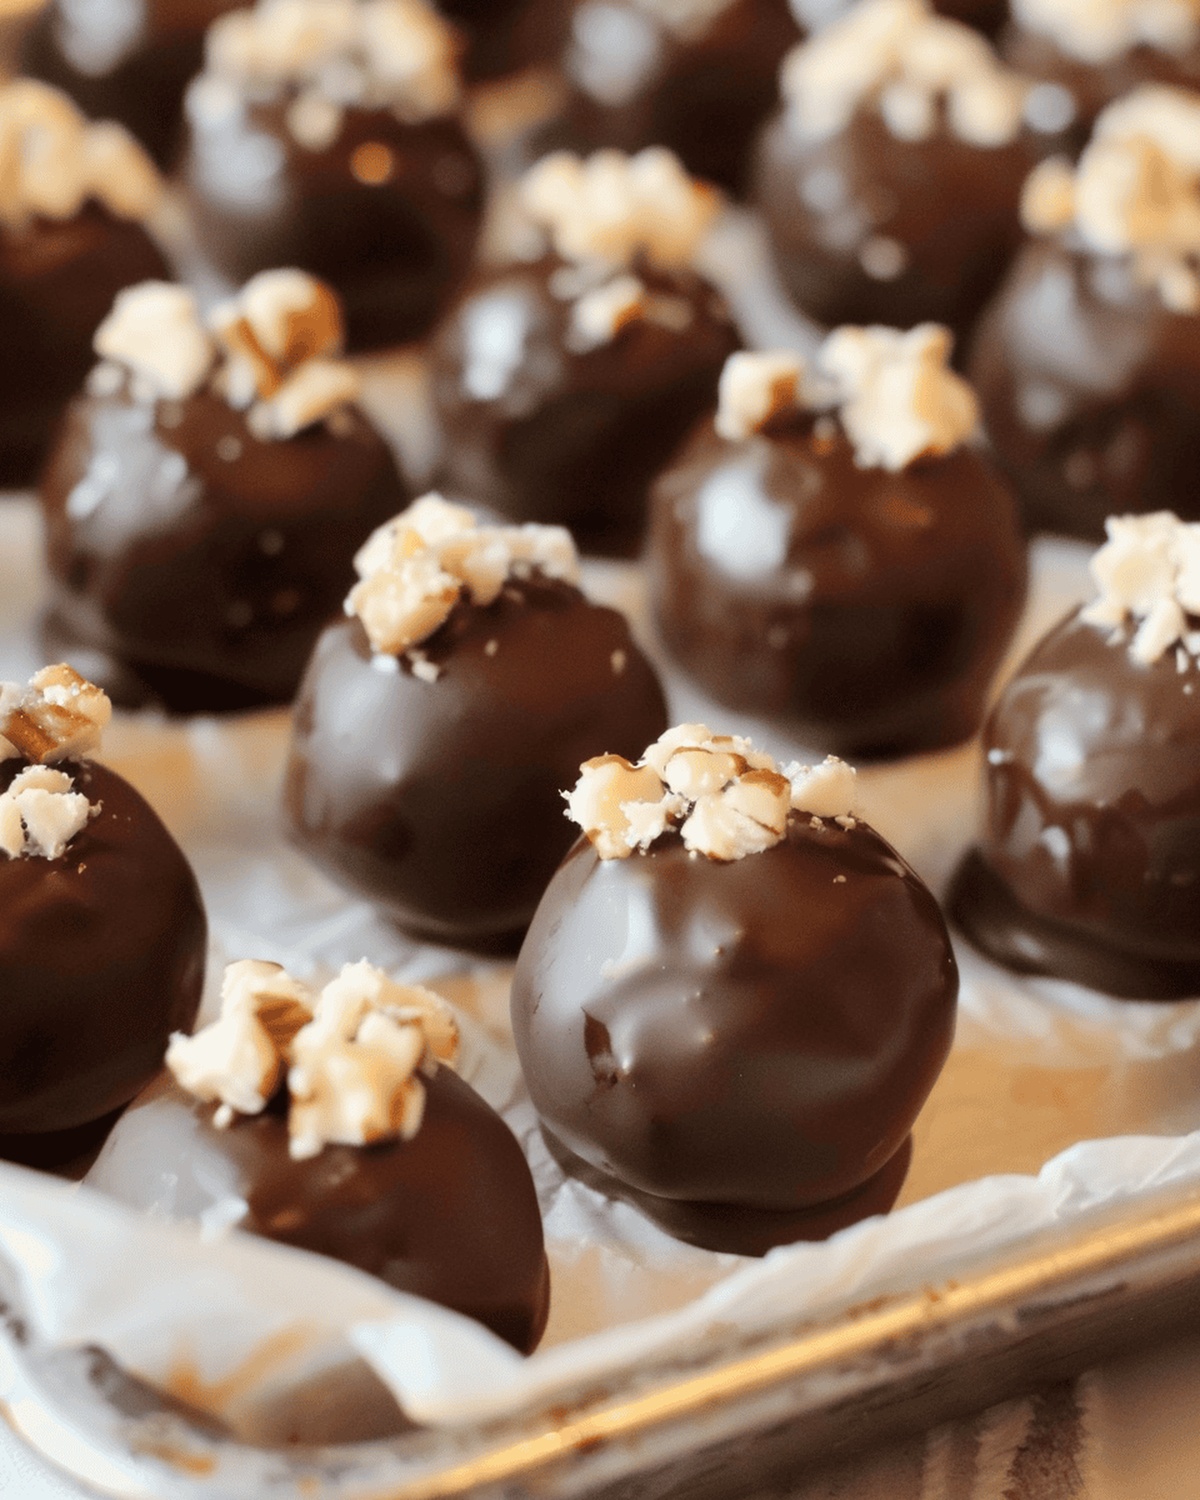
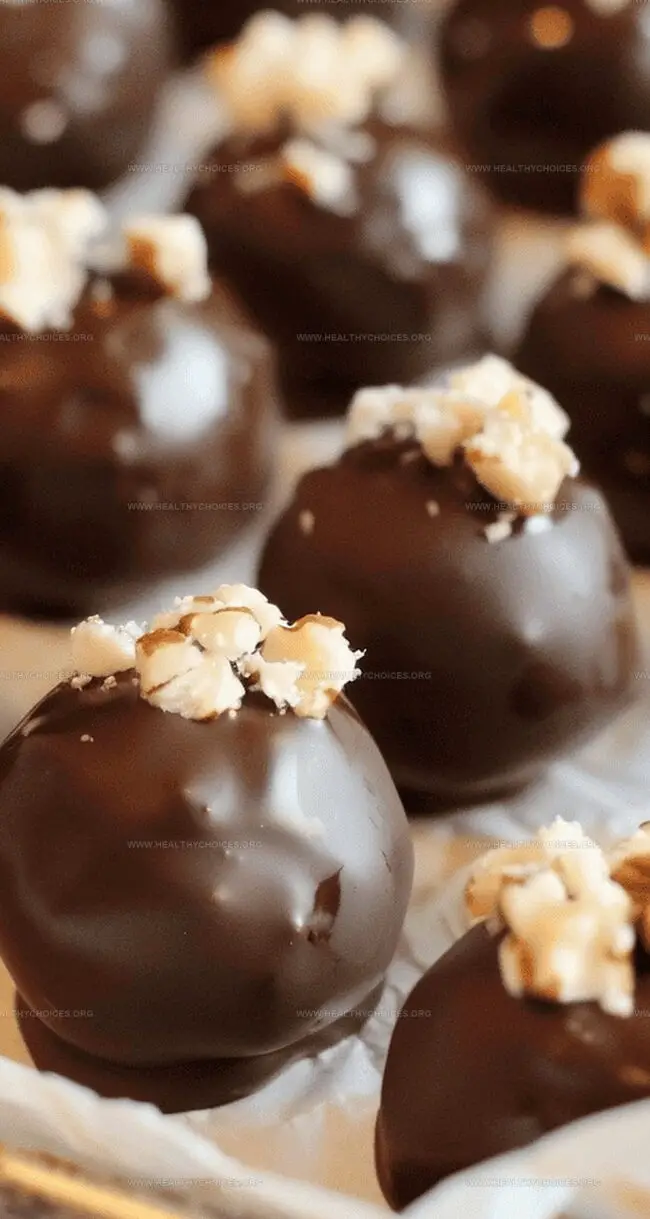
Maple balls bring Canadian sweetness to your dessert table with silky smooth texture. Rolled in crushed pecans and glazed with pure maple syrup, these delightful treats offer a rich, nostalgic bite you’ll savor.
Ingredients
Main Ingredients:
- 3 ½ cups powdered sugar
- 2 cups chocolate chips
- ¾ cup (divided) chopped walnuts
Wet Ingredients:
- 7 ounces (199 grams) sweetened condensed milk
- ¼ cup (57 grams) softened butter
- 2 tablespoons maple syrup
- 2 ½ teaspoons maple extract
- 1 teaspoon vanilla extract
Seasoning:
- ¼ teaspoon salt
Instructions
- Combine sweetened condensed milk, softened butter, vanilla extract, maple extract, maple syrup, and salt in a spacious mixing bowl, blending thoroughly with an electric mixer until smooth and creamy.
- Incorporate powdered sugar gradually, mixing until a consistent, malleable dough develops, ensuring the texture is neither too dry nor overly sticky.
- Fold in half of the chopped walnuts, distributing them evenly throughout the mixture.
- If the dough feels tacky, chill in the refrigerator for 15-20 minutes to firm up, making it easier to handle.
- Roll the chilled dough into uniform, bite-sized spheres, placing them carefully on a parchment-lined baking sheet.
- Return the formed balls to the refrigerator or freezer to maintain their shape and enhance their structural integrity.
- Melt chocolate chips using a double boiler or microwave, stirring at regular intervals to ensure a smooth, glossy consistency.
- Carefully submerge each chilled ball into the melted chocolate, using a fork to allow excess coating to drip away.
- Gently place the chocolate-covered balls back onto the parchment-lined sheet, immediately sprinkling the remaining chopped walnuts on top as a decorative and flavorful garnish.
- Allow the maple balls to set completely at room temperature or accelerate the process by placing them in the refrigerator until the chocolate coating hardens.
Notes
- Chill the dough in the refrigerator if it’s too sticky, making it easier to shape into smooth, uniform balls.
- Use room temperature ingredients to ensure a smooth, well-blended dough that mixes easily and consistently.
- Melt chocolate slowly and carefully, stirring frequently to prevent burning and achieve a silky, glossy coating.
- Roll balls small and uniform for even cooking and an elegant, bite-sized treat that’s perfect for sharing.
- Sprinkle chopped walnuts immediately after dipping while chocolate is still wet to ensure they stick perfectly.
- Store finished maple balls in an airtight container in the refrigerator for up to a week to maintain their fresh, creamy texture.
- Prep Time: 30 minutes
- Cook Time: 0 minutes
- Category: Snacks, Desserts
- Method: Blending
- Cuisine: Canadian
Nutrition
- Serving Size: 12
- Calories: 397
- Sugar: 47 g
- Sodium: 59 mg
- Fat: 20 g
- Saturated Fat: 9 g
- Unsaturated Fat: 10 g
- Trans Fat: 0 g
- Carbohydrates: 56 g
- Fiber: 2 g
- Protein: 4 g
- Cholesterol: 30 mg
David Bennett
Founder & Head Recipe Developer
Expertise
Culinary Nutrition, Recipe Development, Nutritional Counseling, Food Science
Education
Johnson & Wales University
Certified Nutrition Specialist® (CNS®)
David Bennett is the lead recipe creator and nutrition expert at HealthyChoices.org, your friendly space for tasty meals that nourish body and mind.
With a Culinary Nutrition degree from Johnson & Wales University and a Certified Nutrition Specialist® credential, David pairs practical nutrition with delicious cooking, creating recipes you’ll crave daily.
At Healthy Choices, David shares easy, nutritious dishes and smart cooking tips to make healthy eating something everyone can enjoy, with no complicated diets needed.