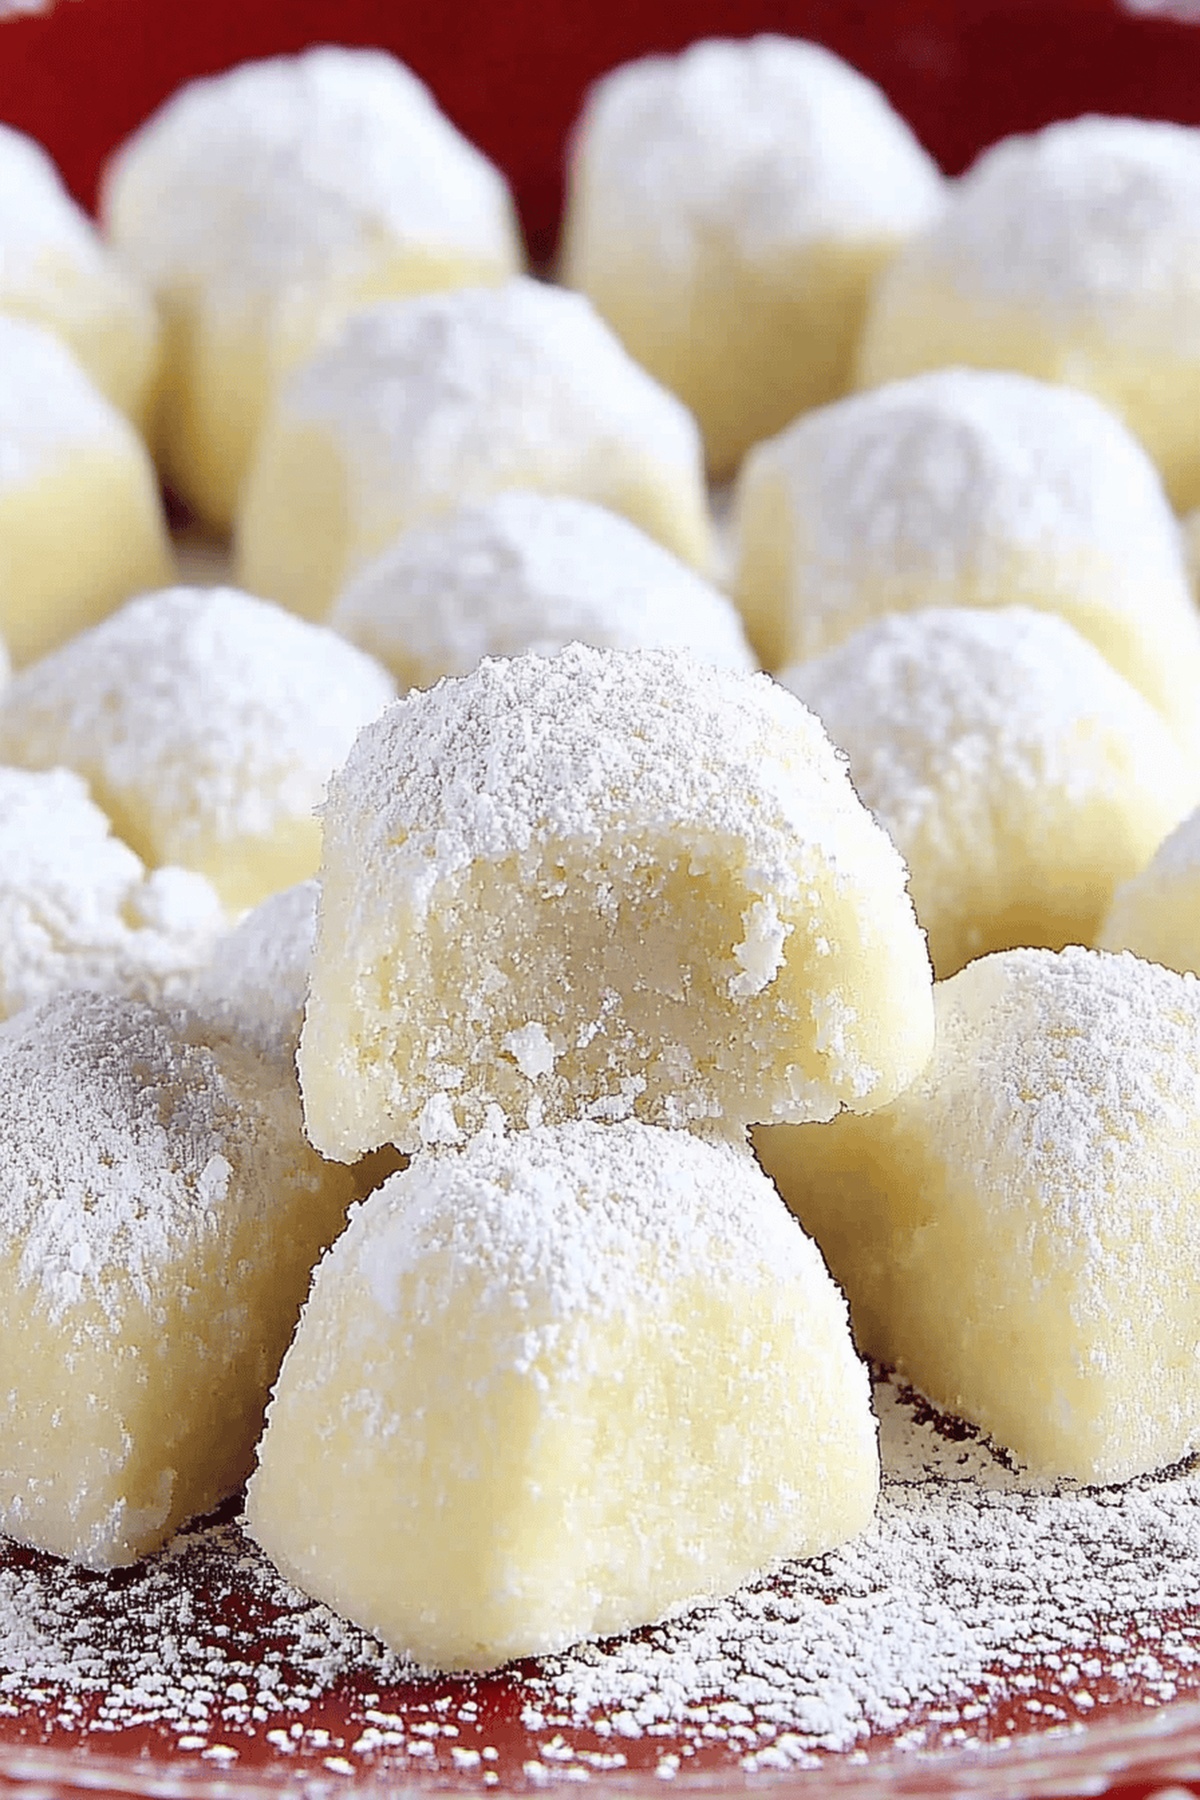
Buttery Melting Moments Recipe That’s Truly Magical
Soft, buttery melting moments tantalize taste buds with their delicate crumbly texture and melt-in-your-mouth goodness.
These classic cookies represent pure comfort and sweet indulgence in every delightful bite.
Light as clouds and rich with subtle sweetness, they embody simple bakery magic that crafts basic ingredients into extraordinary treats.
Bakers worldwide adore these delicate delights for their elegant simplicity and irresistible charm.
Delicate shortbread-like qualities make them perfect companions to afternoon tea or quiet moments of culinary pleasure.
Minimal ingredients and straightforward techniques ensure anyone can create these heavenly morsels with confidence and joy.
Crisp edges and tender centers promise a sensory experience that celebrates understated elegance and pure cookie perfection.
Melting Moments Cookies That Truly Melt in Your Mouth
Ingredients for Melting Moments with Buttery Texture
Dry Ingredients:Fat and Sweeteners:Flavor Enhancers:How to Make Classic Melting Moments at Home
Step 1: Create Silky Butter Blend
Grab your electric mixer and whip the butter and powdered sugar until they transform into a cloud-like, fluffy texture.
Step 2: Marry Dry Ingredients
In a separate bowl, gently combine:Softly whisk these dry ingredients together.
Step 3: Craft Smooth Cookie Dough
Drizzle vanilla extract into the butter mixture, then gradually fold in the dry ingredient blend. Mix until the dough looks perfectly smooth and unified.
Step 4: Shape Delicate Dough Logs
Divide the dough into equal portions. Roll each piece into a neat log about 1 inch thick. Wrap tightly in plastic wrap and refrigerate for one hour to firm up.
Step 5: Prepare Baking Station
Preheat oven to 350°F. Line baking sheet with parchment paper.
Step 6: Slice And Chill Cookies
Cut dough logs into half-inch thick rounds. Place cookies on prepared baking sheet with space between each. Chill in refrigerator for 30 minutes.
Step 7: Bake To Golden Perfection
Slide cookies into preheated oven. Bake 8-10 minutes until edges turn light golden brown.
Step 8: Cool And Dust
Allow cookies to cool completely. Generously sprinkle or roll cookies in powdered sugar.
Step 9: Store With Care
Layer cookies between wax paper in an airtight container. Enjoy within two weeks for maximum freshness.
Tips to Get Perfectly Soft Melting Moments Cookies
Store Melting Moments So They Don’t Crumble
Drinks and Sweets to Pair with Melting Moments
Easy Ways to Change Up Your Melting Moments Recipe
Print
Melting Moments Recipe
- Total Time: 30 minutes
- Yield: 24 1x
Description
Melting moments cookies bring buttery bliss from Australian bakeries, creating irresistible morsels of shortbread-like pleasure. Delicate sandwich cookies filled with creamy vanilla embrace your senses, promising pure indulgence in each tender, melt-in-your-mouth bite.
Ingredients
Main Ingredients:
- 1 cup unsalted butter, room temperature
- 1 ½ cups all-purpose flour
- ½ cup cornstarch (corn flour)
Sweetening Ingredients:
- ¼ cup powdered sugar
- 1 cup powdered sugar, sifted (for topping)
Seasoning Ingredients:
- ¼ teaspoon salt
- 1 teaspoon vanilla extract
Instructions
- Craft the foundational mixture by whisking flour, cornstarch, and salt in a medium bowl, creating a uniform dry blend.
- Utilize an electric mixer to cream butter and powdered sugar until the texture becomes airy and voluminous, developing a smooth, pale consistency.
- Infuse the mixture with vanilla extract, then gently fold in the dry ingredients, stirring until a cohesive dough emerges without overmixing.
- Partition the dough into uniform segments, then meticulously roll each portion into cylindrical logs approximately one inch in diameter, enveloping them securely in plastic wrap.
- Refrigerate the wrapped dough logs for a minimum of one hour, allowing them to firm and develop deeper flavor characteristics.
- Heat the oven to 350°F and prepare a parchment-lined baking sheet for the cookie transformation.
- Slice the chilled dough into precise half-inch medallions, positioning them strategically on the baking surface with gentle spacing.
- Return the cookie-laden sheet to the refrigerator for an additional 30-minute cooling period to maintain structural integrity.
- Bake the delicate morsels for 8-10 minutes, watching for subtle golden edges that indicate perfect doneness.
- Allow the freshly baked cookies to cool completely on the baking sheet, preserving their delicate structure.
- Embellish the cooled cookies by either dusting with a gentle snowfall of powdered sugar or completely enrobing them in the sweet white powder.
- Transfer the delicate treats to an airtight container, separating layers with wax paper to preserve their pristine texture for up to two weeks.
Notes
- Chill the dough thoroughly to ensure the cookies maintain their shape and don’t spread too much during baking.
- Use room temperature butter for easier mixing and a smoother cookie texture that melts in your mouth.
- Keep the cookies small and uniform for consistent baking and an elegant, professional appearance.
- Allow cookies to cool completely before coating with powdered sugar to prevent moisture and maintain a delicate, crisp texture.
- Store in an airtight container to preserve the cookies’ delicate, melt-in-your-mouth quality for up to two weeks.
- Experiment with adding a hint of lemon zest or almond extract to create a unique flavor variation.
- Prep Time: 20 minutes
- Cook Time: 10 minutes
- Category: Desserts, Snacks
- Method: Baking
- Cuisine: Australian
Nutrition
- Serving Size: 24
- Calories: 120
- Sugar: 10 g
- Sodium: 50 mg
- Fat: 9 g
- Saturated Fat: 5 g
- Unsaturated Fat: 4 g
- Trans Fat: 0 g
- Carbohydrates: 12 g
- Fiber: 0 g
- Protein: 1 g
- Cholesterol: 30 mg
David Bennett
Founder & Head Recipe Developer
Expertise
Culinary Nutrition, Recipe Development, Nutritional Counseling, Food Science
Education
Johnson & Wales University
Certified Nutrition Specialist® (CNS®)
David Bennett is the lead recipe creator and nutrition expert at HealthyChoices.org, your friendly space for tasty meals that nourish body and mind.
With a Culinary Nutrition degree from Johnson & Wales University and a Certified Nutrition Specialist® credential, David pairs practical nutrition with delicious cooking, creating recipes you’ll crave daily.
At Healthy Choices, David shares easy, nutritious dishes and smart cooking tips to make healthy eating something everyone can enjoy, with no complicated diets needed.