The Cutest Mini No-Bake Oreo Cheesecakes Recipe for Sweet Joy
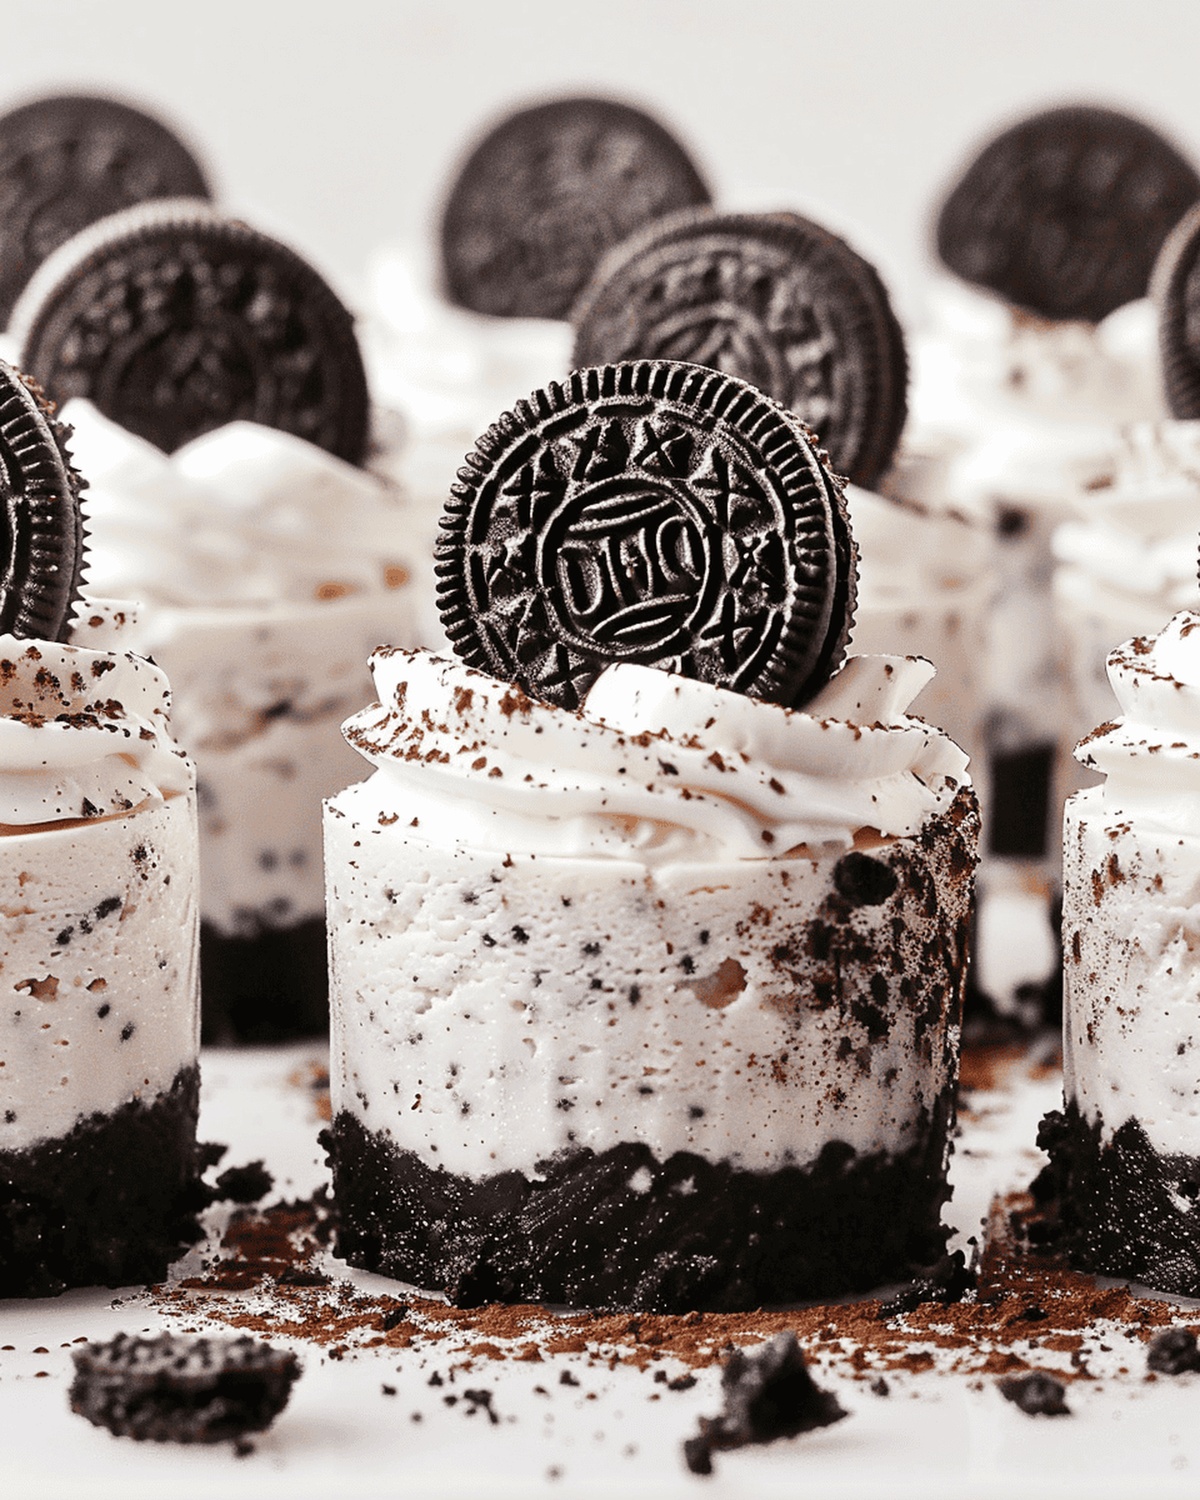
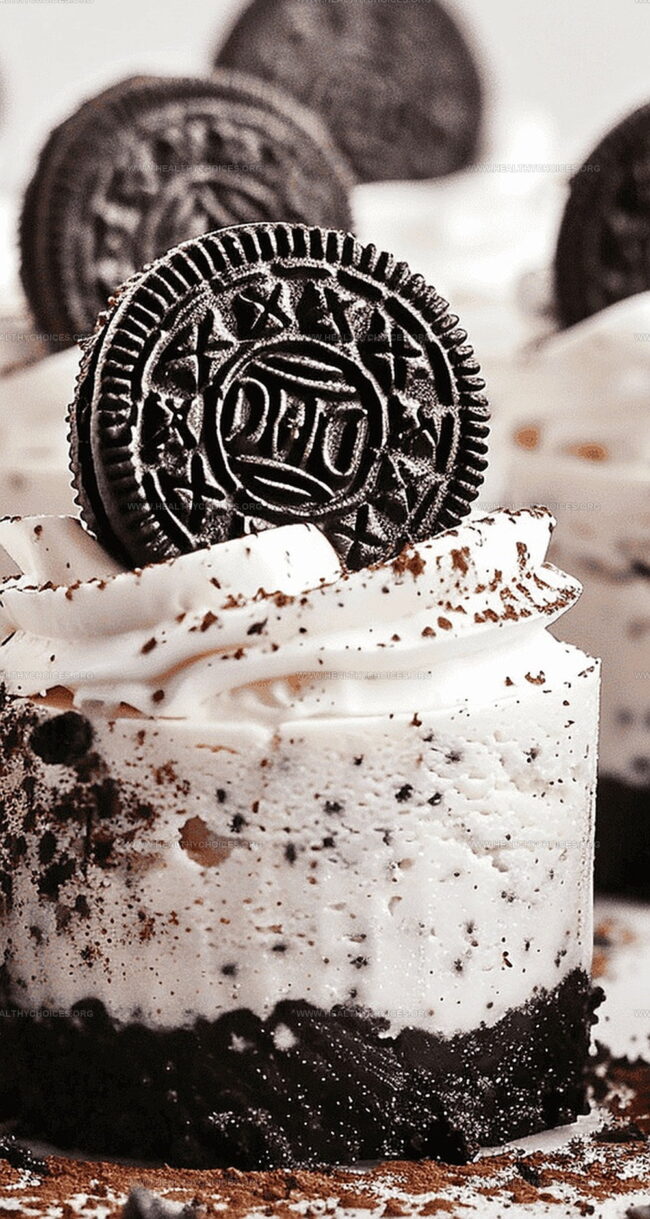
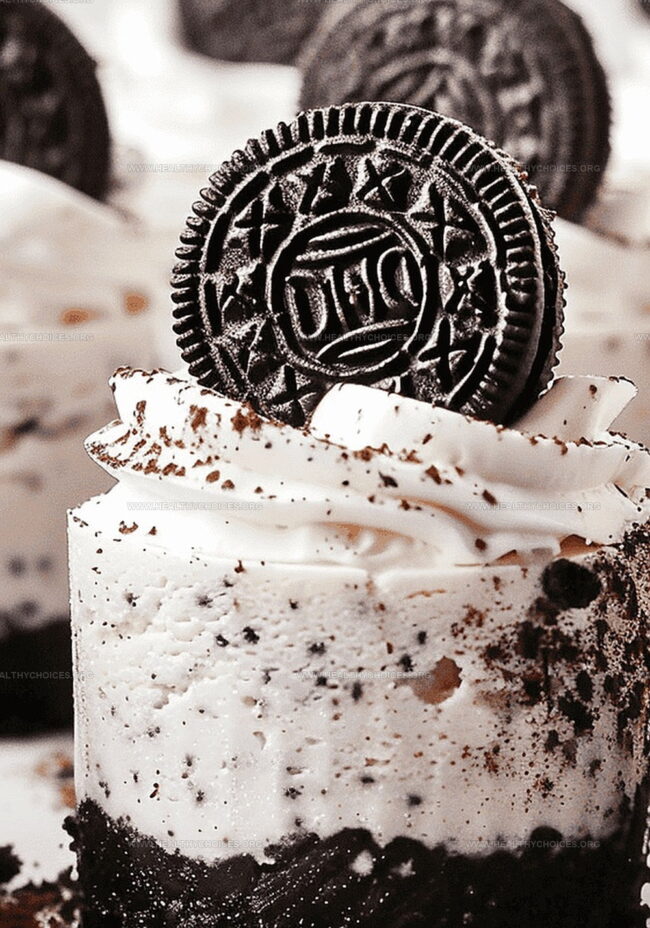
Mini no-bake Oreo cheesecakes represent a delightful dessert that combines creamy textures with irresistible chocolate cookie crunch.
Sweet indulgence meets effortless preparation in this crowd-pleasing treat that requires minimal kitchen skills.
Soft cream cheese blends seamlessly with crushed cookies, creating a luxurious no-bake experience perfect for impromptu gatherings.
Sophisticated yet simple, these miniature desserts offer an elegant twist on classic cheesecake without the complexity of traditional baking methods.
Each bite promises a harmonious balance of rich, velvety filling and crisp cookie base that melts deliciously on your tongue.
Compact individual servings make these cheesecakes ideal for portion control and impressive presentation at any social event.
The beauty of this recipe lies in its simplicity and crowd-pleasing potential, guaranteeing smiles around the table.
Why Mini No-Bake Oreo Cheesecakes Are So Cute and Creamy
What Goes into These Bite-Sized Oreo Cheesecake Cups
Base Ingredients:
Oreo Cookies: A classic cookie that forms the base and adds rich chocolate flavor. Look for fresh, crisp cookies without cracks.
Dairy-Free Butter or Margarine: Helps bind the cookie crumbs and creates a sturdy base. Choose a high-quality brand with good melting properties.
Cheesecake Filling Ingredients:
Dairy-Free Cream Cheese: Provides the creamy, tangy base for the cheesecake. Select a smooth, thick variety for best texture.
Dairy-Free Whipping Cream: Adds lightness and creates a fluffy filling. Ensure it’s cold for better whipping results.
Oreo Cookies: Crushed cookies that add extra chocolate flavor and texture to the filling. Use fresh, crisp cookies.
Topping Ingredients:
Dairy-Free Whipping Cream: Creates a decorative and delicious topping. Chill before whipping for best volume.
Oreo Cookies: Provides a decorative and crunchy garnish. Choose whole and half cookies for garnishing.
How to Assemble These Little Cheesecake Treats
Step 1: Create Cookie Crumb Base
Step 2: Whip Cheesecake Filling
Step 3: Fill Cookie Cups
Step 4: Prepare Decorative Topping
Step 5: Serve and Enjoy
Tips to Keep Them Firm and Easy to Serve
Storage and Chill Tips for Oreo Cheesecake Perfection
What to Pair with Mini Cheesecakes for Dessert Platters
New Flavors to Try with the Same Cheesecake Base
Print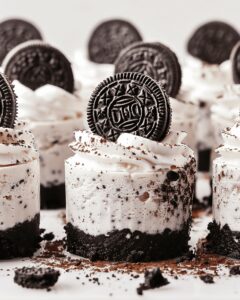
Mini No-Bake Oreo Cheesecakes Recipe
- Total Time: 30 minutes
- Yield: 6 1x
Description
Creamy mini no-bake Oreo cheesecakes deliver pure dessert magic in bite-sized portions. Chocolate cookie crumbs and silky cream cheese blend effortlessly, promising rich indulgence you cannot resist.
Ingredients
Main Ingredients:
- 260 grams (9.2 ounces) dairy-free whipping cream
- 160 grams (5.6 ounces) dairy-free cream cheese
- 12 Oreo cookies (8 for blending, 4 for decoration)
Crust Ingredients:
- 150 grams (5.3 ounces) Oreo cookies
- 50 grams (1.8 ounces) dairy-free butter or margarine
Additional Ingredients:
- 20 grams (0.7 ounces) dairy-free whipping cream
Instructions
- Crush Oreo cookies into fine crumbs using a food processor or blender until completely pulverized.
- Melt dairy-free butter in a small saucepan over gentle heat, then transfer to a mixing bowl.
- Combine cookie crumbs with melted butter, mixing until the texture resembles damp, compressible sand.
- Firmly press the crumb mixture into individual cookie cup tins, ensuring an even, compact base.
- Chill the prepared cookie bases in the freezer while assembling the filling.
- In a separate mixing bowl, whip dairy-free cream cheese and whipping cream together, starting at low speed and gradually increasing to high.
- Continue whipping until the mixture becomes thick, smooth, and holds a creamy consistency.
- Incorporate finely ground Oreo cookies into the whipped cream mixture, blending thoroughly.
- Transfer the cheesecake filling into a piping bag with a round tip or cut-off end.
- Carefully pipe the filling into each prepared cookie cup, creating even layers.
- Smooth the tops of the filled cups using an offset spatula for a neat finish.
- Freeze the mini cheesecakes for approximately 4 hours until completely set and firm.
- If using push-up tins, gently release the cheesecakes by pressing the tin bases upward.
- Move the cheesecakes to the refrigerator to slightly soften while preparing the topping.
- Whip additional dairy-free cream until it forms thick, stable peaks.
- Fill a piping bag with a star tip and create elegant cream swirls atop each cheesecake.
- Garnish with a half Oreo cookie and sprinkle of cookie crumbs for visual appeal.
- Serve chilled and enjoy the decadent mini desserts.
Notes
- Chilling is crucial for achieving the perfect texture, so patience pays off when setting these mini cheesecakes in the freezer.
- Using a food processor ensures smooth, fine Oreo cookie crumbs that create a consistent and compact base for the dessert.
- Whipping the cream cheese and dairy-free cream at high speed helps create a light, airy filling that’s both creamy and delicious.
- Piping the filling and topping gives these mini cheesecakes a professional look that’s sure to impress your guests or family.
- Push-up tins make removing the cheesecakes easier, but ensure they’re completely firm before attempting to release them.
- Decorating with extra Oreo cookie crumbs and a half cookie adds a delightful crunch and visual appeal to the final dessert.
- Prep Time: 30 minutes
- Cook Time: 0 minutes
- Category: Desserts, Snacks
- Method: Blending
- Cuisine: American
Nutrition
- Serving Size: 6
- Calories: 335
- Sugar: 20g
- Sodium: 180mg
- Fat: 23g
- Saturated Fat: 10g
- Unsaturated Fat: 13g
- Trans Fat: 0g
- Carbohydrates: 31g
- Fiber: 1g
- Protein: 3g
- Cholesterol: 0mg
David Bennett
Founder & Head Recipe Developer
Expertise
Culinary Nutrition, Recipe Development, Nutritional Counseling, Food Science
Education
Johnson & Wales University
Certified Nutrition Specialist® (CNS®)
David Bennett is the lead recipe creator and nutrition expert at HealthyChoices.org, your friendly space for tasty meals that nourish body and mind.
With a Culinary Nutrition degree from Johnson & Wales University and a Certified Nutrition Specialist® credential, David pairs practical nutrition with delicious cooking, creating recipes you’ll crave daily.
At Healthy Choices, David shares easy, nutritious dishes and smart cooking tips to make healthy eating something everyone can enjoy, with no complicated diets needed.