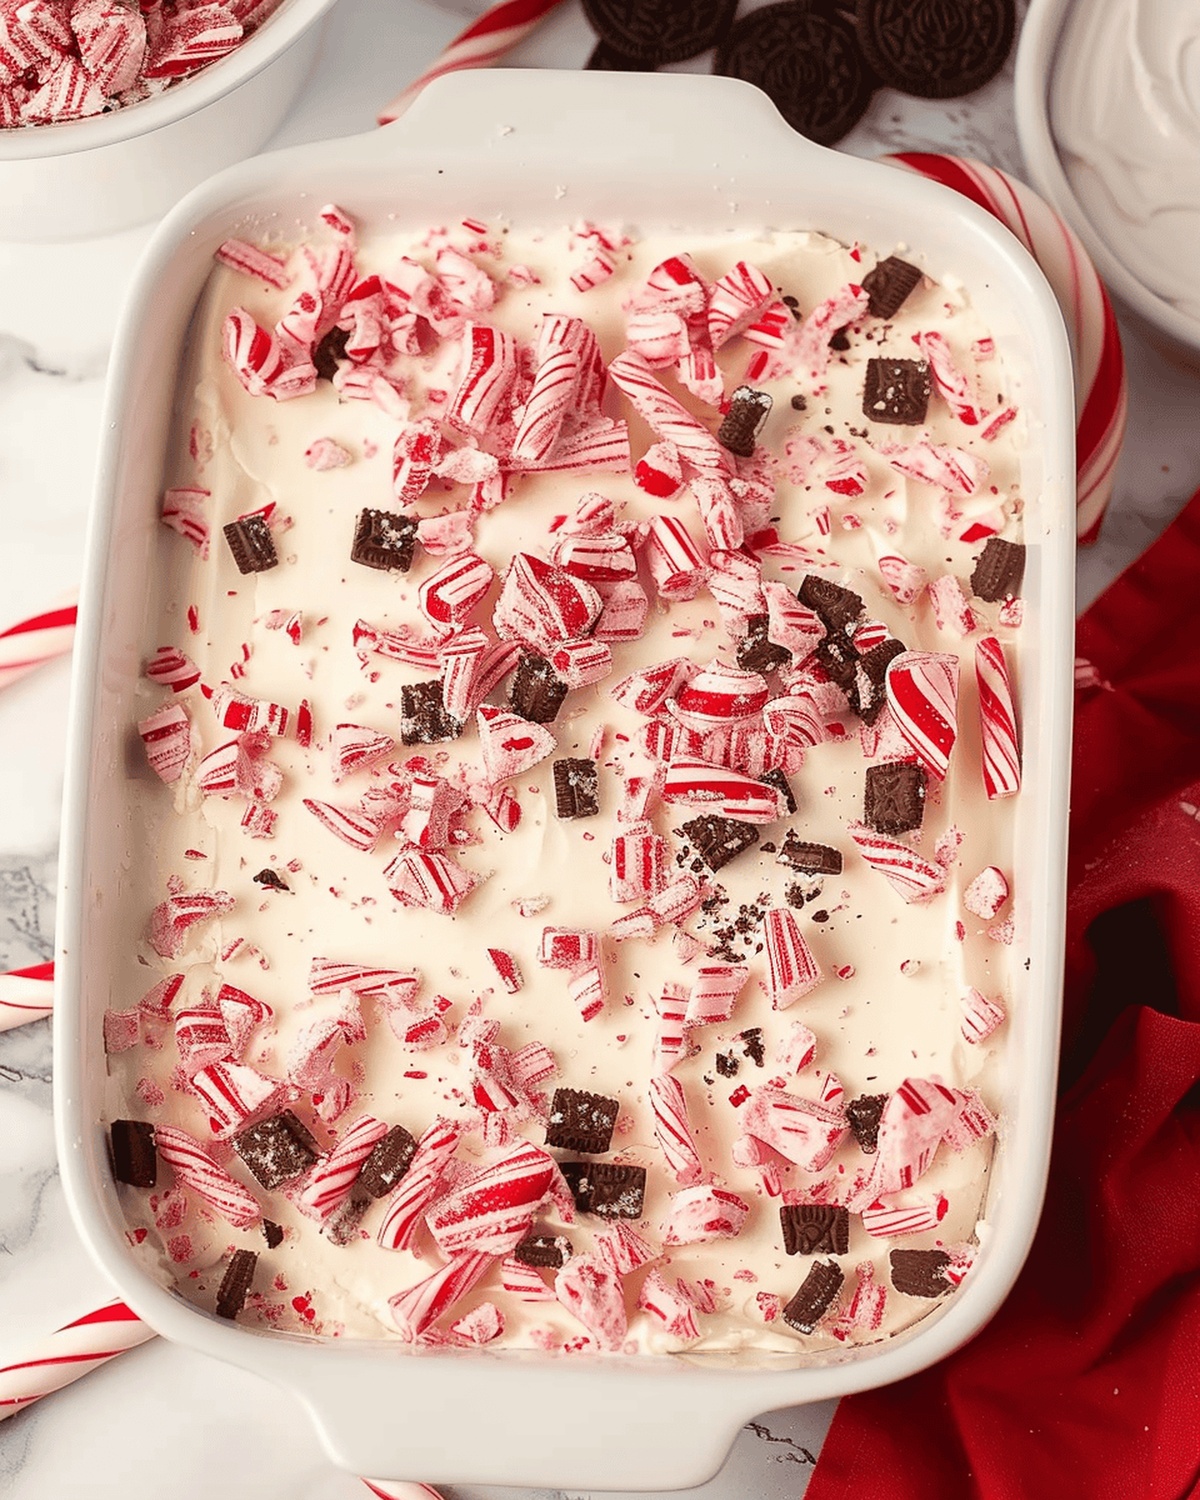
Dreamy No Bake Peppermint Oreo Cheesecake Recipe for Holidays
Indulgent no bake peppermint Oreo cheesecake offers a delightful twist on classic dessert traditions.
Creamy textures and cool mint flavors dance together in this irresistible treat.
Smooth cream cheese blends seamlessly with crushed chocolate cookies, creating a rich and decadent base.
Festive holiday hints emerge through refreshing peppermint notes that complement the deep, dark cookie crumble.
Winter celebrations or casual gatherings become memorable moments with this simple yet impressive dessert.
Chilled and silky, each bite promises a perfect balance of sweet and cool sensations.
Guests will crave seconds of this elegant, no-fuss confection.
Why No Bake Peppermint Oreo Cheesecake Steals the Dessert Table
Peppermint + Oreo = The Ingredients You’ll Want on Repeat
Crust Ingredients:Filling Ingredients:Topping Ingredients:Steps to Build This No-Bake Peppermint Oreo Layer

Step 1: Create The Crunchy Base
Gather these ingredients:Crush cookies into fine crumbs and mix with melted butter. Press mixture firmly into a 9×13 inch baking dish. Smooth the surface evenly with the back of a spoon. Refrigerate while preparing filling.
Step 2: Whip The Creamy Filling
Combine these ingredients:Beat ingredients in a large mixing bowl until smooth and silky. Ensure no lumps remain for a perfectly creamy texture.
Step 3: Melt Peppermint Chips
In a microwave-safe bowl, melt:Heat in 30-second intervals, stirring between each session. Continue until chips are completely smooth and glossy.
Step 4: Blend Flavors Together
Pour melted peppermint chips into cream cheese mixture. Beat until fully incorporated. Gently fold in Cool Whip, creating a light and fluffy consistency.
Step 5: Layer The Cheesecake
Spread cream cheese mixture evenly over chilled Oreo crust. Use a spatula to create smooth, even layers. Top with remaining Cool Whip for a cloud-like finish.
Step 6: Add Festive Topping
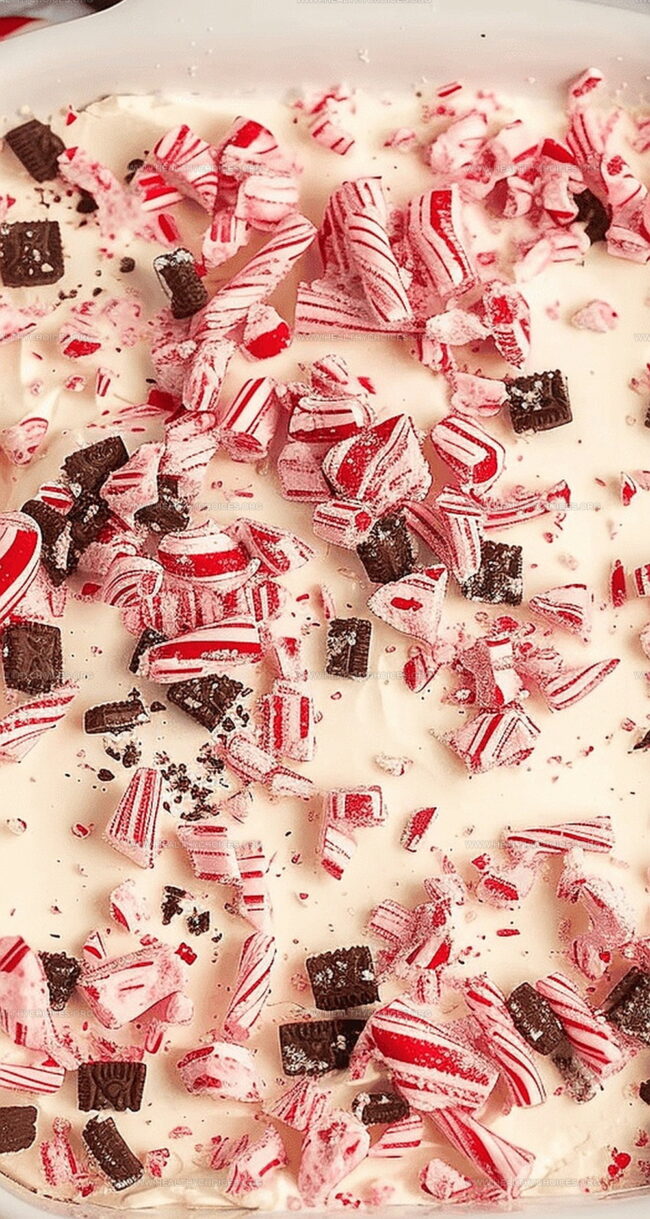
Sprinkle remaining Peppermint Crunch Chips over the top. Create a decorative pattern for visual appeal.
Step 7: Chill And Set
Refrigerate cheesecake for 1-2 hours. Ensure it’s completely firm before serving.
Step 8: Serve And Enjoy
Cut into 24 perfect squares. Serve chilled.
Tips for a Smooth Chill and Clean Cut
How to Chill and Serve Peppermint Oreo Cheesecake Just Right
Perfect Pairings for a Minty Chocolate Dessert
Cool Flavor Swaps for a New Cheesecake Vibe
Print
No Bake Peppermint Oreo Cheesecake Recipe
- Total Time: 25 minutes
- Yield: 12 1x
Description
Peppermint oreo cheesecake delivers cool holiday magic without turning on an oven. Creamy layers of chocolate cookie crust, mint-infused filling, and crushed candy cane topping make winter celebrations deliciously irresistible for anyone craving seasonal comfort.
Ingredients
Main Ingredients:
- 3 cups (710 ml) oreo cookie crumbs
- 2 (8-ounce/226 g) packages cream cheese, softened
- 2 cups (340 g) Andes Peppermint Crunch Chips
- 2 (8-ounce/226 g) containers Cool Whip, thawed
Binding Ingredients:
- ½ cup (113 g) unsalted butter, melted
- ¼ cup (50 g) granulated sugar
Flavoring Ingredients:
- 1 teaspoon vanilla extract
- ½ teaspoon peppermint extract
- 2 teaspoons shortening
Instructions
- Crush the Oreo cookies into fine crumbs, ensuring no large chunks remain. Blend thoroughly with melted butter until the mixture resembles wet sand.
- Press the cookie-butter mixture into the bottom of a rectangular dish, creating a compact and even base. Use the back of a spoon to firmly pack the crust, ensuring a smooth surface.
- Chill the crust in the refrigerator while preparing the creamy filling to help it set and solidify.
- In a spacious mixing bowl, whip the cream cheese until silky and free of lumps. Incorporate granulated sugar, vanilla, and peppermint extract, blending until the mixture becomes uniformly smooth and glossy.
- Melt the peppermint chips with shortening in a microwave-safe bowl, stirring carefully between short heating intervals. Continue until the mixture transforms into a completely liquid, glossy consistency.
- Pour the molten peppermint mixture into the cream cheese base, stirring vigorously to create a harmonious, marbled filling.
- Gently fold in the Cool Whip, ensuring a light and airy texture without deflating the mixture.
- Spread the peppermint cream cheese filling evenly across the chilled Oreo crust, reaching all edges with a smooth, consistent layer.
- Top the filling with a generous layer of remaining Cool Whip, creating a pristine white surface.
- Scatter the remaining peppermint chips across the top, providing a festive and crunchy decoration.
- Refrigerate the dessert for 1-2 hours, allowing the layers to set and flavors to meld together.
- Slice into neat squares and serve chilled. Store any remaining portions in a sealed container in the refrigerator.
Notes
- Opt for room temperature cream cheese to ensure a silky smooth filling without lumps.
- Crush Oreo cookies finely for a perfect, compact crust that holds together beautifully.
- Melt peppermint chips carefully to prevent scorching, stirring frequently during microwave heating.
- Allow cheesecake to chill completely for at least 2 hours to develop rich, creamy texture.
- Use a sharp knife dipped in hot water for clean, precise cutting of cheesecake squares.
- Store leftovers in an airtight container to maintain freshness and prevent absorbing other refrigerator odors.
- Prep Time: 25 minutes
- Cook Time: 0 minutes
- Category: Desserts
- Method: None
- Cuisine: American
Nutrition
- Serving Size: 12
- Calories: 370
- Sugar: 24 g
- Sodium: 210 mg
- Fat: 25 g
- Saturated Fat: 15 g
- Unsaturated Fat: 8 g
- Trans Fat: 0 g
- Carbohydrates: 34 g
- Fiber: 1 g
- Protein: 3 g
- Cholesterol: 40 mg
David Bennett
Founder & Head Recipe Developer
Expertise
Culinary Nutrition, Recipe Development, Nutritional Counseling, Food Science
Education
Johnson & Wales University
Certified Nutrition Specialist® (CNS®)
David Bennett is the lead recipe creator and nutrition expert at HealthyChoices.org, your friendly space for tasty meals that nourish body and mind.
With a Culinary Nutrition degree from Johnson & Wales University and a Certified Nutrition Specialist® credential, David pairs practical nutrition with delicious cooking, creating recipes you’ll crave daily.
At Healthy Choices, David shares easy, nutritious dishes and smart cooking tips to make healthy eating something everyone can enjoy, with no complicated diets needed.