
Lazy-Day Oreo Dump Cake Recipe: A Sweet Wonder
Oreo dump cake redefines ordinary dessert into an extraordinary experience that defies traditional baking expectations.
This delightful treat combines simplicity with decadent flavors in one remarkable dish.
Crumbly cookie layers meld seamlessly with rich, creamy textures that tantalize your taste buds.
Minimal effort yields maximum satisfaction through a clever assembly of strategic ingredients.
Home bakers of all skill levels can master this delectable creation without complex techniques or extensive preparation time.
Sweet lovers appreciate how quickly this dessert comes together, promising maximum enjoyment with minimal work.
Each bite promises a delightful journey through layers of chocolatey goodness and comforting warmth.
Why Oreo Dump Cake Is a Quick Dessert Fix
What You’ll Need to Make Oreo Dump Cake
Main Ingredients:
Oreo Cookies: Classic chocolate sandwich cookies that create the base and topping layer, with a rich chocolate flavor and crunchy texture.
Sweetened Condensed Milk: Thick, sweet milk that adds moisture and richness to the cake, creating a creamy foundation.
Dry Chocolate Cake Mix: Convenient base that provides quick cake structure and deep chocolate flavor with minimal effort.
Butter: Adds richness, helps create a golden top, and provides moisture to the cake.
Topping Ingredients:
Whipped Topping: Light and creamy layer that adds a smooth texture and subtle sweetness to the dessert.
Ice Cream: Optional serving companion that provides a cold, creamy contrast to the warm cake.
Chocolate Sauce: Decadent drizzle that enhances the chocolate flavor and adds a glossy finish.
Baking Essentials:
Cooking Spray: Ensures easy cake removal and prevents sticking to the baking pan.
How to Bake an Oreo Dump Cake That’s Gooey and Rich
Step 1: Prepare the Oven
Warm up your oven to 350°F or 175°C, getting ready for a delicious dessert adventure.
Step 2: Prep the Baking Dish
Grab a 9×13 inch baking pan and give it a quick spray with cooking spray to prevent sticking.
Step 3: Create the Oreo Base
Layer whole Oreo cookies across the bottom of the pan, creating a delightful cookie foundation.
Step 4: Drench with Sweetness
Pour sweetened condensed milk evenly over the Oreo layer, letting it seep into every delicious crack.
Step 5: Add Creamy Topping
Spread whipped topping gently across the milk-soaked cookies, creating a smooth, cloud-like layer.
Step 6: Dust with Chocolate Magic
Sprinkle the dry chocolate cake mix over the whipped topping, covering it completely.
Step 7: Dot with Butter
Arrange sliced butter pieces across the top of the cake mix, ensuring even distribution.
Step 8: Crumble Extra Crunch
Chop additional Oreo cookies and scatter them over the entire surface for extra texture and flavor.
Step 9: Bake to Perfection
Place the pan in the preheated oven and bake for 35 to 40 minutes until the top turns golden and starts bubbling.
Step 10: Serve and Indulge
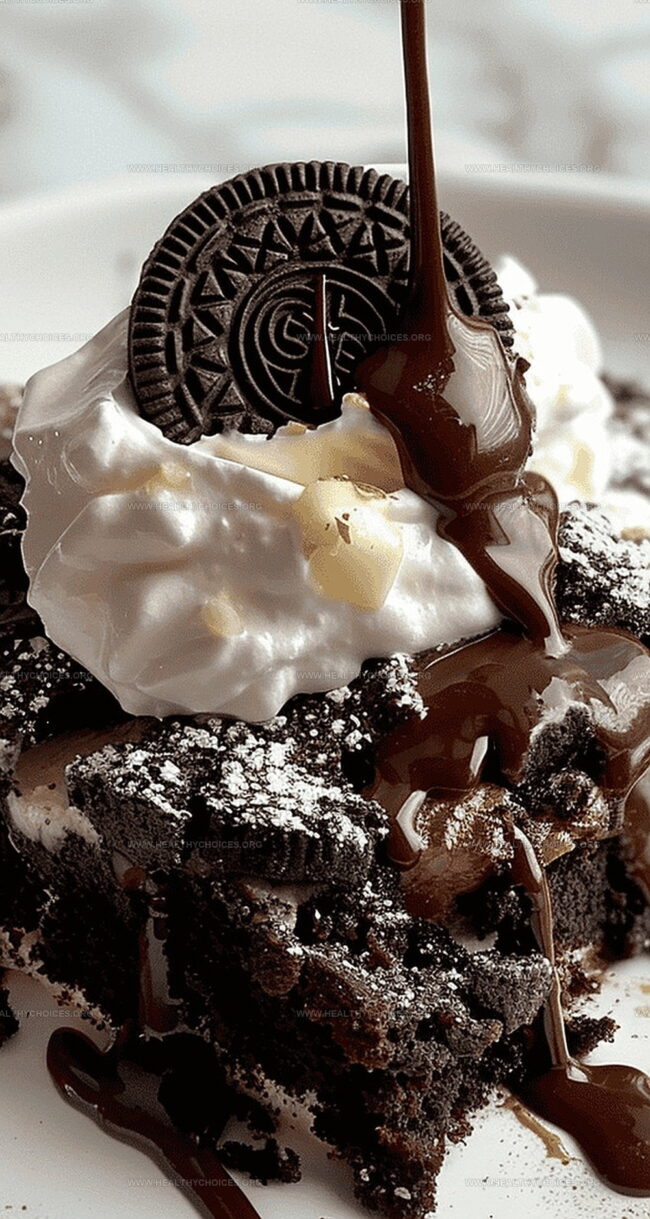
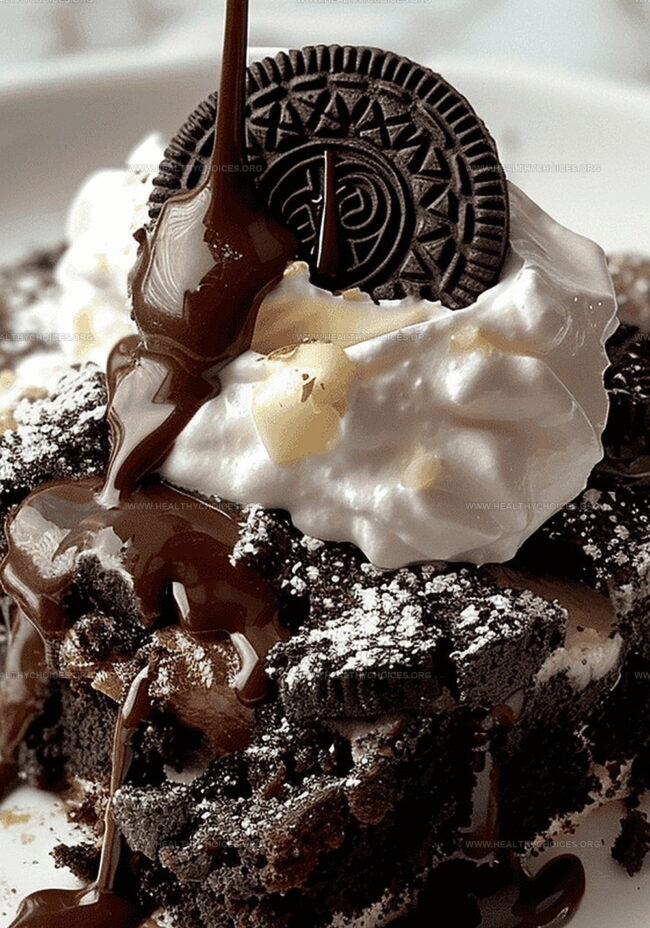
Pull out the heavenly creation and serve immediately. Top with a scoop of cold ice cream and drizzle with rich chocolate sauce for the ultimate dessert experience.
Tips for the Best Texture in an Oreo Dump Cake
Storing Oreo Dump Cake the Easy Way
Great Toppings and Sides for Oreo Dump Cake
Oreo Dump Cake Variations That Go Beyond the Basic
Print
Oreo Dump Cake Recipe
- Total Time: 50 minutes
- Yield: 12 1x
Description
Oreo dump cake delivers pure chocolate bliss with minimal effort. Crumbled cookies and rich chocolate layers melt together into a simple dessert that delights chocolate enthusiasts from first bite to last crumb.
Ingredients
Main Ingredients:
- 15¼ ounces (433 grams) chocolate cake mix
- 25 Oreo cookies
- 14 ounces (397 grams) sweetened condensed milk
Dairy and Topping:
- 8 ounces (227 grams) whipped topping (Cool Whip), not frozen
- ½ cup (113 grams) sweet salted butter (sliced)
Instructions
- Craft a delectable Oreo dump cake by first setting the oven temperature to a precise 350°F, creating the ideal baking environment.
- Generously coat a spacious 9×13 inch baking vessel with cooking spray, ensuring a smooth release after baking.
- Create a foundational layer of Oreo cookies, carefully positioning them in a uniform arrangement across the pan’s bottom.
- Cascade sweetened condensed milk evenly over the cookie base, allowing it to seep between the crevices and enhance moisture.
- Gently spread a cloud-like layer of whipped topping across the condensed milk, creating a creamy intermediate layer.
- Blanket the whipped topping with a powdery veil of dry chocolate cake mix, ensuring complete and consistent coverage.
- Strategically place pats of butter atop the cake mix, distributing them to promote even melting and rich flavor development.
- Roughly chop additional Oreo cookies and scatter them across the surface, adding textural intrigue and visual appeal.
- Transfer the assembled dessert to the preheated oven, allowing it to transform for 35-40 minutes until the top achieves a golden, effervescent appearance.
- Serve immediately, accompanied by a scoop of cold ice cream and a luxurious drizzle of chocolate sauce for an indulgent finale.
Notes
- Keep ingredients at room temperature for smoother mixing and better texture.
- Layer ingredients carefully to ensure even distribution and maximum flavor absorption.
- Use full-fat whipped topping for a richer, creamier dessert experience.
- Crush Oreos roughly for added crunch and more interesting texture in each bite.
- Check cake around 30 minutes to prevent over-browning, as ovens vary in heating.
- Store leftovers in refrigerator and consume within 2-3 days for best taste and quality.
- Prep Time: 10 minutes
- Cook Time: 40 minutes
- Category: Desserts, Snacks
- Method: Baking
- Cuisine: American
Nutrition
- Serving Size: 12
- Calories: 320
- Sugar: 20 g
- Sodium: 270 mg
- Fat: 15 g
- Saturated Fat: 9 g
- Unsaturated Fat: 3.5 g
- Trans Fat: 0 g
- Carbohydrates: 43 g
- Fiber: 1 g
- Protein: 3 g
- Cholesterol: 30 mg
David Bennett
Founder & Head Recipe Developer
Expertise
Culinary Nutrition, Recipe Development, Nutritional Counseling, Food Science
Education
Johnson & Wales University
Certified Nutrition Specialist® (CNS®)
David Bennett is the lead recipe creator and nutrition expert at HealthyChoices.org, your friendly space for tasty meals that nourish body and mind.
With a Culinary Nutrition degree from Johnson & Wales University and a Certified Nutrition Specialist® credential, David pairs practical nutrition with delicious cooking, creating recipes you’ll crave daily.
At Healthy Choices, David shares easy, nutritious dishes and smart cooking tips to make healthy eating something everyone can enjoy, with no complicated diets needed.