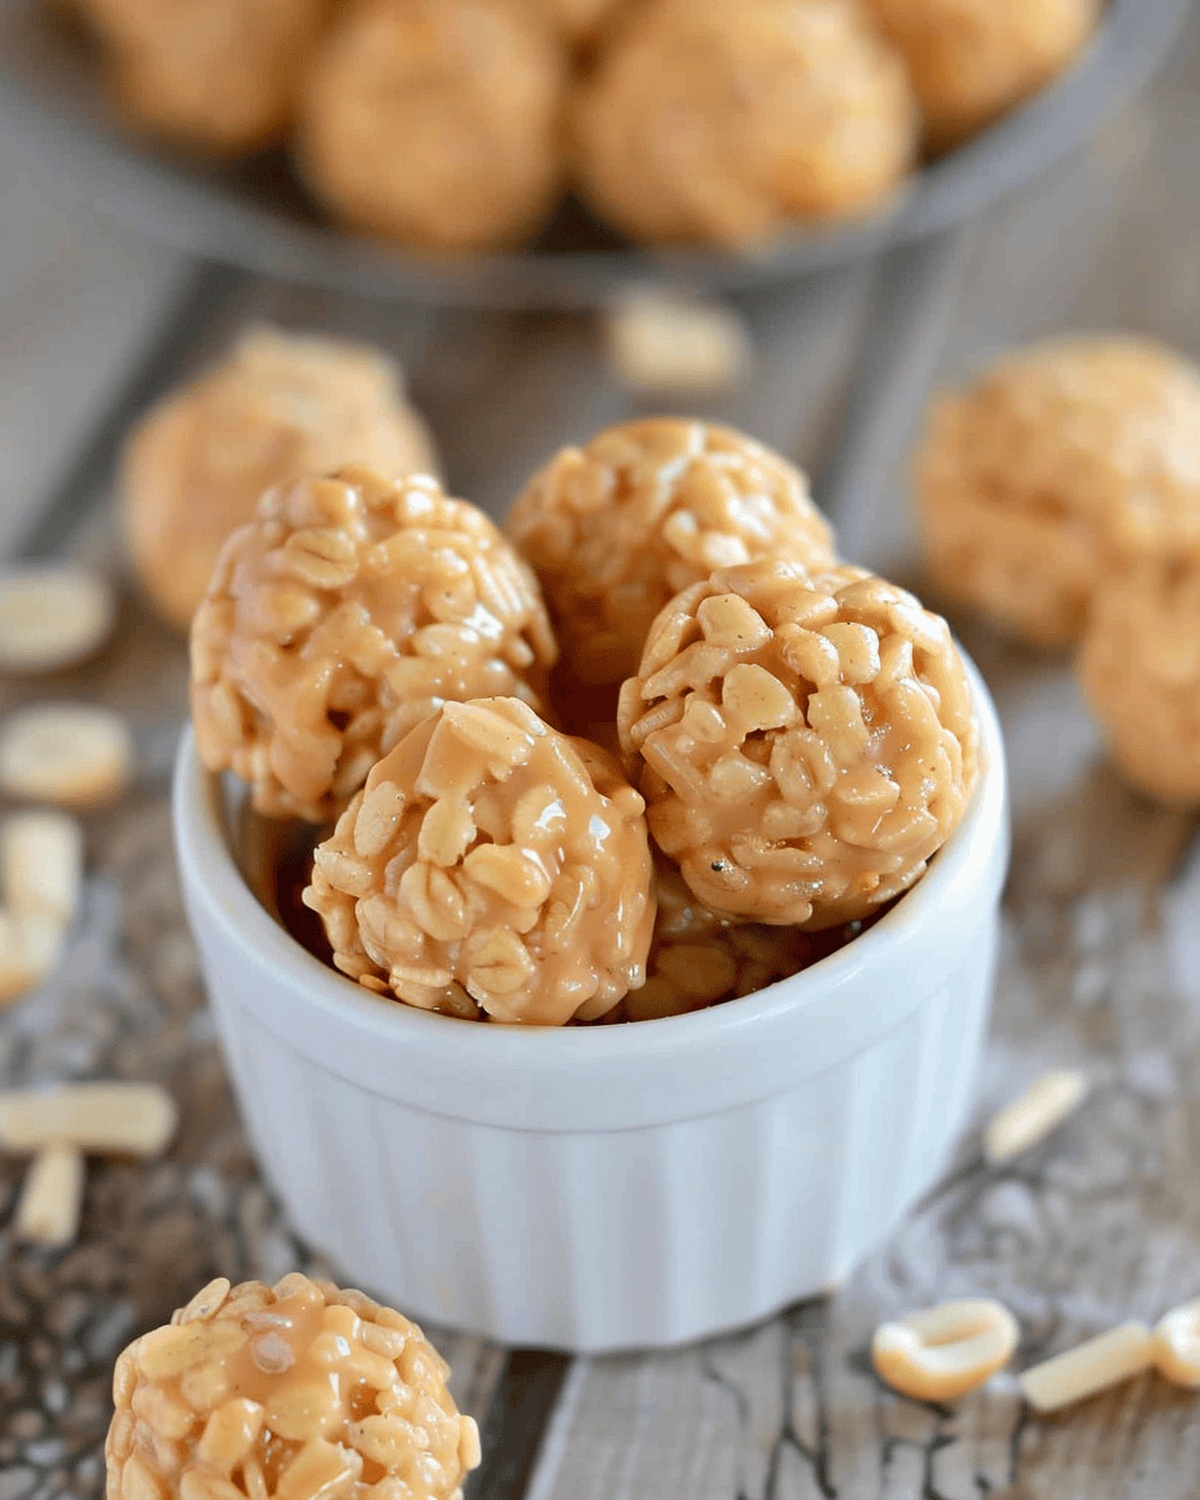
Easy Rice Crispy Peanut Butter Balls Recipe: Sweet Treats in Minutes
Rice crispy peanut butter balls bring nostalgic comfort with their irresistible crunch and sweet complexity.
Childhood memories often revolve around simple treats that spark joy and connection.
These delightful morsels blend smooth, rich flavors with unexpected textural elements that dance across your palate.
Creamy peanut butter melds seamlessly with crispy rice, creating a harmonious blend of softness and snap.
Minimal ingredients craft ordinary snack components into extraordinary bite-sized delicacies that appeal to both kids and adults.
Each ball packs a delectable punch of sweetness balanced by nutty undertones and satisfying crispness.
No fancy kitchen skills or complicated techniques stand between you and these addictive treats.
Rice Crispy Peanut Butter Balls That Snap, Crunch, and Satisfy
Staple Ingredients in Rice Crispy Peanut Butter Balls
Base Ingredients:Cereal Ingredient:Preparation Surface:Easy Roll and Chill Instructions for Rice Crispy Peanut Butter Balls
Step 1: Create Sweet Syrup Base
Pour corn syrup and powdered sugar into a large saucepan. Heat the mixture over medium temperature, stirring continuously until it reaches a gentle boil. Watch for bubbles forming around the edges of the pan.
Step 2: Blend Creamy Peanut Butter Mixture
Remove saucepan from heat immediately after boiling. Quickly stir in:Blend until the mixture transforms into a smooth, glossy consistency.
Step 3: Incorporate Crispy Cereal
Gently fold Rice Krispies into the warm peanut butter mixture. Stir carefully to ensure every cereal piece gets coated with the delicious sauce.
Step 4: Shape Tasty Treats
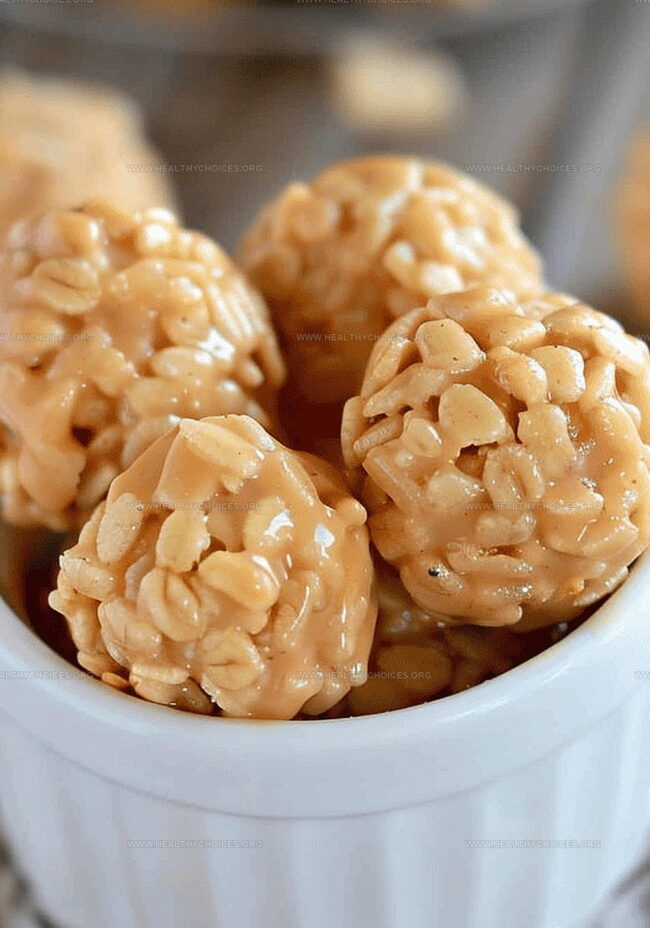
Using a spoon, scoop mixture onto silicone mat or waxed paper. Let cool for a few minutes, then roll each portion between your palms to create perfect round balls.
Step 5: Allow Treats to Set
Place rice crispy balls on a baking sheet. Let them cool completely at room temperature until firm.
Step 6: Store and Enjoy
Transfer balls to an airtight container. These delectable treats will stay fresh for up to one week at room temperature or can be refrigerated for extended freshness.
Tips to Avoid Sticky Fingers with Rice Crispy Peanut Butter Balls
Store Rice Crispy Peanut Butter Balls Without Losing the Crunch
Perfect Pairings for Rice Crispy Peanut Butter Balls at Snack Time
Flavor Fun to Mix Into Rice Crispy Peanut Butter Balls
Print
Rice Crispy Peanut Butter Balls Recipe
- Total Time: 25 minutes
- Yield: 12 1x
Description
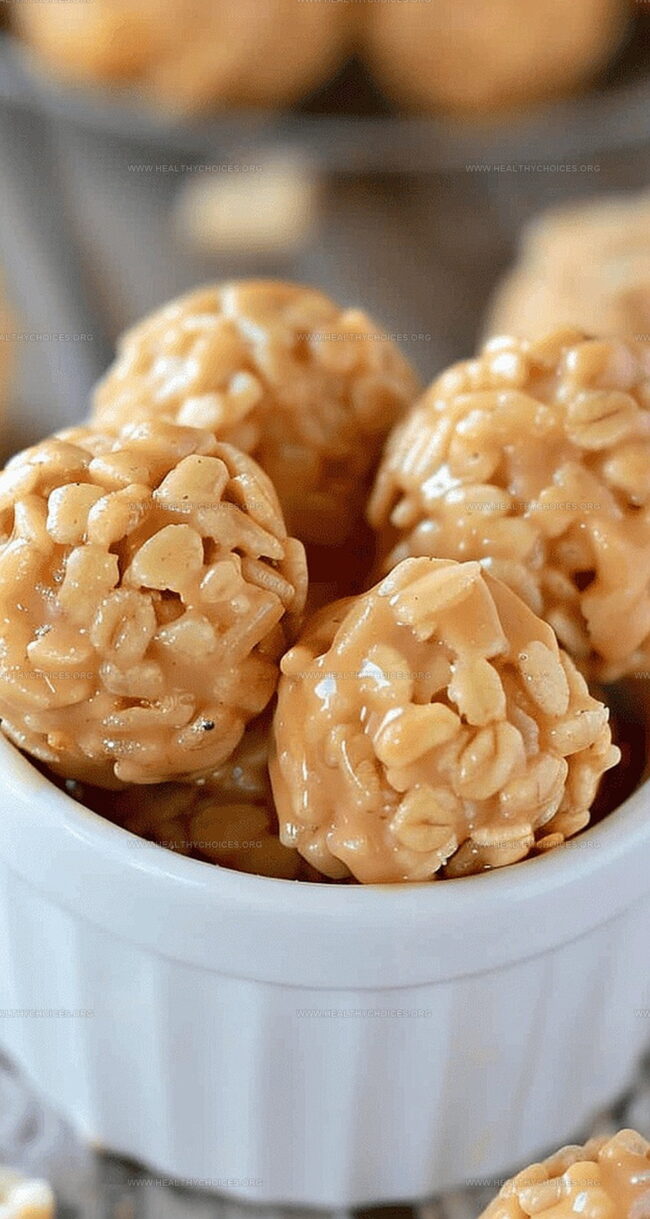
Peanut butter rice crispy balls deliver a perfect blend of creamy and crunchy textures. Chocolate-drizzled nuggets of sweet nostalgia promise quick satisfaction with minimal kitchen effort.
Ingredients
main ingredients:
- 1 cup peanut butter (chunky preferred)
- 4 cups rice krispies cereal
sweeteners and binding agents:
- 1 cup corn syrup
- 1 cup powdered sugar
flavor enhancer:
- 1 teaspoon vanilla extract
Instructions
- In a spacious saucepan, whisk corn syrup and powdered sugar over medium flame, stirring continuously until the mixture reaches a rolling boil.
- Remove the saucepan from heat immediately and incorporate peanut butter and vanilla extract, blending until the mixture transforms into a silky, homogeneous consistency.
- Gradually fold Rice Krispies cereal into the peanut butter blend, ensuring each crisp morsel becomes thoroughly enrobed with the sweet, nutty coating.
- Using a spoon, deposit generous dollops of the mixture onto silicone mats or waxed paper, allowing them to rest momentarily.
- While the mixture remains slightly warm, gently roll each dollop between your palms, crafting smooth, uniform spheres that showcase the perfect balance of crunch and creaminess.
- Allow the Rice Crispy Peanut Butter Balls to cool completely at room temperature, solidifying their shape and enhancing their delectable texture.
- Transfer the finished delicacies to an airtight container, where they will maintain their delightful crispness for up to seven days, ready to be enjoyed as a quick, indulgent treat.
Notes
- Perfectly blend corn syrup and powdered sugar over medium heat for a smooth, glossy base that ensures your balls hold together.
- Quickly remove from heat after boiling to prevent burning and maintain the perfect texture for mixing peanut butter and vanilla.
- Gently fold Rice Krispies into the warm mixture, ensuring every crisp gets completely coated for maximum flavor in each bite.
- Roll balls immediately while mixture is warm and pliable, using light hands to create uniform, bite-sized treats that won’t crumble.
- Store in cool, dry place in airtight container to keep these no-bake delights fresh and crunchy for up to one week.
- Choose natural or creamy peanut butter for consistent texture and rich, nutty flavor that complements the sweet corn syrup base.
- Prep Time: 10 minutes
- Cook Time: 15 minutes
- Category: Snacks, Desserts
- Method: Boiling
- Cuisine: American
Nutrition
- Serving Size: 12
- Calories: 210
- Sugar: 14 g
- Sodium: 50 mg
- Fat: 9 g
- Saturated Fat: 2 g
- Unsaturated Fat: 7 g
- Trans Fat: 0 g
- Carbohydrates: 30 g
- Fiber: 1 g
- Protein: 4 g
- Cholesterol: 0 mg
David Bennett
Founder & Head Recipe Developer
Expertise
Culinary Nutrition, Recipe Development, Nutritional Counseling, Food Science
Education
Johnson & Wales University
Certified Nutrition Specialist® (CNS®)
David Bennett is the lead recipe creator and nutrition expert at HealthyChoices.org, your friendly space for tasty meals that nourish body and mind.
With a Culinary Nutrition degree from Johnson & Wales University and a Certified Nutrition Specialist® credential, David pairs practical nutrition with delicious cooking, creating recipes you’ll crave daily.
At Healthy Choices, David shares easy, nutritious dishes and smart cooking tips to make healthy eating something everyone can enjoy, with no complicated diets needed.