Grandma’s Cozy Apple Crisp Recipe – Timeless Fall Comfort
Warm, golden aromas waft through the kitchen when you bake this classic apple crisp recipe that captures autumn’s cozy essence.
Generations of home cooks have cherished this simple dessert’s rustic charm.
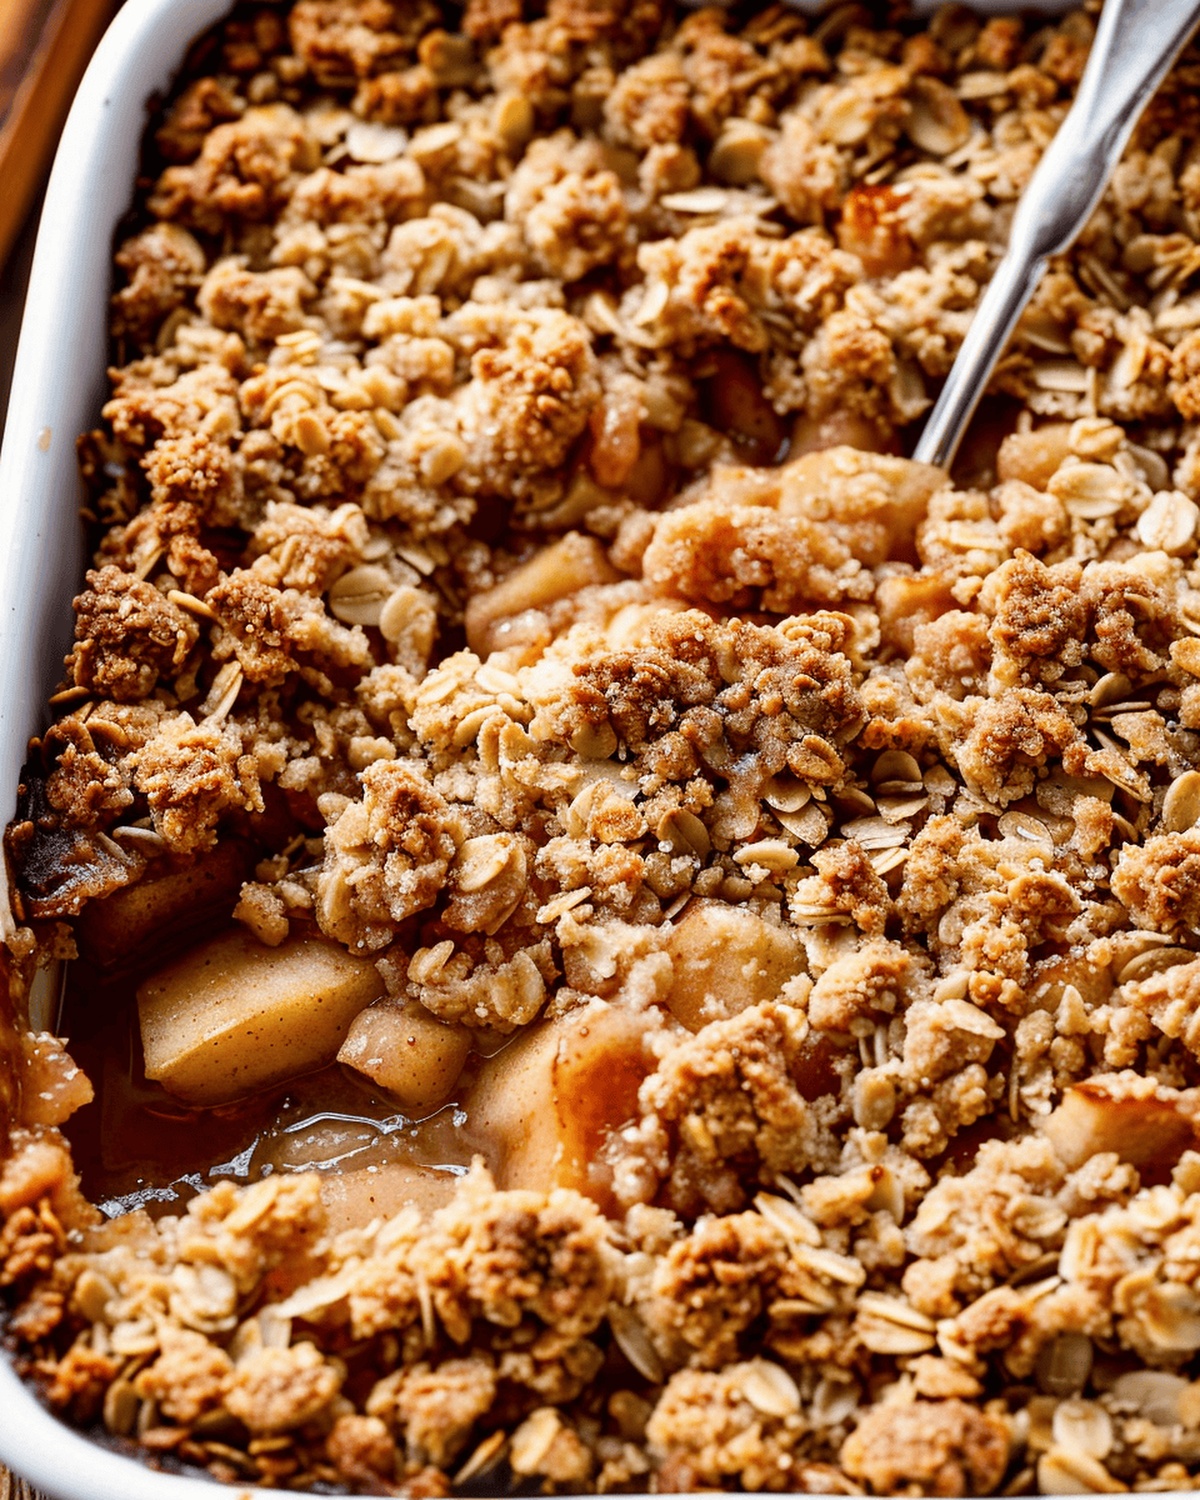
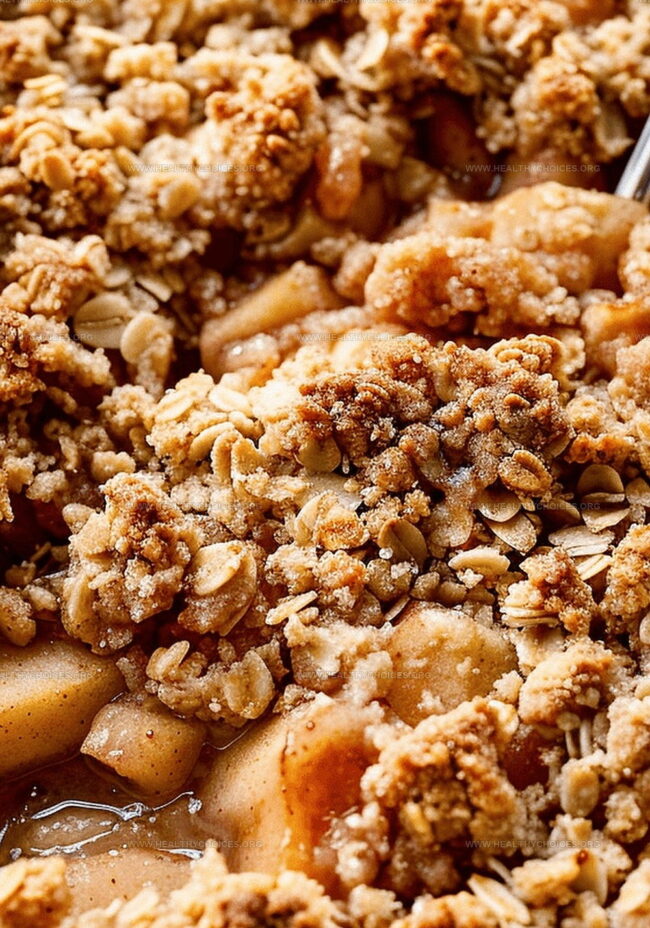
Sweet, tender apples nestled beneath a crunchy, buttery oat topping create a perfect balance of textures and flavors.
Ripe orchard apples mingle with cinnamon and brown sugar, promising a delightful comfort food experience.
Each spoonful brings memories of weekend gatherings and relaxed afternoons.
The crisp irresistible combination of soft fruit and crisp topping ensures everyone at the table will ask for seconds.
Get ready to savor a timeless dessert that celebrates seasonal ingredients and heartwarming simplicity.
Quick Recipe Overview
Everything That Goes in a Classic Apple Crisp
For Fruit Base:For Fruit Base Seasoning:For Crispy Topping:Tools for Classic Apple Crisp
Instructions for Classic Apple Crisp Recipe
Set up your baking space with a welcoming atmosphere. Grab a comfortable baking dish and lightly coat it with a touch of cooking spray to prevent sticking.
Gather ripe, crisp apples and slice them into delightful chunks. Toss the apple pieces with warm spices, creating a fragrant blend that hints at autumn’s comfort.
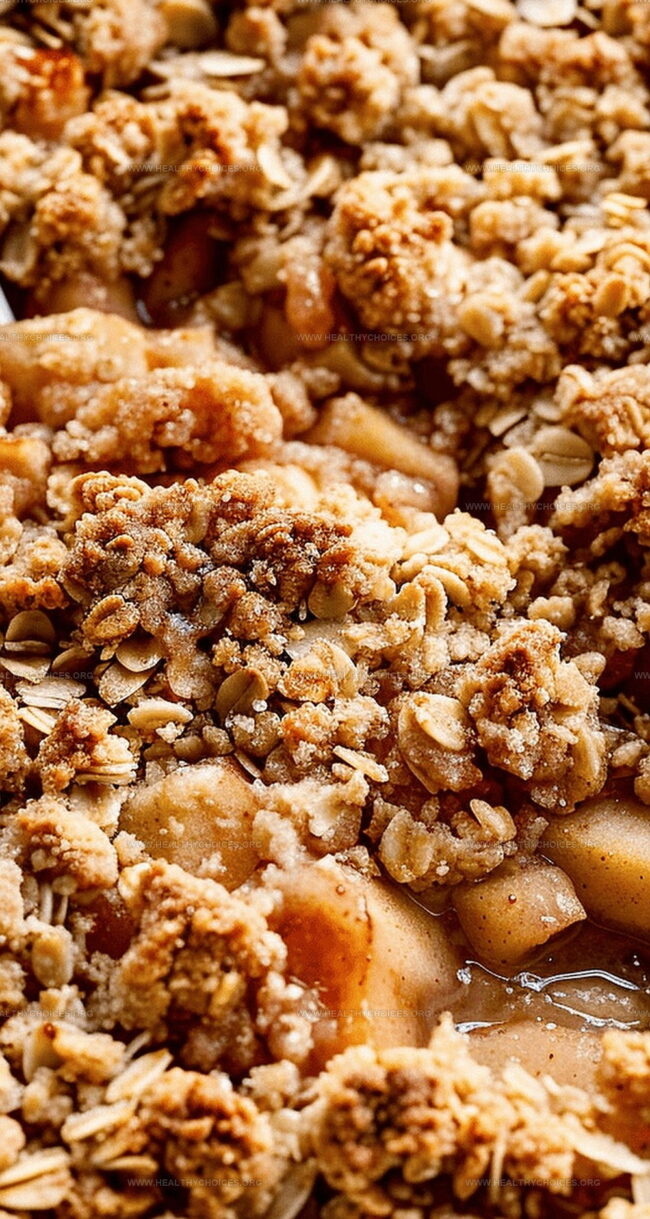
Craft a rustic topping by mixing flour, sweet brown sugar, and a sprinkle of cinnamon. Work cold butter into the dry ingredients until the mixture looks like sandy pebbles. Fold in hearty oats for extra texture.
Slide the prepared dish into a preheated oven. Let the crisp bake until the top turns a golden brown and the apple filling bubbles with excitement, releasing irresistible aromas that fill your kitchen.
Pull out your masterpiece and let it rest briefly. Serve this warm, inviting dessert with a scoop of creamy vanilla ice cream or a drizzle of caramel sauce for the ultimate comfort experience.
Tips to Enhance Classic Apple Crisp
Serving Suggestions for Apple Crisp
How to Store Your Apple Crisp the Right Way
Print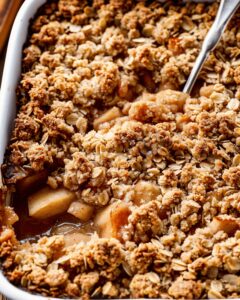
Rustic Apple Crisp Recipe
- Total Time: 60 minutes
- Yield: 9 1x
Description
Homemade apple crisp delivers sweet comfort through layers of caramelized fruit and buttery oat topping. Midwestern kitchens often celebrate this simple dessert that connects generations with warm, nostalgic flavors you’ll savor.
Ingredients
- 8 medium apples, peeled and cut into 1-inch chunks (about 10 cups or 1200 g / 42.3 oz)
- 0.75 cup (150 g / 5.3 oz) packed light or dark brown sugar
- 0.75 cup (94 g / 3.3 oz) all-purpose flour
- 0.5 cup (113 g / 4 oz) unsalted butter, cold and cubed
- 1 cup (85 g / 3 oz) old-fashioned whole rolled oats
- 0.5 cup (100 g / 3.5 oz) packed light or dark brown sugar
- 1 tsp ground cinnamon
- 1 tsp pure vanilla extract
- 0.25 cup (31 g / 1.1 oz) all-purpose flour
- 0.5 tsp ground nutmeg
- 0.25 tsp salt
- Salted caramel (optional)
- Vanilla ice cream (optional)
Instructions
- Preparation: Preheat oven to 350°F and grease a 9×13-inch baking dish, ensuring even coating to prevent sticking.
- Apple Mixture: Slice apples uniformly, then combine with brown sugar, flour, vanilla extract, cinnamon, nutmeg, and salt, creating a richly flavored and well-integrated filling.
- Topping Creation: In a separate bowl, blend flour, brown sugar, and cinnamon, then incorporate cold butter using fingertips or pastry cutter until mixture resembles coarse crumbs; gently fold in rolled oats to enhance texture.
- Assembly: Spread seasoned apple mixture evenly in prepared baking dish, then generously distribute oat-butter crumble across the surface, ensuring complete coverage.
- Baking: Place in preheated oven and bake for approximately 45 minutes, monitoring until topping turns golden-brown and fruit edges become bubbly.
- Finishing: Remove from oven and allow crisp to rest 5-10 minutes, allowing filling to settle; serve warm or at room temperature, optionally accompanied by vanilla ice cream or salted caramel for enhanced enjoyment.
Notes
- Choose Apples Wisely: Select firm, tart varieties like Granny Smith or Honeycrisp for the best balance of sweetness and structure in your crisp.
- Prevent Apple Browning: Toss sliced apples with a splash of lemon juice to maintain their fresh color and prevent oxidation during preparation.
- Master Crumb Texture: Use cold butter and work quickly to create a perfectly crumbly topping that delivers a delightful crispy and sandy consistency.
- Baking Precision Matters: Allow the crisp to rest after baking, which helps the filling set and makes serving easier, ensuring picture-perfect slices with intact layers.
- Prep Time: 15 minutes
- Cook Time: 45 minutes
- Category: Desserts, Snacks
- Method: Baking
- Cuisine: American
Nutrition
- Serving Size: 9
- Calories: 290
- Sugar: 22 g
- Sodium: 150 mg
- Fat: 12 g
- Saturated Fat: 7 g
- Unsaturated Fat: 4 g
- Trans Fat: 0 g
- Carbohydrates: 42 g
- Fiber: 3 g
- Protein: 2 g
- Cholesterol: 30 mg
Emily Roberts
Content Creator & Kitchen Tips Specialist
Expertise
Dietary Planning, Public Health Nutrition, Nutritional Education, Content Development
Education
University of Illinois at Urbana-Champaign
Registered Dietitian Nutritionist (RDN)
Emily Roberts is our content specialist and registered dietitian at HealthyChoices.org. With her Master’s degree in Nutritional Sciences from the University of Illinois and her Registered Dietitian Nutritionist certification, Emily uses her deep nutrition knowledge to write helpful, easy-to-understand guides about healthy eating.
Her warm, practical advice empowers readers to confidently make healthier choices, turning everyday meals into simple moments of wellness and joy.