Bright Homemade Lemon Curd Recipe: Simple Kitchen Magic
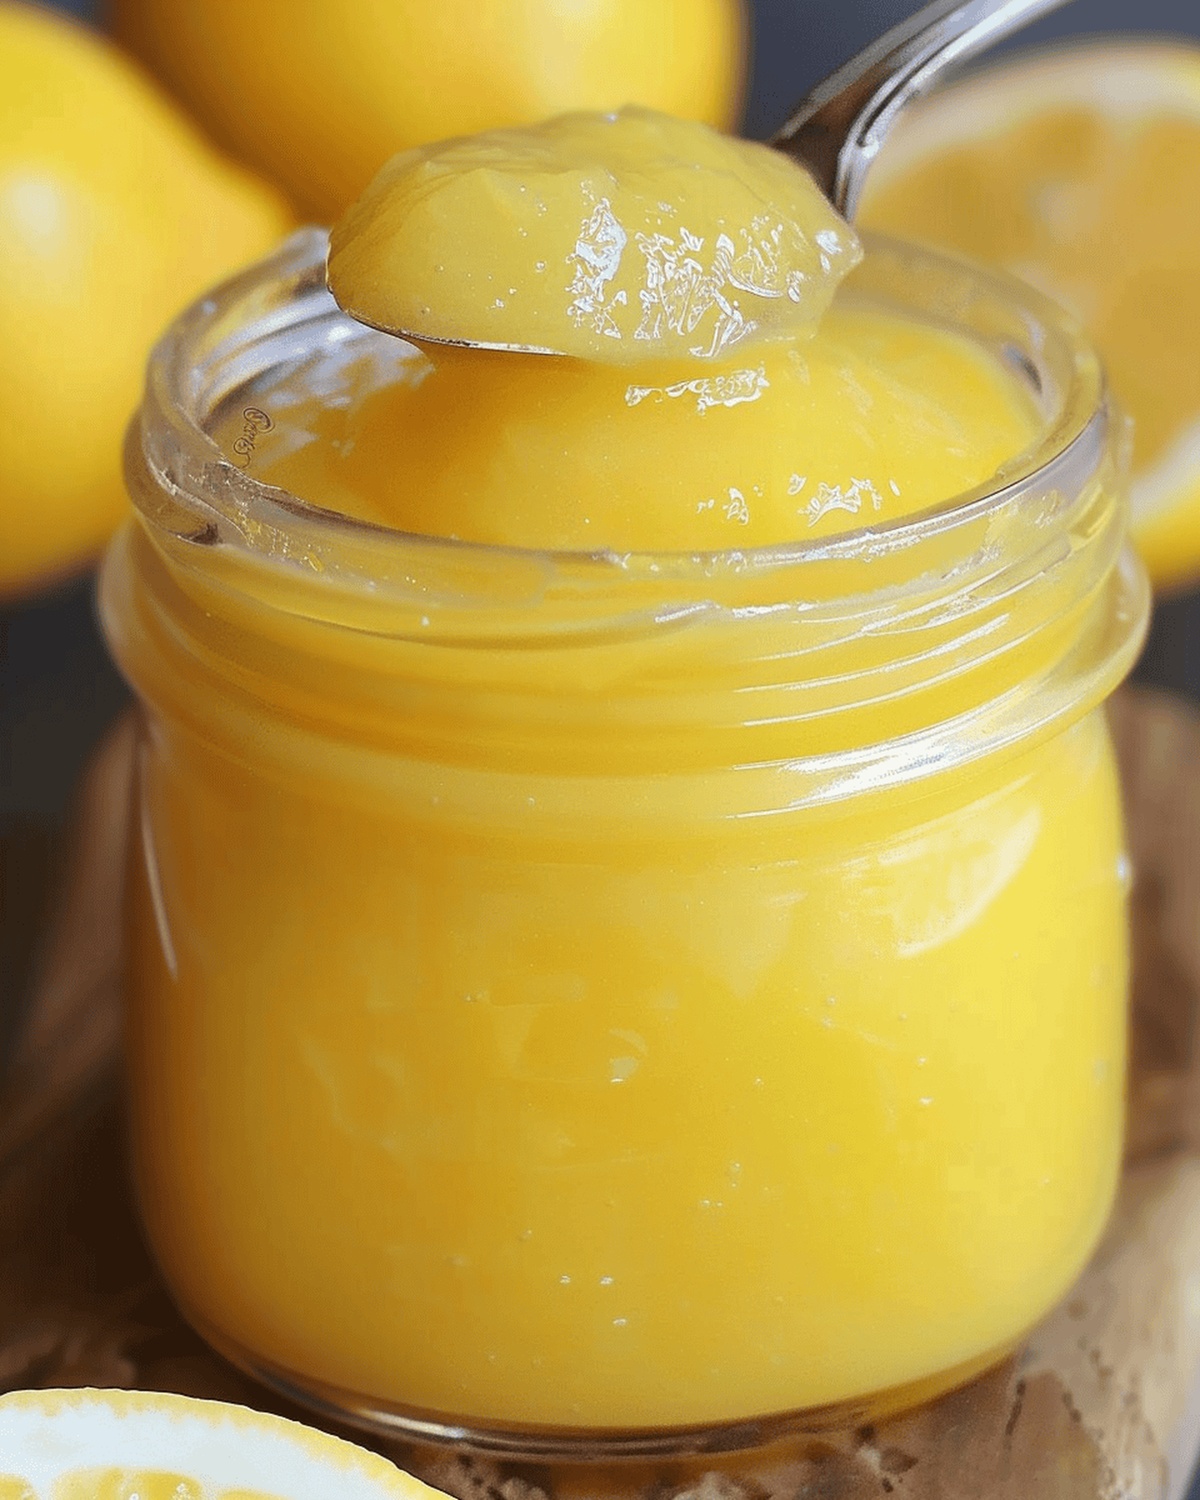
Zesty and silky, this homemade lemon curd bursts with bright, sunny flavors that dance across your taste buds.
Crafted with just a few simple ingredients, the lemon curd recipe promises a tangy-sweet spread that elevates everything from toast to desserts.
Each spoonful delivers a luxurious texture that melts smoothly on your tongue, capturing the essence of fresh citrus.
Rich, creamy, and impossibly smooth, this recipe transforms ordinary ingredients into a spectacular condiment.
The magic happens when eggs, butter, sugar, and fresh lemon juice combine in a delightful culinary alchemy.
Professional bakers and home cooks alike adore this versatile creation for its bright, intense flavor profile.
One taste, and you’ll understand why this lemon curd becomes an instant kitchen staple that everyone will request again and again.
Quick Recipe Overview
What Goes Into Homemade Lemon Curd
For Sweet Base:For Tangy Liquid:For Binding and Richness:Kitchen Tools to Make Lemon Curd
Cooking Steps for Creamy Lemon Curd
Grab a saucepan and mix together sugar, cornstarch, and salt using a whisk, creating a smooth foundation for your zesty creation.
Pour in fresh lemon juice and eggs, blending them into the dry ingredients with smooth, circular whisking motions.
Place the pan over medium heat, continuously stirring the mixture until it reaches a bubbling boil, watching it transform into a silky texture.
Reduce the heat and let the mixture gently simmer for one minute, stirring constantly to ensure a perfect, velvety consistency.
Take the pan off the heat and add butter and lemon zest, gently stirring until the butter melts completely and creates a luxurious sheen.
Transfer the mixture to a bowl and allow it to cool naturally, then cover and refrigerate for at least six hours, during which time it will naturally thicken and develop deeper flavors.
Tips for Zesty, Smooth Lemon Curd
Serving Ideas for Fresh Lemon Curd
Preserving & Storing Lemon Curd
Print
Silky Lemon Curd Recipe
- Total Time: 18 minutes
- Yield: 5 1x
Description
Silky smooth homemade lemon curd delights citrus enthusiasts with its tangy, sweet profile. Creamy and luxurious, this classic British spread promises pure zesty pleasure for discerning palates.
Ingredients
- 1 cup (240 ml) fresh lemon juice (approximately 5 lemons)
- 3 large eggs
- 1 cup + 2 tbsps (225 g) granulated sugar
- 1 tbsp (8 g) cornstarch
- 1/8 tsp salt
- 2 tbsps (28 g) unsalted butter
- 1 tsp grated lemon rind
Instructions
- Preparation: Combine sugar, cornstarch, and salt in a medium saucepan, eliminating any potential lumps with careful whisking.
- Liquid Integration: Add lemon juice to dry ingredients, then thoroughly blend with eggs until achieving a smooth, homogeneous mixture.
- Cooking Process: Heat the saucepan over medium flame, continuously whisking to prevent burning and promote even cooking, allowing the mixture to reach a vigorous boil.
- Thickening Stage: Reduce heat to low, maintaining a gentle simmer for one minute until the curd transforms into a rich, dense consistency.
- Flavor Enhancement: Remove from heat and incorporate butter and lemon zest, stirring gently until butter melts completely and integrates seamlessly.
- Cooling and Setting: Transfer to a clean bowl, allowing natural cooling at room temperature, then cover with a tight lid or plastic wrap and refrigerate for at least six hours.
- Final Texture: As the curd chills, it will develop a luxurious, spreadable consistency perfect for various culinary applications.
Notes
- Prevent Lumps: Whisk dry ingredients thoroughly before adding liquid to eliminate cornstarch clumps and ensure smooth texture.
- Watch Heat Carefully: Maintain medium heat and constant stirring to prevent burning and achieve perfect silky consistency.
- Boiling Point Matters: Achieve a rolling boil while whisking continuously to activate cornstarch and create proper thickening.
- Cooling Technique: Cover surface directly with plastic wrap to prevent skin formation and refrigerate for optimal texture development.
- Prep Time: 10 minutes
- Cook Time: 8 minutes
- Category: Desserts, Snacks
- Method: Simmering
- Cuisine: British
Nutrition
- Serving Size: 5
- Calories: 192
- Sugar: 34 g
- Sodium: 42 mg
- Fat: 6 g
- Saturated Fat: 4 g
- Unsaturated Fat: 2 g
- Trans Fat: 0 g
- Carbohydrates: 37 g
- Fiber: 0 g
- Protein: 3 g
- Cholesterol: 143 mg
Emily Roberts
Content Creator & Kitchen Tips Specialist
Expertise
Dietary Planning, Public Health Nutrition, Nutritional Education, Content Development
Education
University of Illinois at Urbana-Champaign
Registered Dietitian Nutritionist (RDN)
Emily Roberts is our content specialist and registered dietitian at HealthyChoices.org. With her Master’s degree in Nutritional Sciences from the University of Illinois and her Registered Dietitian Nutritionist certification, Emily uses her deep nutrition knowledge to write helpful, easy-to-understand guides about healthy eating.
Her warm, practical advice empowers readers to confidently make healthier choices, turning everyday meals into simple moments of wellness and joy.