The Best Texas Roadhouse Rolls Recipe: Fluffy Homemade Magic
Soft, pillowy Texas Roadhouse rolls have become a legendary comfort food that beckons bread lovers everywhere.
These delectable dinner companions carry a rich, buttery essence that redefines ordinary meals into memorable experiences.
Sweet yeast dough creates magic when carefully crafted with precision and passion.
Warm, freshly baked rolls emerging from the oven represent more than just a side dish – they symbolize hospitality and homemade warmth.
Professional bakers and home cooks alike cherish the delicate technique required to achieve their signature texture.
Each bite promises a golden, slightly crisp exterior giving way to an impossibly tender interior.
These rolls represent more than mere bread; they’re a culinary tradition passed through generations of passionate home cooks.
Texas Roadhouse Rolls with Fluffy Crust and Buttery Center
Ingredients for Texas Roadhouse Rolls
Main Ingredients:
Flour and Yeast Group:Liquid and Binding Ingredients:Seasoning and Enhancing Ingredients:How to Bake Texas Roadhouse Rolls at Home
Step 1: Awaken the Yeast
In a cozy bowl, mix warm milk and sugar. Sprinkle yeast over the top and let it hang out until it becomes wonderfully foamy, around 5 minutes.
Step 2: Create the Dough Magic
In a large mixing bowl, combine:Beat the mixture on medium speed until smooth. Gradually add remaining flour to form a soft dough ball. Crank up the mixer to medium-high and beat for 2-3 minutes. Check the dough’s texture- it should feel tacky but not sticky. If too wet, add flour one tablespoon at a time.
Step 3: Let the Dough Dance
Gently grease a spacious bowl. Nestle the dough inside, giving it a quick turn to coat. Drape a clean dish towel over the bowl and let it rest in a warm spot until it doubles in size, about 45-60 minutes.
Step 4: Prepare the Dough Transformation
Softly deflate the dough. Dust your work surface with flour and turn out the dough. Give it a gentle knead if needed. Let it relax for a few moments. Prep baking sheets with a silicone mat or non-stick spray.
Step 5: Shape the Delightful Rolls
Roll the dough into a 12×8 inch rectangle, about half an inch thick. Slice into 24-30 even pieces using a sharp knife.
Step 6: Final Rise to Perfection
Transfer rolls to prepared baking sheets. Cover with a dish towel and let them rise in a warm spot until they’re almost doubled, about 45-60 minutes.
Step 7: Bake to Golden Brilliance
Preheat the oven to 350°F (175°C) about 20 minutes before the final rise. Bake rolls for 12-15 minutes until they turn a gorgeous golden brown.
Step 8: Butter and Serve
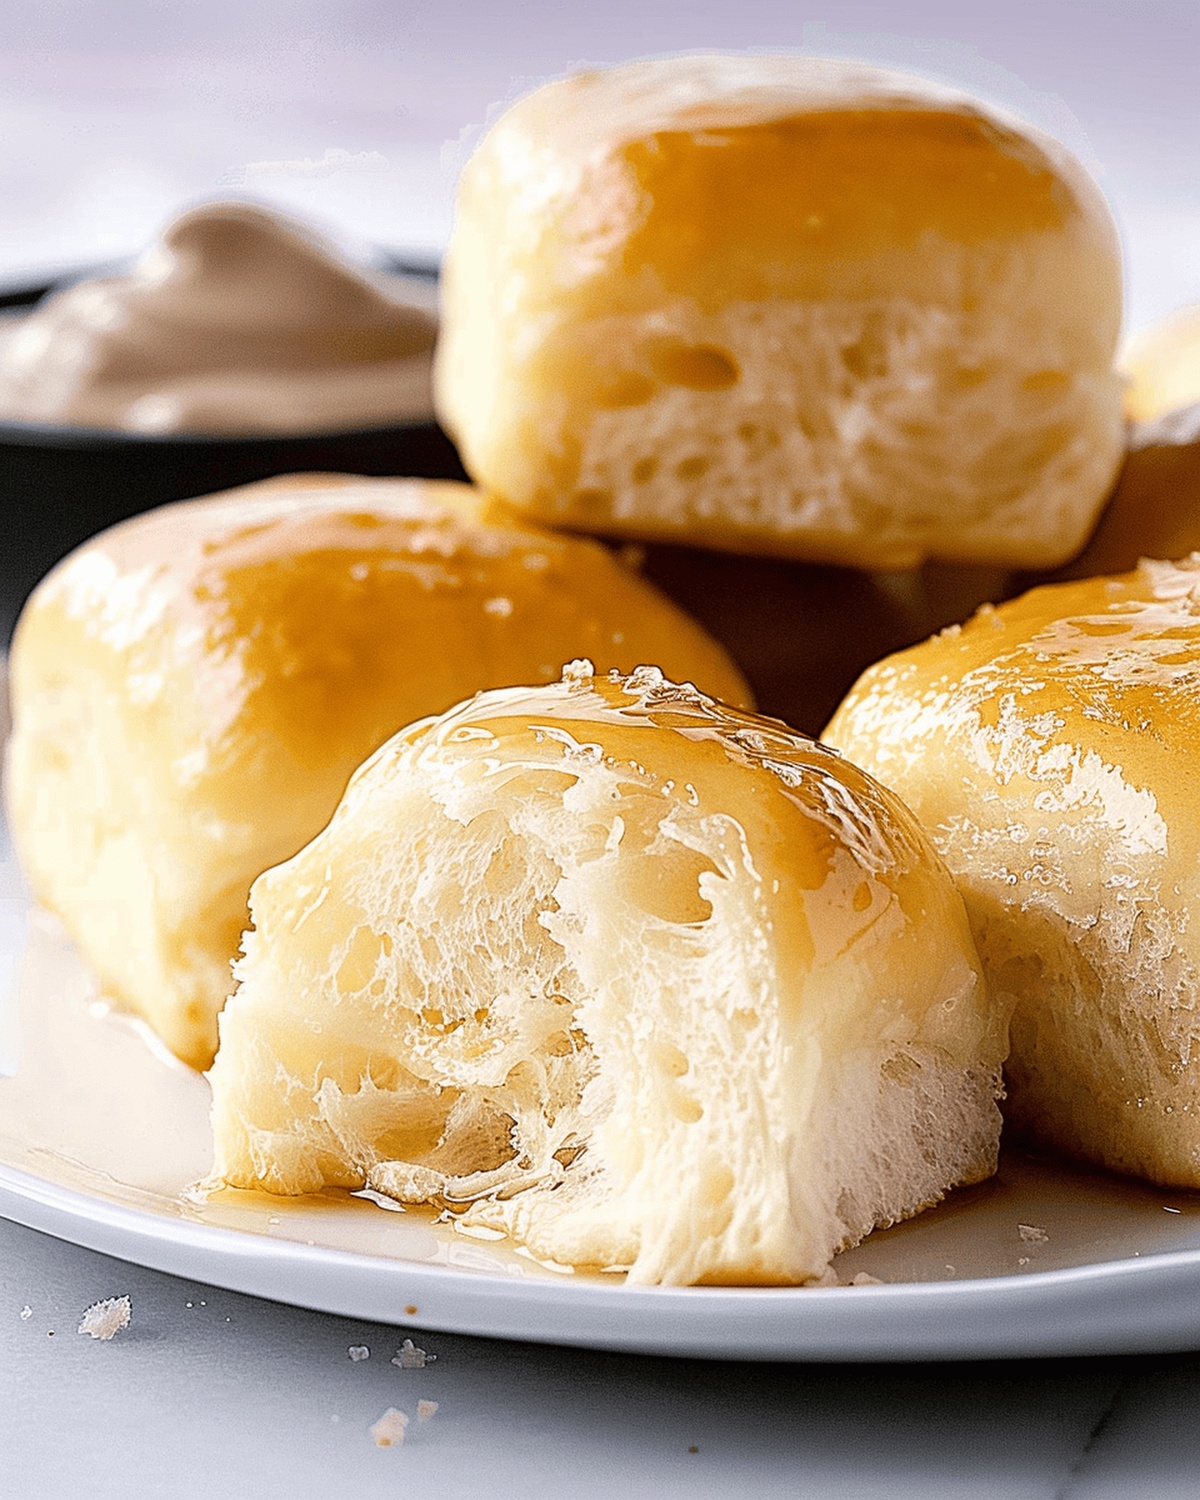
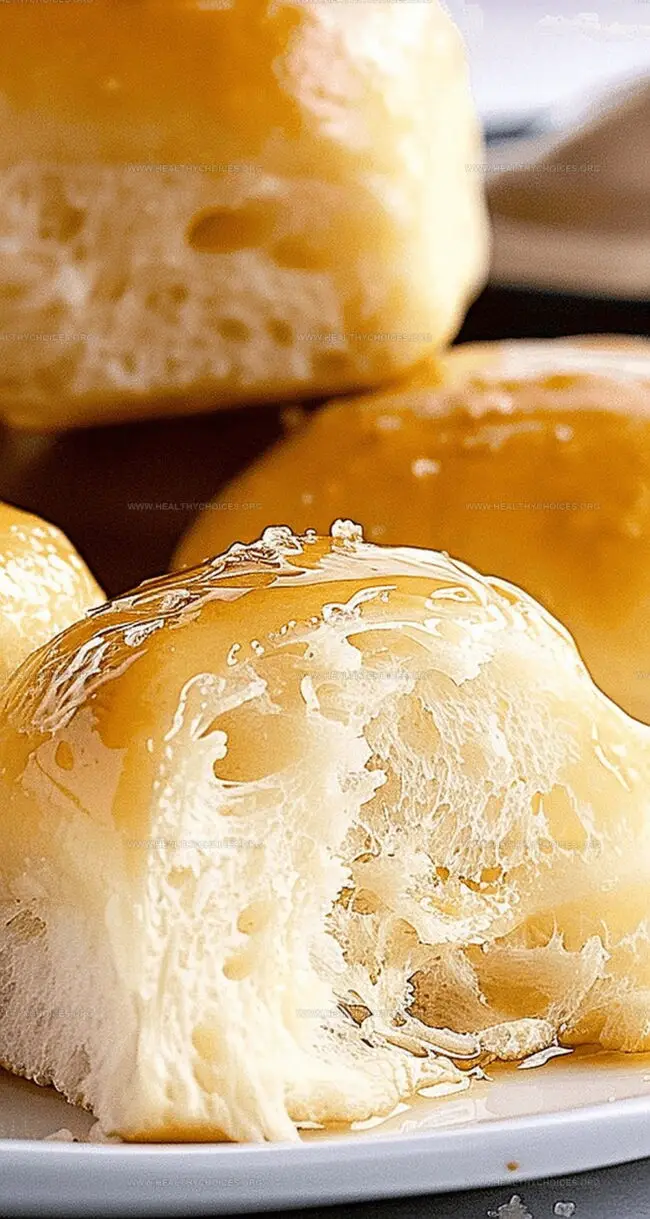
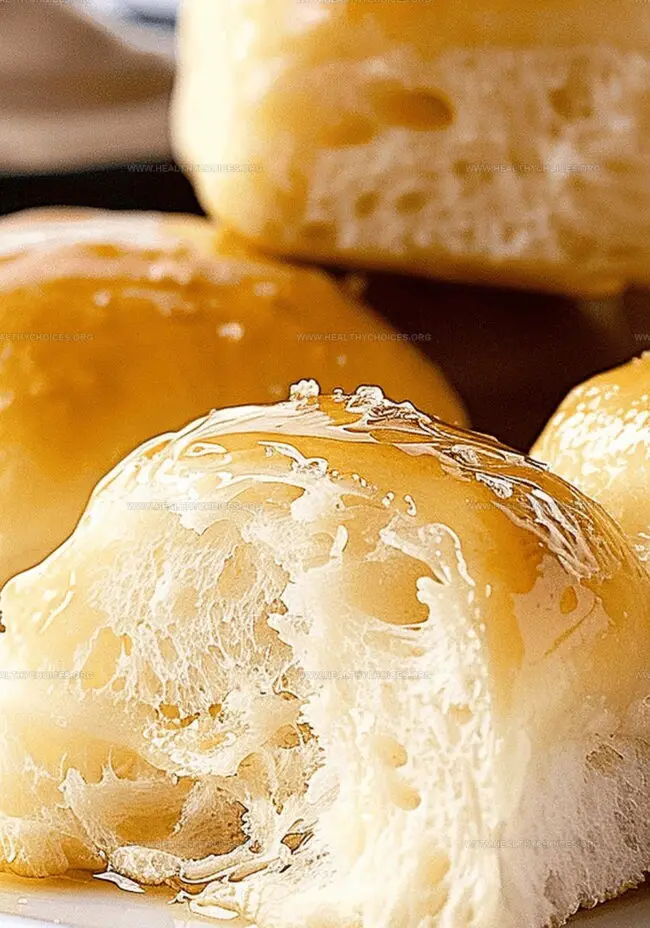
Pull rolls from the oven and lovingly brush with melted butter. Serve warm and watch everyone’s eyes light up!
Pro Baker Tips for Texas Roadhouse Rolls
Storing and Reheating Texas Roadhouse Rolls to Maintain Softness
Serving Suggestions for Texas Roadhouse Rolls
Variations on Texas Roadhouse Rolls
Print
Texas Roadhouse Rolls Recipe
- Total Time: 35 minutes
- Yield: 12 1x
Description
Legendary Texas Roadhouse rolls bring Southern hospitality to your kitchen with their irresistible buttery charm. Warm, pillowy bread brushed with honey-cinnamon butter promises a comforting taste of home that will transport you straight to the heart of Texas.
Ingredients
Main Ingredients:
- 3 ½ – 4 cups all-purpose flour
- 1 ¼ cups warm milk (about 105-110°F)
- ⅓ cup granulated sugar
Leavening and Binding:
- 1 packet active dry yeast (about 2 ¼ teaspoons)
- 1 large egg, room temperature
- 1 teaspoon kosher salt
Butter Components:
- ¼ cup unsalted butter, room temperature (½ stick)
- 3 tablespoons unsalted butter, melted (for brushing)
Instructions
- Pour warm milk into a vessel and dissolve sugar, then sprinkle yeast across the surface. Allow the mixture to become bubbly and fragrant for approximately 5 minutes.
- Combine yeast mixture with softened butter, egg, salt, and initial flour quantity in a spacious mixing bowl. Blend ingredients until achieving a smooth, consistent texture.
- Gradually incorporate remaining flour, creating a cohesive dough mass. Knead the mixture thoroughly, ensuring the consistency is tacky yet manageable. Add minimal flour if the dough appears excessively moist.
- Transfer dough to a greased container, rotating once to coat surfaces evenly. Drape a clean cloth over the bowl and position in a draft-free, warm environment to facilitate rising until volume doubles.
- Gently deflate the risen dough by pressing down. Sprinkle work surface with flour and carefully extract dough from container.
- Roll dough into a rectangular shape approximately half-inch thick. Utilize a sharp knife to slice the dough into uniform portions, creating 24-30 potential rolls.
- Arrange shaped rolls onto prepared baking sheets lined with silicone mats or lightly coated with non-stick spray. Cover with a towel and allow secondary proofing in a warm location.
- Preheat oven to 350°F about 20 minutes prior to baking. Bake rolls until they transform into a rich, golden-brown color, approximately 12-15 minutes.
- Extract rolls from oven and generously brush with melted butter. Serve immediately while warm for optimal flavor and texture.
Notes
- Activate yeast carefully with warm milk and sugar to ensure proper fermentation and rise.
- Dough consistency is crucial; aim for tacky but not sticky texture by gradually adding flour.
- Rising time is essential for developing soft, fluffy rolls with perfect texture and flavor.
- Use clean, warm environment for dough proofing to help yeast work effectively.
- Rolling and cutting dough evenly ensures uniform size and consistent baking results.
- Brushing with melted butter after baking adds rich flavor and creates a golden, glossy finish.
- Prep Time: 20 minutes
- Cook Time: 15 minutes
- Category: Snacks, Dinner, Appetizer
- Method: Baking
- Cuisine: American
Nutrition
- Serving Size: 12
- Calories: 200
- Sugar: 10 g
- Sodium: 80 mg
- Fat: 8 g
- Saturated Fat: 5 g
- Unsaturated Fat: 3 g
- Trans Fat: 0 g
- Carbohydrates: 30 g
- Fiber: 1 g
- Protein: 4 g
- Cholesterol: 20 mg
David Bennett
Founder & Head Recipe Developer
Expertise
Culinary Nutrition, Recipe Development, Nutritional Counseling, Food Science
Education
Johnson & Wales University
Certified Nutrition Specialist® (CNS®)
David Bennett is the lead recipe creator and nutrition expert at HealthyChoices.org, your friendly space for tasty meals that nourish body and mind.
With a Culinary Nutrition degree from Johnson & Wales University and a Certified Nutrition Specialist® credential, David pairs practical nutrition with delicious cooking, creating recipes you’ll crave daily.
At Healthy Choices, David shares easy, nutritious dishes and smart cooking tips to make healthy eating something everyone can enjoy, with no complicated diets needed.