
The Crispiest Vanilla Wafers Recipe Everyone Will Love
Vanilla wafers bring a delightful crunch and sweet nostalgia to homemade desserts and snack times.
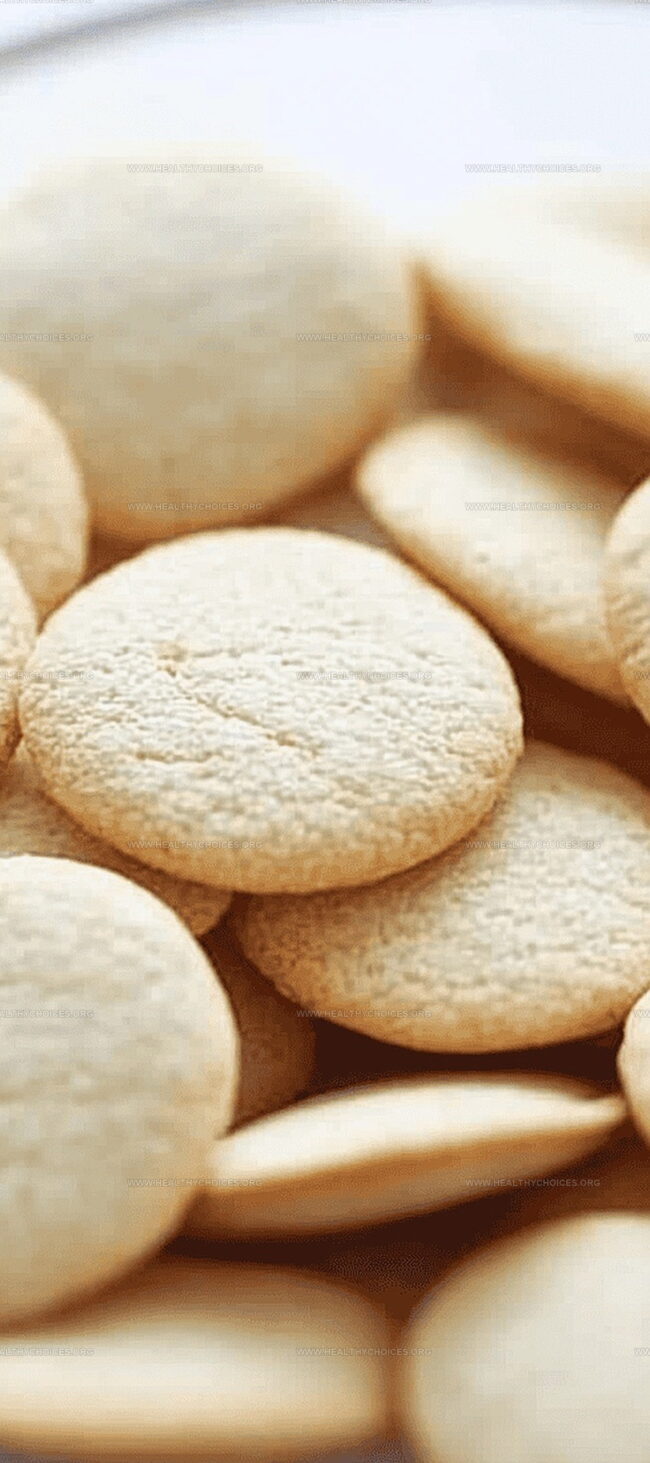
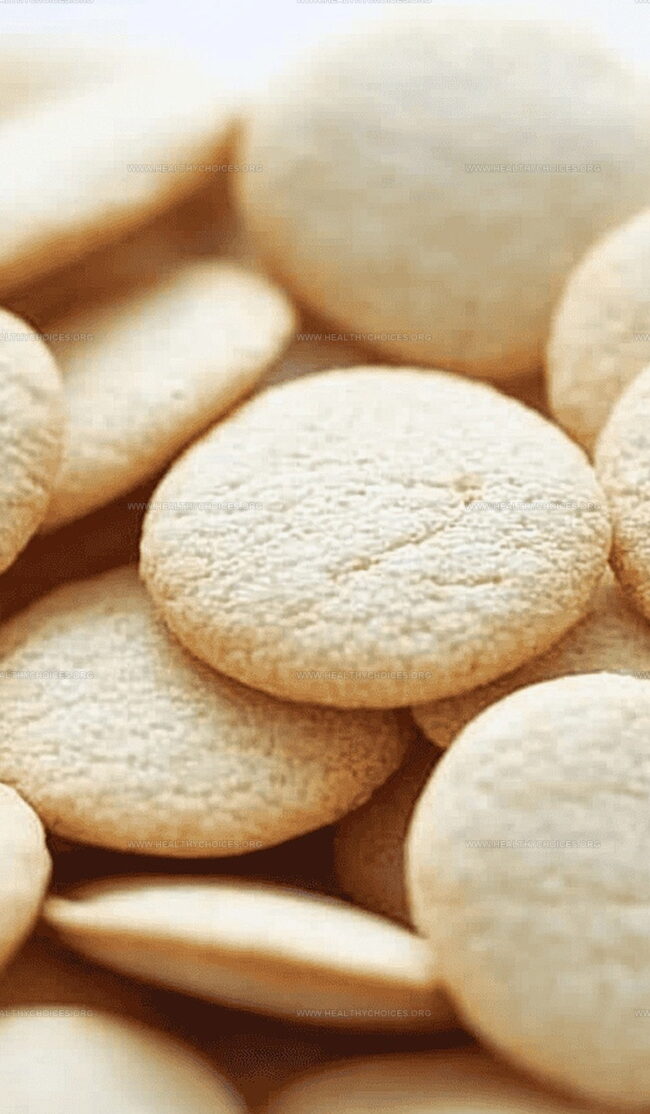
These crisp, golden cookies have been a beloved treat in many households for generations.
Their delicate texture and subtle flavor make them irresistible to both kids and adults alike.
Baking these classic wafers requires simple ingredients and minimal culinary expertise, making them an approachable recipe for bakers of all skill levels.
The magic lies in their perfect balance of sweetness and buttery richness that melts beautifully in you mouth.
Light and airy, these cookies reimagine ordinary moments into something special with their understated elegance.
Each bite promises a comforting connection to cherished memories and warm kitchen traditions.
Discover the Charm of Homemade Vanilla Wafers
Your Shopping List for Crisp Vanilla Wafers
Main Ingredients:
Flour and Dry Ingredients:Sweeteners and Fats:Moisture and Flavor Enhancers:Crafting Perfectly Thin Vanilla Wafers
Step 1: Prepare the Oven and Baking Surface
Warm up the oven to 350°F. Cover a baking sheet with parchment paper for easy cookie removal.
Step 2: Mix Dry Ingredients
Grab a medium bowl and sift together:Set the mixture aside for later use.
Step 3: Cream Butter and Sugars
In a stand mixer, blend:Mix on medium speed for 2 minutes, scraping bowl sides to ensure smooth consistency.
Step 4: Add Wet Ingredients
Pour into the butter mixture:Blend until the mixture becomes smooth and fluffy, about 30 seconds.
Step 5: Combine Wet and Dry Ingredients
Slowly add the sifted flour mixture to wet ingredients. Mix on low speed until completely blended.
Step 6: Chill the Dough
Place the batter in the refrigerator for 10-15 minutes to firm up and become easier to handle.
Step 7: Shape Tiny Cookies
Scoop tiny 1/2 teaspoon-sized drops of batter onto the prepared baking sheet. Space them about 1 inch apart.
Step 8: Bake to Golden Perfection
Slide the baking sheet into the preheated oven. Bake for 12-15 minutes, turning the pan halfway through. Look for golden brown edges as your doneness signal.
Step 9: Cool and Serve
Transfer cookies to a wire rack. Let them cool completely before enjoying their crisp, sweet flavor.
Tips for Golden Edges and Light Texture
Storing Vanilla Wafers to Preserve Crunch
Serving Ideas for Vanilla Wafers
Flavor Twists on Classic Vanilla Wafers
Print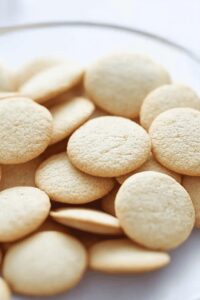
Vanilla Wafers Recipe
- Total Time: 30 minutes
- Yield: 24 1x
Description
Homemade vanilla wafers create sweet memories of nostalgic baking moments. Crisp, buttery, and perfectly golden, these classic cookies offer delightful comfort with each delicate crunch you’ll savor.
Ingredients
Main Ingredients:
- 1.5 cups (360 ml) all-purpose flour
- 0.5 cup (113 grams) unsalted butter, room temperature
- 1 large egg, room temperature
Dry Ingredients:
- 0.75 teaspoon baking powder
- 0.5 teaspoon kosher salt
- 0.5 cup (100 grams) confectioners’ sugar
- 0.25 cup (50 grams) granulated sugar
Liquid Ingredients:
- 1 tablespoon vanilla extract
- 1 tablespoon whole milk
Instructions
- Prepare the oven by heating to 350°F (175°C) and arrange a parchment-lined baking sheet for crisp, delicate wafers.
- Sift together flour, baking powder, and salt in a separate mixing bowl, creating a light and airy dry ingredient base.
- Utilize a stand mixer to cream butter with both confectioners’ and granulated sugars, whipping until the mixture becomes pale and fluffy, approximately 2 minutes.
- Incorporate egg, vanilla extract, and whole milk into the creamed butter mixture, blending until smooth and well-integrated.
- Gently fold the sifted dry ingredients into the wet ingredients, mixing at low speed to prevent overmixing and maintain a delicate texture.
- Refrigerate the batter for 10-15 minutes, allowing it to firm up and become more manageable for precise portioning.
- Drop tiny, precise dollops of batter onto the prepared baking sheet, spacing them approximately one inch apart to ensure even spreading and crisp edges.
- Position the baking sheet in the preheated oven, rotating midway through the 12-15 minute baking time to guarantee uniform golden-brown coloration.
- Transfer the freshly baked wafers to a wire cooling rack, letting them completely cool and crisp up before serving or storing.
Notes
- Chill the batter briefly to make shaping and handling the tiny wafers much easier without cracking or breaking.
- Use room-temperature ingredients to ensure smooth, even mixing and a consistent cookie texture.
- Sifting dry ingredients prevents lumps and creates a lighter, more delicate wafer with smooth edges.
- Golden brown edges indicate perfectly baked cookies – watch closely to avoid burning these delicate treats.
- Spacing cookies one inch apart allows proper air circulation and prevents them from spreading into each other.
- Cool wafers completely on a wire rack to maintain their crisp texture and prevent soggy bottoms.
- Prep Time: 15 minutes
- Cook Time: 15 minutes
- Category: Snacks, Desserts
- Method: Baking
- Cuisine: American
Nutrition
- Serving Size: 24
- Calories: 111
- Sugar: 5.6 g
- Sodium: 56 mg
- Fat: 6.1 g
- Saturated Fat: 3.8 g
- Unsaturated Fat: 2.3 g
- Trans Fat: 0 g
- Carbohydrates: 13.9 g
- Fiber: 0.4 g
- Protein: 1.1 g
- Cholesterol: 16 mg
David Bennett
Founder & Head Recipe Developer
Expertise
Culinary Nutrition, Recipe Development, Nutritional Counseling, Food Science
Education
Johnson & Wales University
Certified Nutrition Specialist® (CNS®)
David Bennett is the lead recipe creator and nutrition expert at HealthyChoices.org, your friendly space for tasty meals that nourish body and mind.
With a Culinary Nutrition degree from Johnson & Wales University and a Certified Nutrition Specialist® credential, David pairs practical nutrition with delicious cooking, creating recipes you’ll crave daily.
At Healthy Choices, David shares easy, nutritious dishes and smart cooking tips to make healthy eating something everyone can enjoy, with no complicated diets needed.