Quick & Adorable Circus Animal Cheesecake Cups Recipe
Circus animal cheesecake cups bring nostalgic sweetness to classic dessert lovers seeking playful indulgence.
These delightful treats combine childhood memories with sophisticated baking techniques.
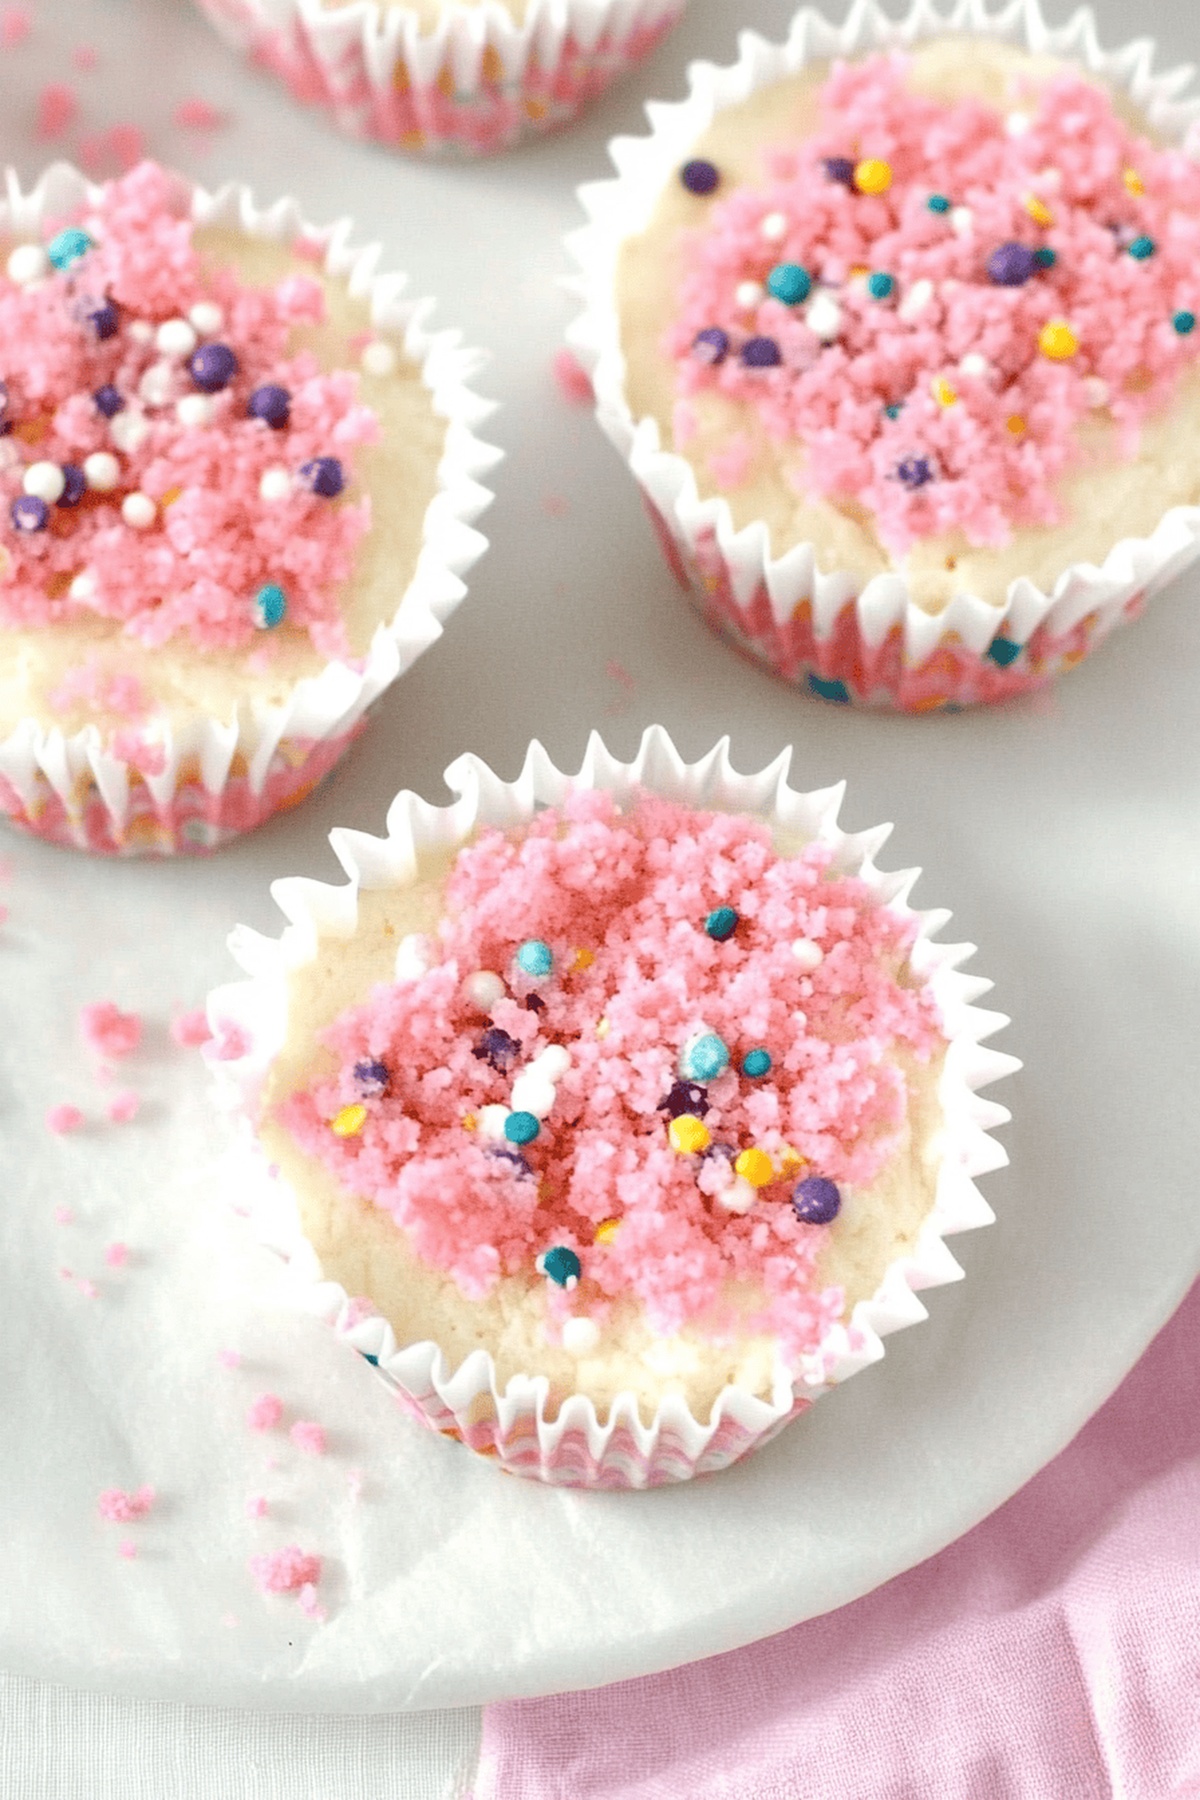
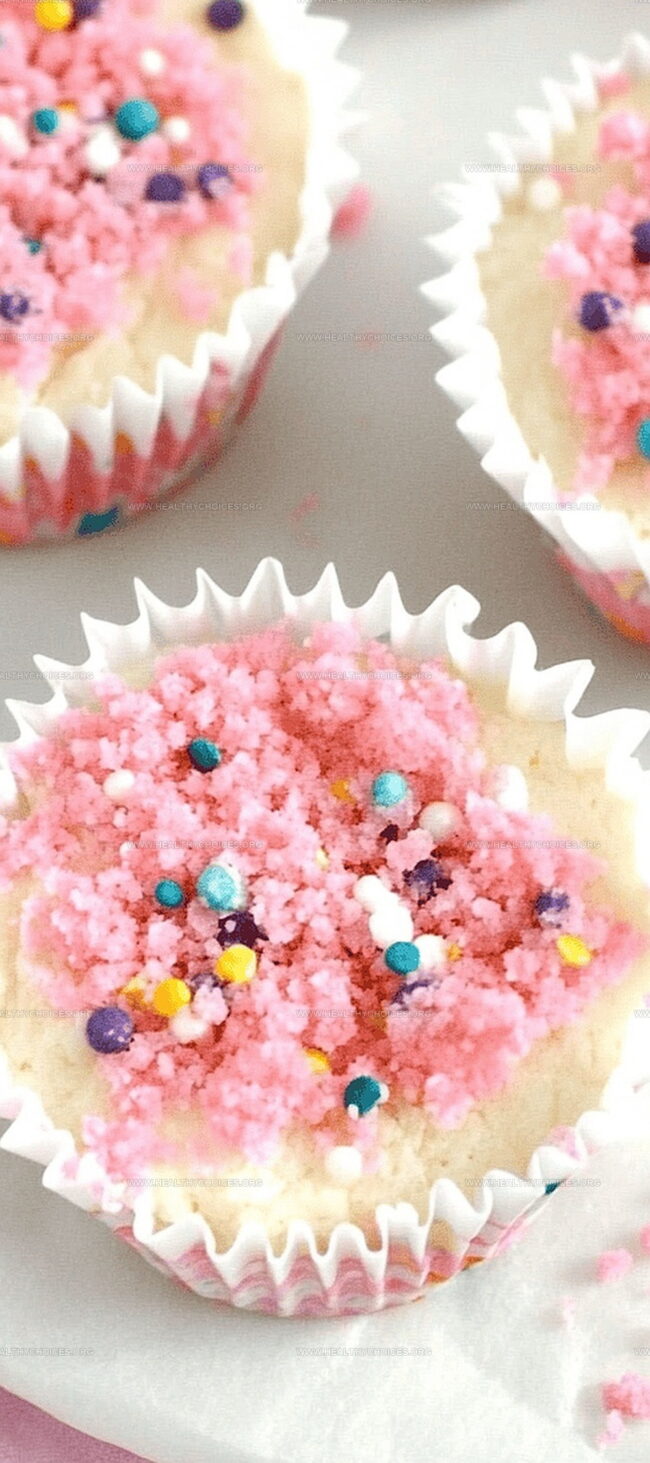
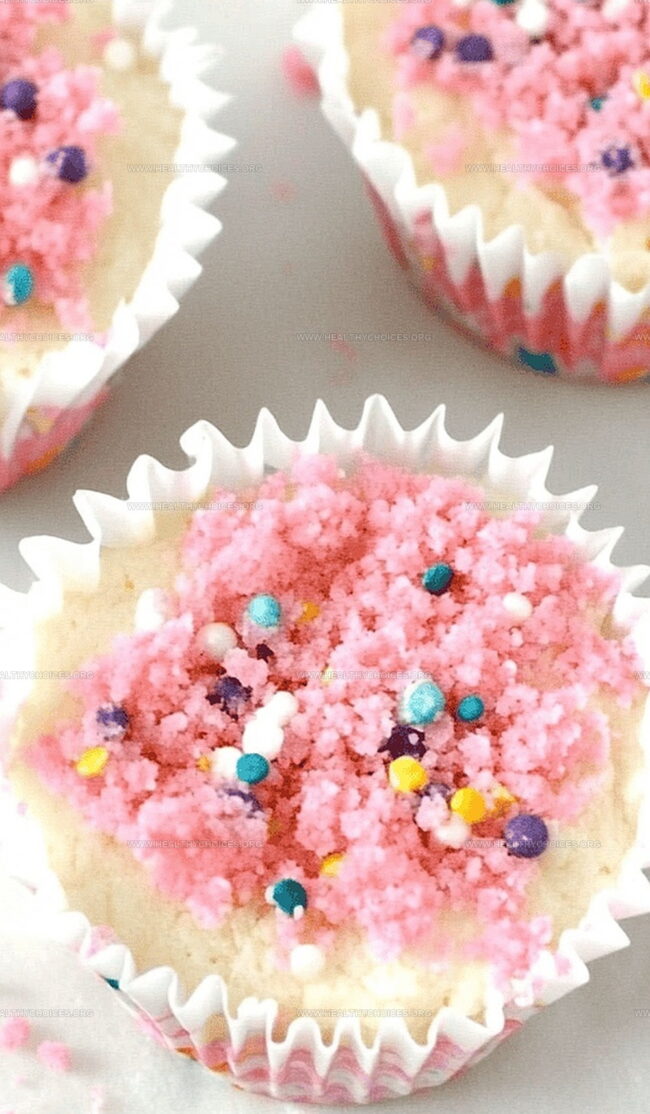
Colorful sprinkles and iconic pink and white cookies refine ordinary cheesecake into a magical experience.
Soft, creamy texture meets crunchy cookie layers in each delectable bite.
The whimsical dessert combines unexpected flavor profiles that surprise and delight taste buds.
Bakers can craft these cups as a charming centerpiece for celebrations or intimate gatherings.
Creamy, light, and utterly irresistible, these cups promise a journey of pure culinary joy.
Circus Animal Cheesecake Cups for a Playful Dessert
What’s Inside Whimsical Cheesecake Cups
Crust Ingredients:Filling Ingredients:Garnish Ingredients:How to Make Circus Animal Cheesecake Cups
Step 1: Prep Your Workspace
Gather all ingredients and tools:Step 2: Create Magical Cookie Crust
Crush circus animal cookies into fine crumbs:Combine crushed cookies with melted butter
Set aside small portion of crumb mixture for topping
Step 3: Build Cookie Foundation
Line cupcake pan with liners
Spoon heaping tablespoon of cookie crumb mixture into each liner
Press crumbs firmly to create solid base
Step 4: Whip Up Creamy Filling
In large bowl, blend:Beat with electric mixer until silky smooth
Step 5: Assemble Dreamy Cups
Divide filling evenly across cupcake liners
Smooth tops with back of spoon
Ensure filling reaches liner edges
Step 6: Add Playful Decorations
Sprinkle reserved cookie crumbs
Scatter nonpareil sprinkles on top
Step 7: Chill and Set
Refrigerate 2-3 hours until firm
Step 8: Serve and Enjoy
Remove cupcake liners
Indulge in these delightful circus-inspired treats
Tips for a Smooth Cheesecake Cup Experience
Proper Storage for Cheesecake Cups with Cookies
Fun Pairings for Whimsical Cheesecake Cups
Fun Flavors to Try in Circus Cheesecake Cups
Print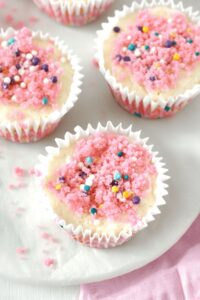
Whimsical Circus Animal Cheesecake Cups Recipe
- Total Time: 20 minutes
- Yield: 12 1x
Description
Whimsical circus animal cheesecake cups blend nostalgic childhood cookie memories with creamy, dreamy dessert magic. Playful pink-frosted animal cracker crumbles crown each silky cheesecake layer, inviting pure delightful indulgence.
Ingredients
Main Ingredients:
- 8 ounces (226 grams) cream cheese, softened
- 2 cups (240 grams) pink circus animal cookies
- ½ cup (120 milliliters) sweetened condensed milk
Binding Ingredients:
- 3 tablespoons (45 milliliters) butter, melted
- 1 tablespoon (15 milliliters) lemon juice
- 1 tablespoon (15 milliliters) vanilla paste or extract
Instructions
- Prepare a cupcake pan by inserting liners into each cavity, creating a foundation for the delightful dessert.
- Transform circus animal cookies into fine crumbs using a food processor or manual crushing technique with a rolling pin inside a sealed bag, achieving a sandy consistency.
- Blend the pulverized cookies with melted butter, ensuring a thorough and even mixture.
- Strategically set aside a small portion of the cookie crumb mixture for future garnishing purposes.
- Distribute a generous tablespoon of cookie crumbs into each cupcake liner, firmly compressing to establish a robust crust layer.
- In a spacious mixing bowl, amalgamate softened cream cheese, sweetened condensed milk, tangy lemon juice, and aromatic vanilla.
- Utilize an electric handheld mixer to whip the ingredients into a silky, homogeneous filling with no lumps.
- Carefully allocate the creamy filling across cupcake liners, layering it atop the cookie crust foundation.
- Employ the back of a spoon to meticulously smooth and level the filling, ensuring complete coverage within each liner.
- Embellish the cheesecake cups with a playful sprinkle of nonpareil decorations and reserved cookie crumbs.
- Refrigerate the tray for 2-3 hours, allowing the cheesecake cups to solidify and develop their luscious texture.
- Prior to serving, gently remove the cupcake liners, revealing the whimsical circus animal cheesecake cups ready to delight.
Notes
- Crush cookies thoroughly to create a sandy texture perfect for the crust, ensuring even distribution and maximum flavor.
- Softening cream cheese completely prevents lumps and guarantees a silky smooth cheesecake filling that spreads effortlessly.
- Chilling for 2-3 hours is crucial for setting the cheesecake cups, allowing them to firm up and develop a delightful creamy consistency.
- Use nonpareil sprinkles and reserved cookie crumbs as a playful garnish to add color, texture, and a whimsical circus-themed appearance.
- Remove cupcake liners just before serving to maintain the cups’ pristine shape and presentation.
- Electric mixer helps blend ingredients seamlessly, creating a light and airy cheesecake filling without any unwanted chunks.
- Prep Time: 20 minutes
- Cook Time: 0 minutes
- Category: Desserts, Snacks
- Method: None
- Cuisine: American
Nutrition
- Serving Size: 12
- Calories: 300
- Sugar: 12g
- Sodium: 150mg
- Fat: 15g
- Saturated Fat: 9g
- Unsaturated Fat: 4g
- Trans Fat: 0g
- Carbohydrates: 37g
- Fiber: 1g
- Protein: 3g
- Cholesterol: 30mg
David Bennett
Founder & Head Recipe Developer
Expertise
Culinary Nutrition, Recipe Development, Nutritional Counseling, Food Science
Education
Johnson & Wales University
Certified Nutrition Specialist® (CNS®)
David Bennett is the lead recipe creator and nutrition expert at HealthyChoices.org, your friendly space for tasty meals that nourish body and mind.
With a Culinary Nutrition degree from Johnson & Wales University and a Certified Nutrition Specialist® credential, David pairs practical nutrition with delicious cooking, creating recipes you’ll crave daily.
At Healthy Choices, David shares easy, nutritious dishes and smart cooking tips to make healthy eating something everyone can enjoy, with no complicated diets needed.