Ideal Yaki Onigiri Recipe for Rice Lovers
Japanese cuisine shines through yaki onigiri, a delectable grilled rice delicacy that revamps simple ingredients into a culinary marvel.
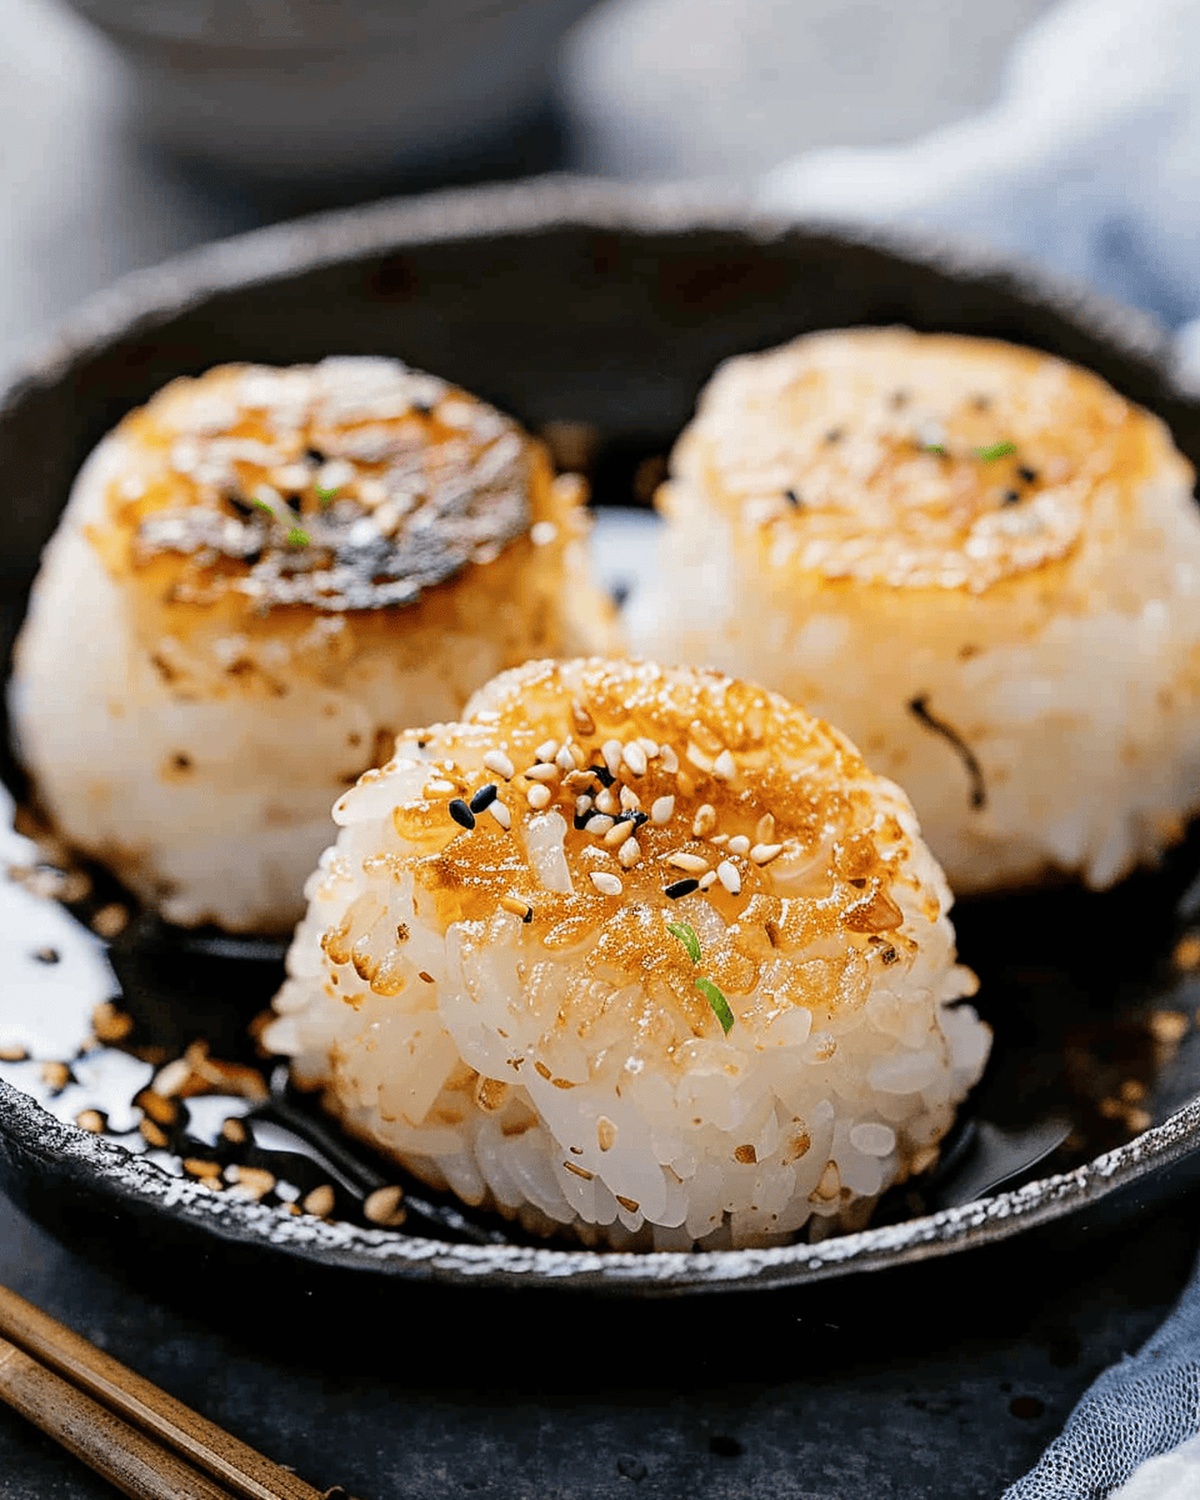
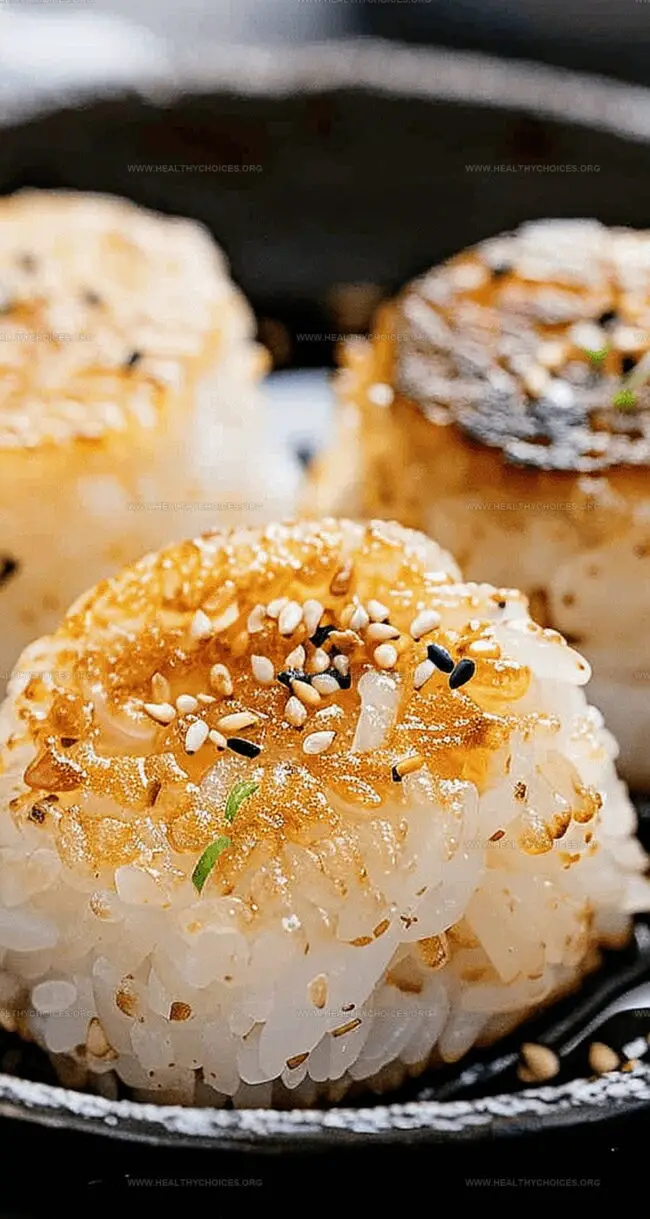
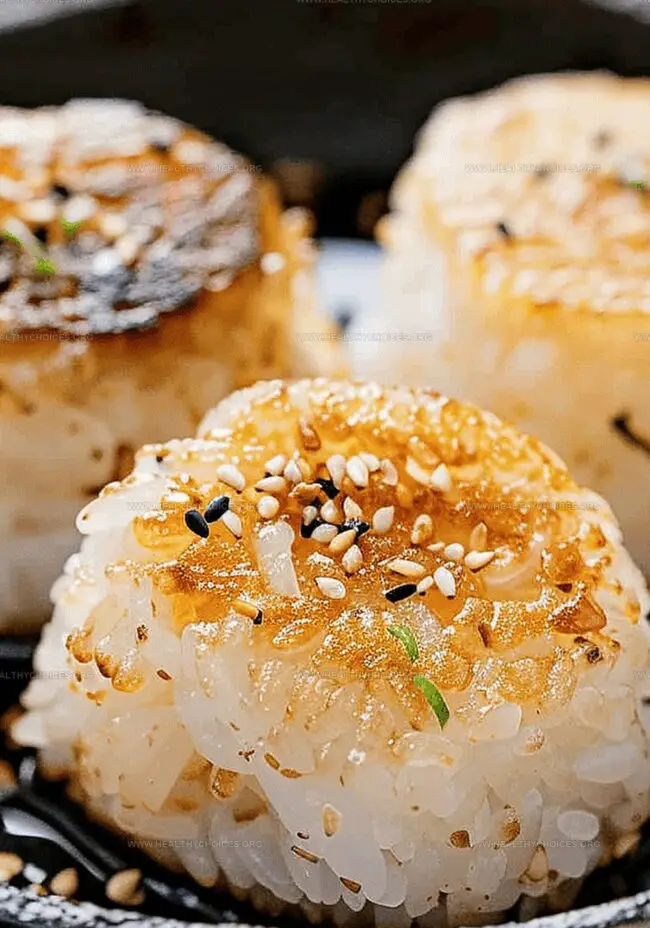
These crispy, golden-brown triangles pack intense flavor and textural complexity that captivates food enthusiasts.
Charred edges and a smoky essence elevate this traditional street snack beyond ordinary rice preparations.
Skilled home cooks can easily master the technique with a few fundamental principles and some creative seasoning.
The magic happens when rice meets high heat, creating a perfectly caramelized exterior that crackles with each delightful bite.
Umami-rich marinades and carefully selected fillings distinguish exceptional yaki onigiri from mundane versions.
Culinary adventurers and comfort food lovers alike will find themselves drawn to this irresistible Japanese treasure.
Why Yaki Onigiri Is the Crispy Rice Treat You Didn’t Know You Needed
What You’ll Need to Make Yaki Onigiri
Main Ingredients:
Rice: Short-grain Japanese rice with sticky texture, perfect for holding shape and creating crispy exterior when grilled.
Miso Paste: Traditional Japanese fermented soybean paste with deep umami flavor, adding rich complexity to the onigiri.
Butter: Provides rich, golden color and enhances grilling process with its delicious nutty flavor.
Cooking Liquids and Seasonings:Garnish and Finishing Touches:How to Shape and Grill Your Yaki Onigiri
Step 1: Prepare the Rice
Step 2: Create Rice Triangles
Step 3: Craft Miso Butter Coating
Ingredients for Miso Butter:Blend all ingredients in a small bowl until smooth and well combined
Step 4: Grill Onigiri
Step 5: Final Touches
Optional Soy Sauce Variation:Pro Tips for Golden Yaki Onigiri Perfection
Keeping Yaki Onigiri Crunchy After Cooking
Savory Pairings for Yaki Onigiri Fans
Flavorful Fillings for Your Next Yaki Onigiri
Print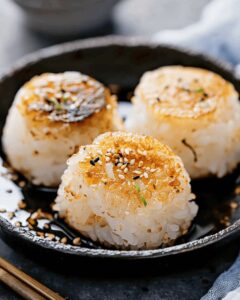
Yaki Onigiri Recipe
- Total Time: 30 minutes
- Yield: 4 1x
Description
Japanese street-style grilled rice balls deliver savory comfort with crispy charred edges and umami-rich fillings. Soy sauce glazed and perfectly caramelized, these handheld delights offer a delicious journey through traditional Japanese culinary craft you’ll savor with each delightful bite.
Ingredients
Main Ingredients:
- 2 cups (473 ml) uncooked short-grain rice
- 2 cups (473 ml) water
Flavoring Ingredients:
Miso Flavor:
- 1 tablespoon (15 ml) miso
- 2 teaspoons (10 ml) mirin
- 2 teaspoons (10 ml) sake
- 2 teaspoons (10 ml) sugar
- 1.5 tablespoons (22 ml) butter
- 1 teaspoon (5 ml) finely chopped chives
- 1 teaspoon (5 ml) sesame seeds
Cooking and Seasoning Ingredients:
Soy Sauce Flavor:
- 1.5 tablespoons (22 ml) vegetable oil
- 1 tablespoon (15 ml) soy sauce
- 1.5 tablespoons (22 ml) everything bagel seasoning
- 1.5 tablespoons (22 ml) butter
Instructions
- Prepare rice following either rice cooker instructions or traditional stovetop method until grains are perfectly tender and slightly sticky.
- While rice cooks, create a harmonious miso blend by whisking miso, mirin, sake, and sugar in a small mixing bowl until smooth and well-integrated.
- Allow cooked rice to cool slightly, then divide into six uniform portions using clean hands or a precise measuring tool.
- Utilize plastic wrap as a molding technique, carefully compressing each rice portion into triangular shapes with gentle, consistent pressure.
- Preheat a cast iron skillet over medium heat, creating an even cooking surface with melted butter or vegetable oil.
- Carefully place shaped rice triangles onto the heated skillet, allowing each side to develop a golden, crispy exterior for approximately one minute per side.
- Apply miso mixture or soy sauce generously across each surface, rotating onigiri to ensure comprehensive flavor absorption and uniform caramelization.
- Continue grilling and brushing until rice balls achieve a rich, crackling exterior with deep, complex flavor profiles.
- Remove from heat and transfer to serving plates, enhancing visual appeal with delicate garnishes like chopped chives, sesame seeds, or everything bagel seasoning.
- Finish with a small pat of butter for added richness and serve immediately while maintaining optimal temperature and crispness.
Notes
- Authentic Japanese street food favorite that transforms simple rice into a crispy, flavorful delicacy.
- Perfect for using leftover rice and creating a quick, satisfying snack or side dish with minimal ingredients.
- Best served immediately after grilling to maintain the crispy exterior and warm, soft interior texture.
- Choose short-grain Japanese rice for optimal stickiness and shape-holding capability when forming onigiri.
- Experiment with different miso or soy sauce variations to customize the flavor profile and match personal taste preferences.
- Avoid overcrowding the skillet to ensure each rice ball gets evenly crispy and golden-brown edges.
- Prep Time: 10 minutes
- Cook Time: 20 minutes
- Category: Breakfast, Lunch, Snacks
- Method: Grilling
- Cuisine: Japanese
Nutrition
- Serving Size: 4
- Calories: 350
- Sugar: 1 g
- Sodium: 420 mg
- Fat: 18 g
- Saturated Fat: 8 g
- Unsaturated Fat: 10 g
- Trans Fat: 0 g
- Carbohydrates: 43 g
- Fiber: 1 g
- Protein: 6 g
- Cholesterol: 30 mg
David Bennett
Founder & Head Recipe Developer
Expertise
Culinary Nutrition, Recipe Development, Nutritional Counseling, Food Science
Education
Johnson & Wales University
Certified Nutrition Specialist® (CNS®)
David Bennett is the lead recipe creator and nutrition expert at HealthyChoices.org, your friendly space for tasty meals that nourish body and mind.
With a Culinary Nutrition degree from Johnson & Wales University and a Certified Nutrition Specialist® credential, David pairs practical nutrition with delicious cooking, creating recipes you’ll crave daily.
At Healthy Choices, David shares easy, nutritious dishes and smart cooking tips to make healthy eating something everyone can enjoy, with no complicated diets needed.