Zesty Dill Pickle Snack Mix Delight Recipe for Fun Gatherings
Snacking takes an unexpected turn with this irresistible dill pickle snack mix that packs a tangy punch.
Every crisp, zesty bite delivers a flavor explosion sure to wake up your taste buds.
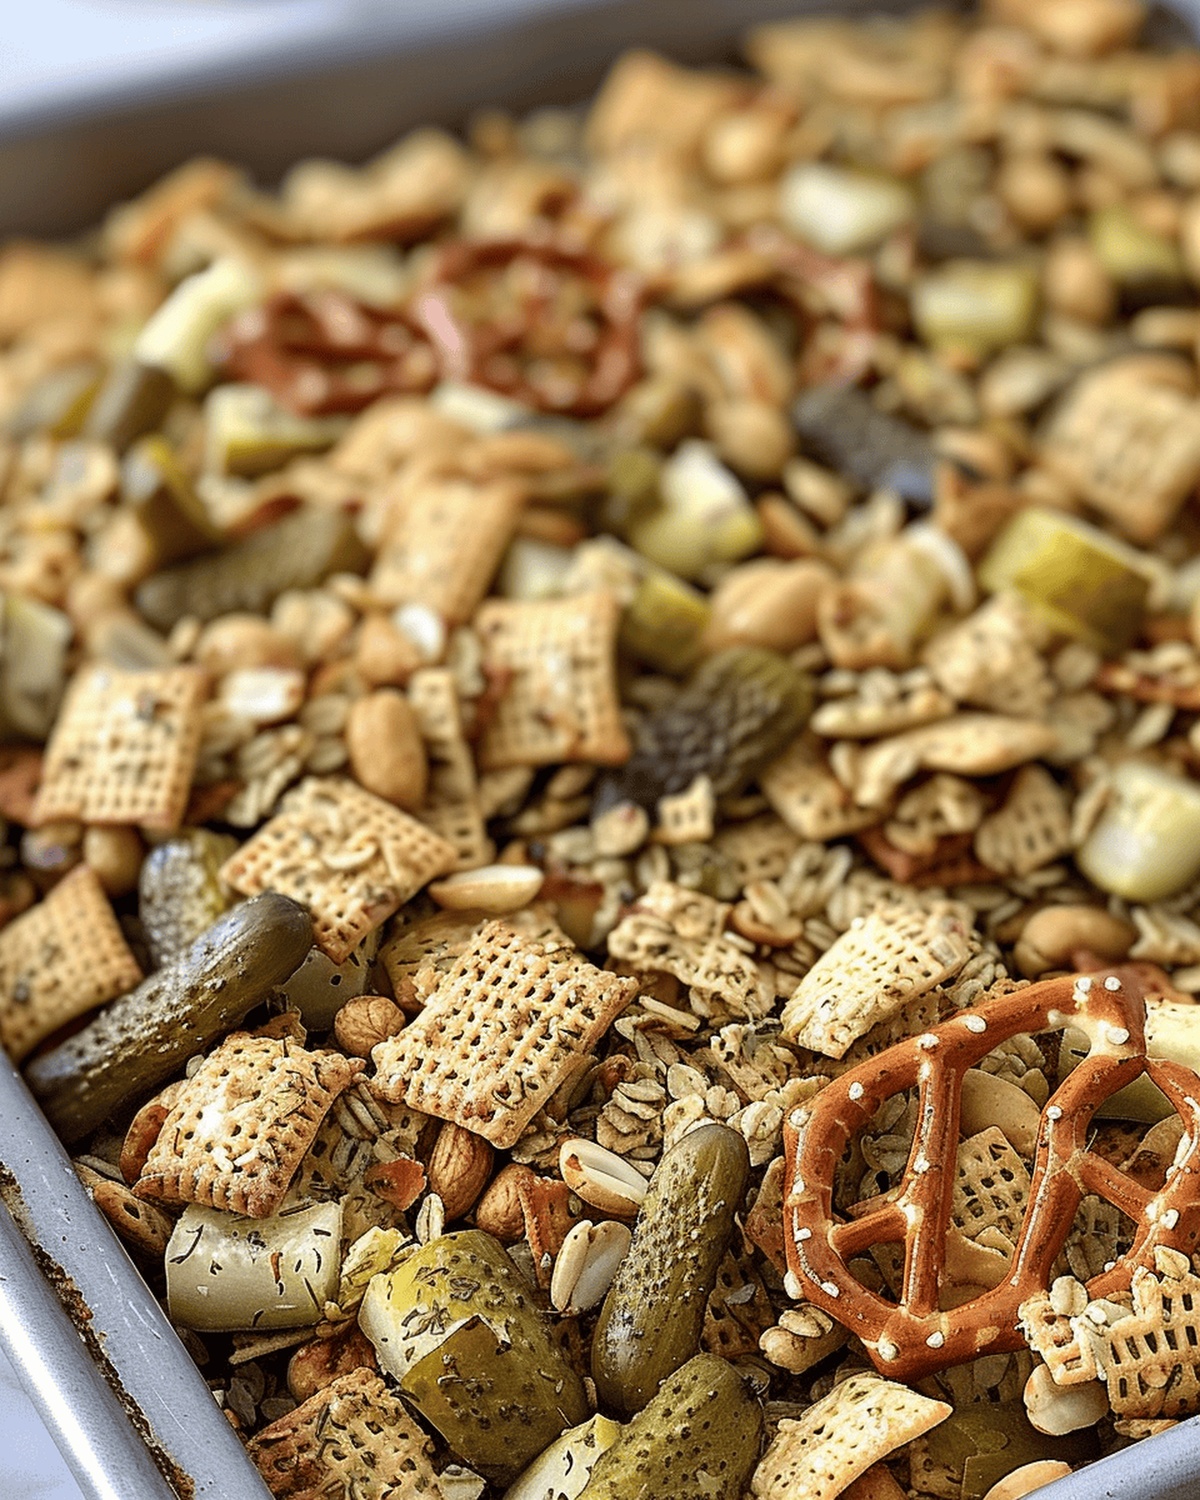
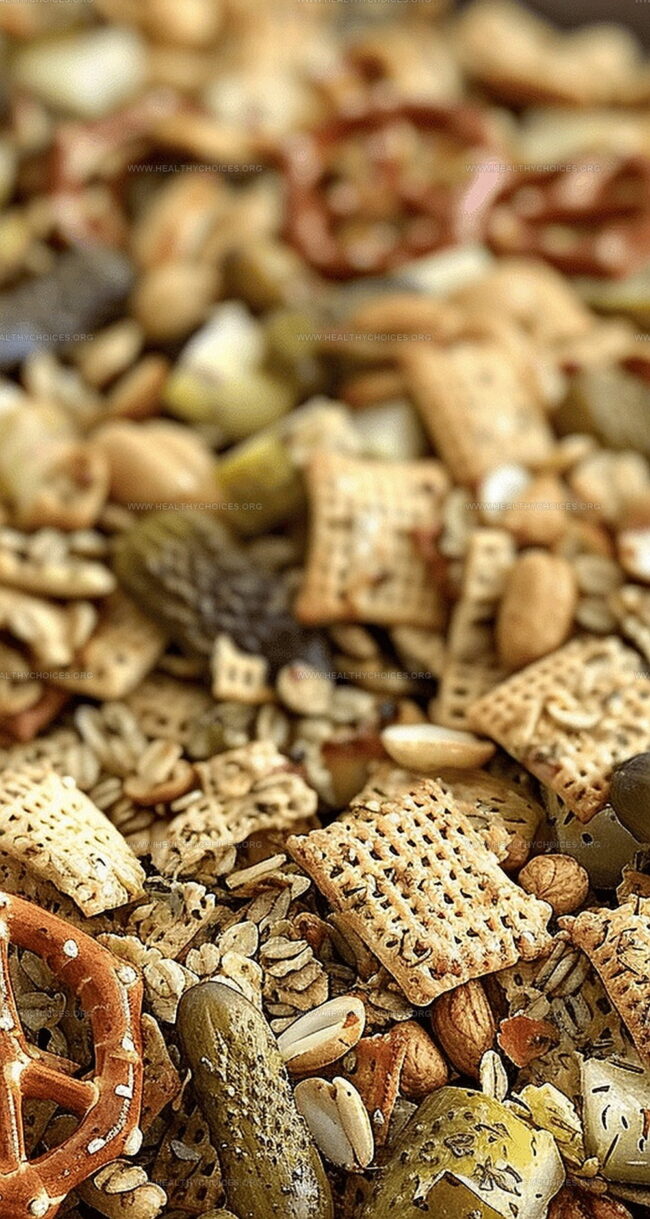
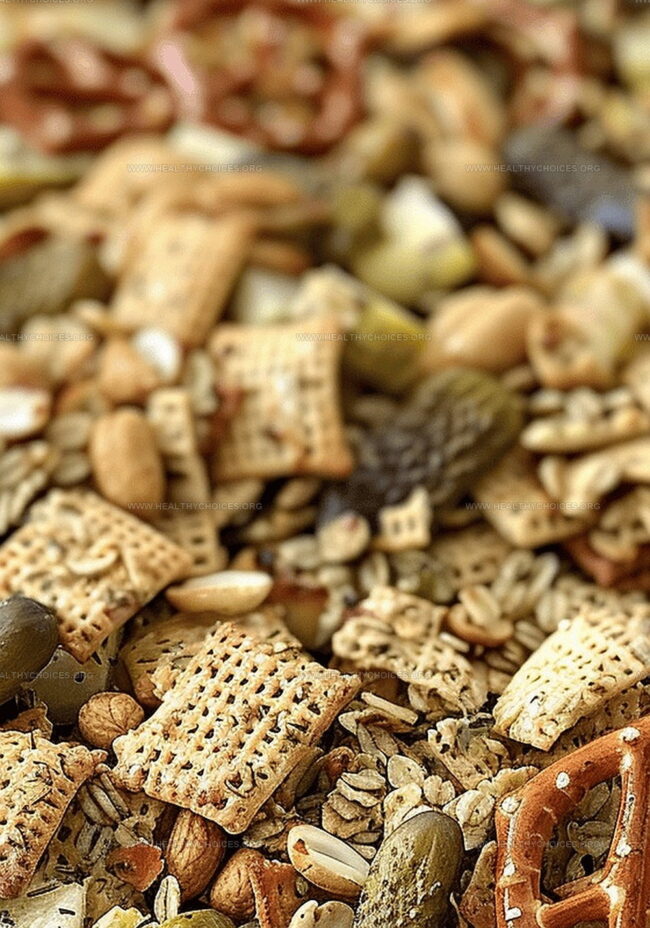
The combination of salty crackers, crunchy pretzels, and that signature dill pickle seasoning creates a seriously addictive treat.
Bold and bright, this snack mix breaks all the traditional rules of munching.
Zesty spices coat each morsel, promising a snacking experience that’s anything but ordinary.
The perfect blend of crunch and zing makes this mix impossible to resist.
You’ll want to make a double batch – trust me.
Quick Recipe Overview
Dill Pickle Snack Mix Ingredient Overview
For Crunch Base:For Flavor Boosters:For Binding and Richness:Tools for Dill Pickle Snack Mix
How to Mix Up Dill Pickle Snack Mix
Dill Pickle Snack Mix Adventure
Gather your favorite crispy ingredients like cereal, pretzels, and nuts to create a tangy, crunchy base for an epic snack experience.
Mix melted butter with dill pickle juice and magical spices that will transform ordinary ingredients into a zesty flavor explosion. Whisk the liquid gold until perfectly blended.
Drench your crispy ingredients with the flavor potion, ensuring every single morsel gets coated in deliciousness. Toss gently to prevent crushing the delicate components.
Spread the mixture on a baking sheet, creating an even layer that promises crispy, mind-blowing results. Slide into a warm oven and let the magic happen, stirring occasionally to guarantee perfect crunchiness.
Allow your creation to cool completely, letting the flavors mingle and the texture become irresistibly crisp. Once cooled, unleash this snack mix on hungry friends and watch their taste buds dance.
Tips for a Crunchier Dill Pickle Snack Mix
Serving Ideas for Dill Pickle Snack Mix
Storage Plan for Dill Pickle Snack Mix
Print
Zesty Dill Pickle Snack Mix Delight Recipe
- Total Time: 40-50 minutes
- Yield: 9 1x
Description
Dill pickle snack mix delight combines zesty pickles with crunchy crackers and savory seasonings. Salty, tangy flavors dance together, inviting you to enjoy this addictive midwest-inspired treat.
Ingredients
- 1 cup (50 grams) dill pickle chips, chopped
- 1 cup (150 grams) roasted peanuts or favorite nut
- 2 cups (100 grams) pretzel sticks
- 3 cups (255 grams) Chex cereal (any variety)
- ½ cup (113 grams) unsalted butter, melted
- 2 tbsps (30 ml) dill pickle juice
- 1 tsp (5 grams) garlic powder
- 1 tsp (5 grams) onion powder
- 1 tsp (5 grams) dill weed
- Salt, to taste
Instructions
- Preparation: Warm the oven to 250°F and line a baking sheet with parchment paper, creating a non-stick surface for even toasting.
- Mixing Base: Combine Chex cereal, pretzel sticks, roasted peanuts, and dill pickle chips in a large mixing bowl, blending the dry ingredients to create a uniform foundation for the snack.
- Seasoning Blend: Whisk melted butter, dill pickle juice, garlic powder, onion powder, dill weed, and salt into a vibrant, flavor-packed liquid that will transform the mix into a tangy sensation.
- Coating Process: Pour the seasoning over the dry ingredients, using a spatula to meticulously coat every morsel, ensuring each piece is thoroughly saturated with the zesty, herbaceous mixture.
- Baking and Toasting: Spread the seasoned mixture in a single layer on the prepared baking sheet, then bake for 30-40 minutes. Stir and rotate every 10 minutes to promote even toasting and prevent burning, developing a perfect golden crispness.
- Cooling and Serving: Remove from the oven and let the mix cool completely on the baking sheet, allowing it to become extra crisp. Break apart any clusters and serve as an irresistible, crunchy snack.
Notes
- Optimize Oven Temperature: Use a low 250°F setting to gently toast without burning, ensuring a perfect crispy texture.
- Coat Thoroughly: Mix seasoning completely, guaranteeing each ingredient is evenly saturated for consistent flavor in every bite.
- Stir Regularly: Rotate the mix every 10 minutes during baking to prevent burning and achieve uniform golden-brown crispness.
- Cool Completely: Let the snack mix rest on the baking sheet after baking to develop maximum crunchiness and enhance overall texture.
- Prep Time: 10 minutes
- Cook Time: 30-40 minutes
- Category: Snacks
- Method: Baking
- Cuisine: American
Nutrition
- Serving Size: 9
- Calories: 265
- Sugar: 2 g
- Sodium: 200 mg
- Fat: 15 g
- Saturated Fat: 6 g
- Unsaturated Fat: 9 g
- Trans Fat: 0 g
- Carbohydrates: 27 g
- Fiber: 1 g
- Protein: 6 g
- Cholesterol: 20 mg
Emily Roberts
Content Creator & Kitchen Tips Specialist
Expertise
Dietary Planning, Public Health Nutrition, Nutritional Education, Content Development
Education
University of Illinois at Urbana-Champaign
Registered Dietitian Nutritionist (RDN)
Emily Roberts is our content specialist and registered dietitian at HealthyChoices.org. With her Master’s degree in Nutritional Sciences from the University of Illinois and her Registered Dietitian Nutritionist certification, Emily uses her deep nutrition knowledge to write helpful, easy-to-understand guides about healthy eating.
Her warm, practical advice empowers readers to confidently make healthier choices, turning everyday meals into simple moments of wellness and joy.