Sizzling Grilled Cheeseburger Wraps Recipe for Lunch Lovers
Sizzling with flavor and packed with juicy goodness, these grilled cheeseburger wraps bring a mouthwatering twist to classic burger comfort.
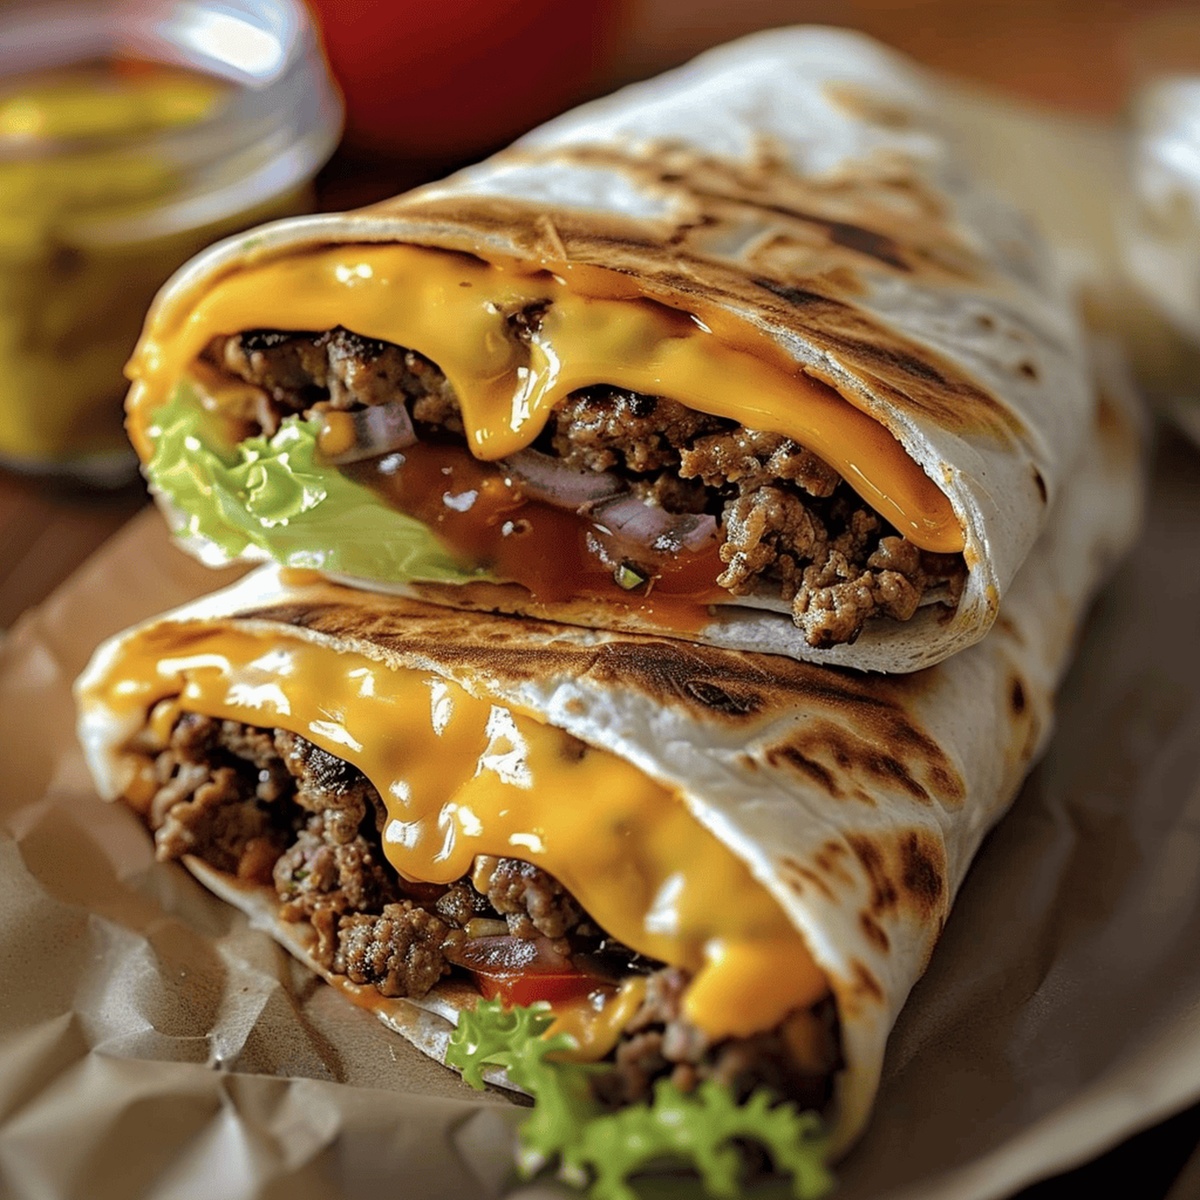
Tender ground beef mingles with melted cheese inside a warm tortilla, creating a handheld delight that bursts with savory notes.
The wraps offer a lighter alternative to traditional burgers, perfect for those seeking a quick and delicious meal.
Crisp edges and a golden-brown exterior promise a satisfying crunch with every bite.
Spices and fresh ingredients elevate this simple recipe from ordinary to extraordinary.
Quick to assemble and even faster to devour, these wraps will become your new go-to dinner solution.
You’ll love how effortlessly these wraps combine all the classic burger flavors in a convenient, portable package.
Quick Recipe Overview
Grilled Cheeseburger Wraps Ingredient Details
For Protein Base:For Flavor Enhancers:For Wrapping and Topping Essentials:For Optional Flavor Boosters:Equipment for Grilled Cheeseburger Wraps
Grilling Instructions for Cheeseburger Wraps
Flavor Foundation
A sizzling skillet becomes your culinary playground where ground beef transforms into a mouthwatering base. Infuse the meat with Worcestershire sauce, ketchup, and a sprinkle of seasoning, creating a rich and savory filling that will make taste buds dance.
Wrap Crafting
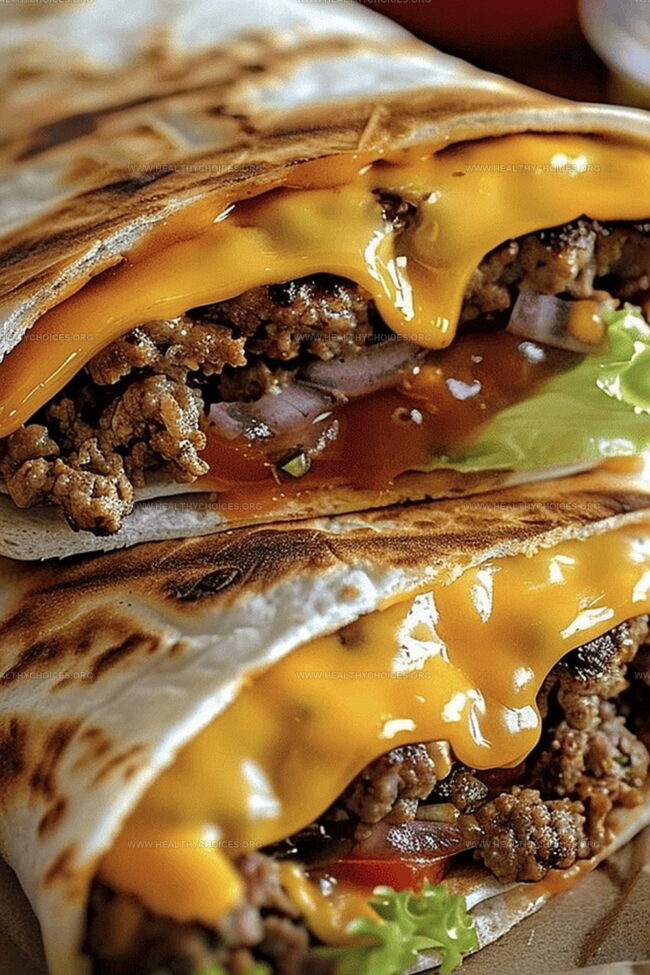
Tortillas become edible canvases waiting to be filled with deliciousness. Layer creamy cheese across the center, then generously spoon the seasoned beef. Enhance with fresh crisp vegetables like juicy tomatoes and crisp lettuce for a burst of color and texture.
Grill Magic
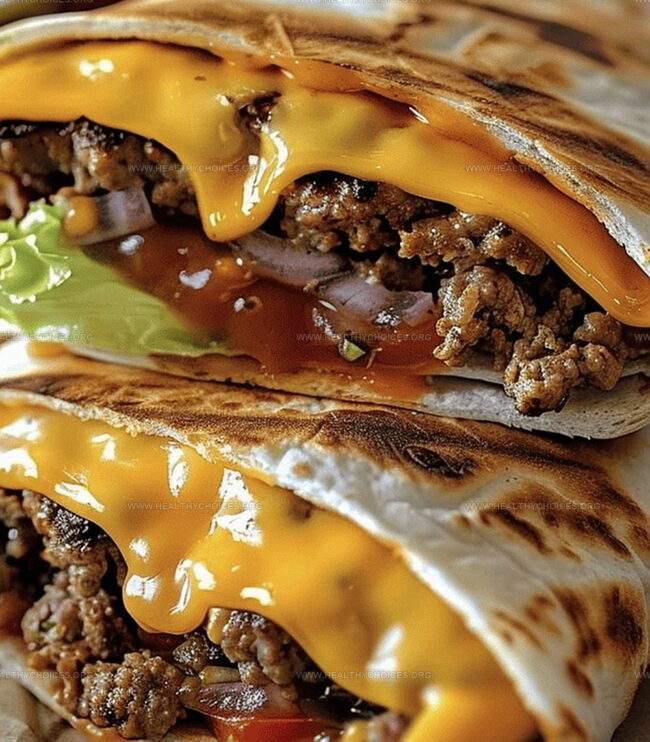
A hot grill pan awaits your culinary creation. Carefully place the wrapped delight seam-side down, letting it sizzle and develop a golden crispy exterior. Flip with confidence, allowing the other side to achieve that perfect crunch that signals a masterpiece in the making.
Presentation
Slice diagonally to reveal the layers of flavor inside. Serve immediately while the wrap is warm and cheese is melty. Each bite promises a delightful combination of grilled goodness and classic cheeseburger flavors.
Flavor Boosts for Cheeseburger Wraps
Ways to Serve Grilled Cheeseburger Wraps
Storage Tips for Cheeseburger Wraps
Print
Zesty Grilled Cheeseburger Wraps Recipe
- Total Time: 30 minutes
- Yield: 5 1x
Description
Succulent grilled cheeseburger wraps combine classic burger flavors in a handheld tortilla delight. Melted cheese, seasoned ground beef, and fresh toppings create a quick meal you’ll crave again and again.
Ingredients
- 1 lb (454 g) lean ground beef
- 4 medium tortilla wraps
- 4 slices American cheese
- 1 tbsp Worcestershire sauce
- 2 tbsps ketchup
- Salt to taste
- Pepper to taste
- 1 tomato, sliced
- ¼ head lettuce, shredded
- Sliced onions (optional)
- Pickles (optional)
- Mustard (optional)
- Mayonnaise (optional)
Instructions
- Beef Preparation: Brown ground beef in a skillet over medium heat until completely cooked, eliminating all pink hues. Drain excess fat thoroughly.
- Flavor Infusion: Blend Worcestershire sauce, ketchup, salt, and pepper into the meat. Simmer for two minutes to marry flavors intensely.
- Tortilla Assembly: Place cheese slice centrally on tortilla, creating a rich foundational layer for the wrap.
- Filling Distribution: Spread seasoned beef evenly across cheese, ensuring consistent flavor coverage. Layer crisp lettuce and ripe tomato slices atop the meat for textural contrast.
- Wrapping Technique: Fold tortilla edges inward precisely, creating a compact package that securely contains all ingredients.
- Grilling Process: Heat grill pan to medium-high temperature. Position wrap seam-side down, grilling for 3-4 minutes until achieving a golden-brown, crispy exterior. Rotate carefully to grill opposite side with equal attention.
- Serving Presentation: Slice wrap diagonally to showcase intricate layers. Serve immediately while maintaining optimal temperature and crispness.
Notes
- Meat Preparation Tip: Brown ground beef completely to eliminate any pink areas, ensuring food safety and optimal flavor development.
- Flavor Infusion Strategy: Allow Worcestershire sauce and seasonings to simmer with meat, creating deeper, more complex taste profiles.
- Tortilla Wrapping Technique: Fold edges carefully and tightly to prevent fillings from spilling, maintaining a compact and neat presentation.
- Grilling Precision: Grill each side for 3-4 minutes on medium-high heat, creating a crispy golden exterior while keeping interior ingredients warm and fresh.
- Prep Time: 10 minutes
- Cook Time: 20 minutes
- Category: Lunch, Dinner, Snacks
- Method: Grilling
- Cuisine: American
Nutrition
- Serving Size: 5
- Calories: 400
- Sugar: 2 g
- Sodium: 800 mg
- Fat: 24 g
- Saturated Fat: 10 g
- Unsaturated Fat: 12 g
- Trans Fat: 0 g
- Carbohydrates: 30 g
- Fiber: 2 g
- Protein: 24 g
- Cholesterol: 80 mg
Emily Roberts
Content Creator & Kitchen Tips Specialist
Expertise
Dietary Planning, Public Health Nutrition, Nutritional Education, Content Development
Education
University of Illinois at Urbana-Champaign
Registered Dietitian Nutritionist (RDN)
Emily Roberts is our content specialist and registered dietitian at HealthyChoices.org. With her Master’s degree in Nutritional Sciences from the University of Illinois and her Registered Dietitian Nutritionist certification, Emily uses her deep nutrition knowledge to write helpful, easy-to-understand guides about healthy eating.
Her warm, practical advice empowers readers to confidently make healthier choices, turning everyday meals into simple moments of wellness and joy.